What’s in My Camera Bag for Photographing Fall Color
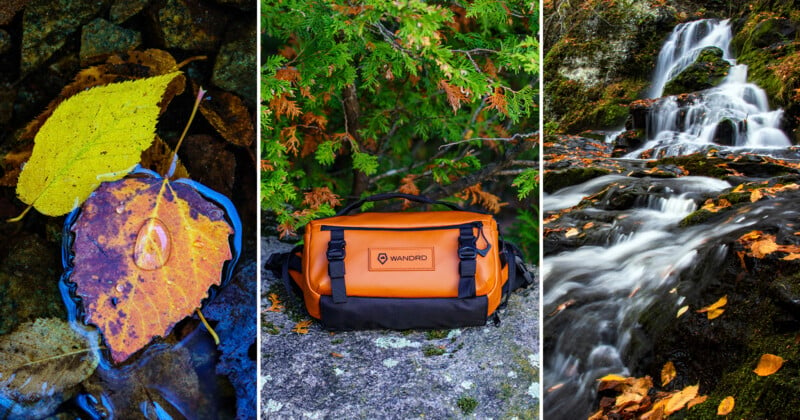
What’s in my camera bag for fall color? Here’s the gear I use for autumn landscapes, wildlife, macro photography, and video. Hopefully, seeing what I bring along will inspire you to add something useful to your own kit or approach your fall color photography a little differently this autumn.
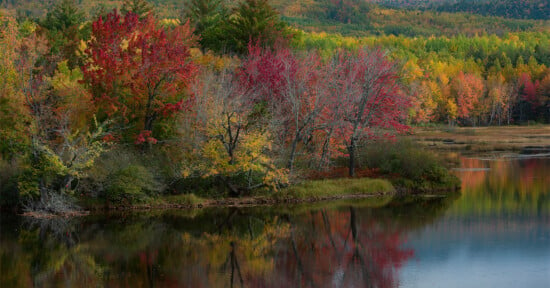
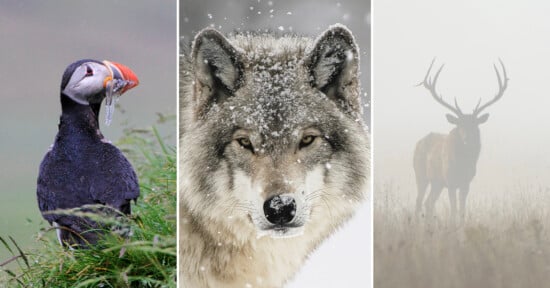
Fall color photography isn’t just about photographing landscapes for me. While I love finding a beautiful composition filled with reds, oranges, and yellows, I’m also always looking for opportunities to incorporate wildlife into the scene. Sometimes that means creating a tighter portrait of an animal surrounded by autumn foliage; other times, I want to show the animal as a small part of a much larger environmental scene, with fall color stretching into the distance.
Because of that, I actually have two different camera bag setups for photographing fall color. The basic kit stays the same, but I choose between a smaller bag when I’m primarily photographing landscapes and a larger one when I know I’ll need to bring a long telephoto lens. That’s typically the case when I’m heading to areas specifically for wildlife, such as elk, where having a long lens with me opens up an entirely different set of possibilities for photographing the autumn landscape.
My Two Fall Color Camera Bags
A quick note before getting into my gear: this isn’t a sponsored article. I test a wide range of camera bags and other photography equipment, and these are the two bags I’ve personally chosen from my collection for my autumn adventures because they work best for how I photograph fall color.
My current camera setup includes a Sony a7R IV, Tamron 90mm f/2.8 Di III Macro VXD, Viltrox AF 56mm f/1.7, Viltrox AF 20mm f/2.8, and Sigma 50-500mm. Because I regularly test lenses for articles, my kit can change depending on what I’m working on. Brands often send me lenses as loaners for editorial hands-on coverage, which I have to return, so I may temporarily swap one of my own lenses for a review sample or bring both if the situation calls for it. The gear featured here is what I actually use in the field, rather than a fixed kit that never changes.
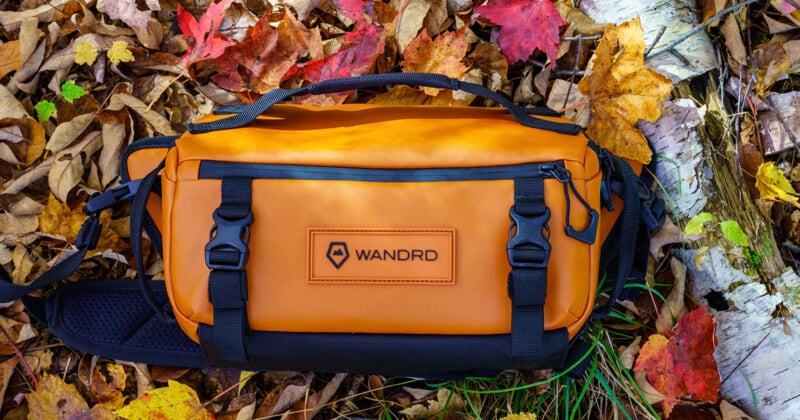
When I know I’ll be photographing landscapes and don’t expect to need a 500mm lens, I use the WANDRD Rogue Sling 9L in Sedona Orange. I actually love this bag enough that I own the same one in Yuma Tan, too. It has a ton of pockets for such a compact bag, making it easy to organize the smaller accessories I want to carry without a large backpack.
The Rogue is particularly useful when I’m hiking around looking for compositions and don’t want to carry more camera equipment than I realistically need. It gives me enough room for my landscape setup while keeping the kit relatively compact, which is especially nice when I’m moving around frequently to explore different viewpoints.
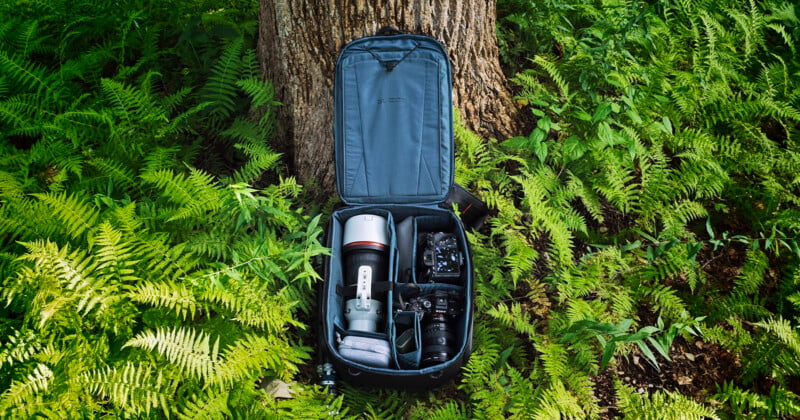
When wildlife is likely to be part of the plan, however, I need more room. That’s when I switch to my PGYTECH OneMo 2, which is the bag I reach for when I need to bring the kitchen sink. The main difference between my two setups is the addition of a telephoto lens or two. Everything else in my basic fall color kit remains essentially the same.
My Tripod
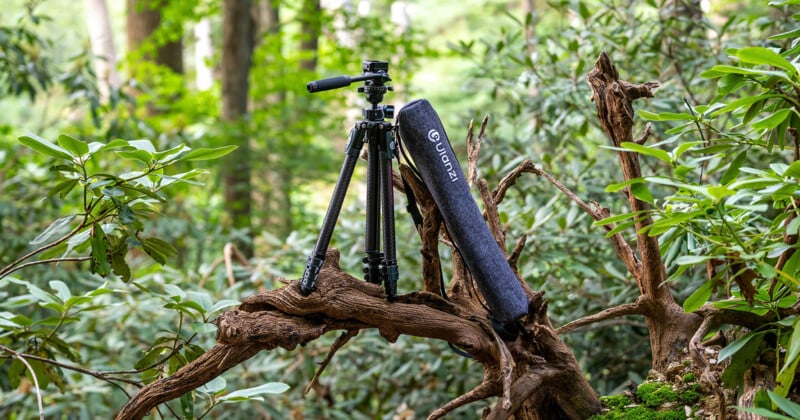
A tripod is one of the pieces of gear I almost always want with me for fall color photography. I look for one that is sturdy enough to support my camera and lenses without introducing movement, but light enough that I can comfortably carry it while hiking. I have a couple of carbon fiber tripods, and I swap them out based on whether I plan to need more beef from a heavier, thicker set of legs like my Ulanzi JJ06, or want to go nimble and lightweight with my Promaster Iota 422.

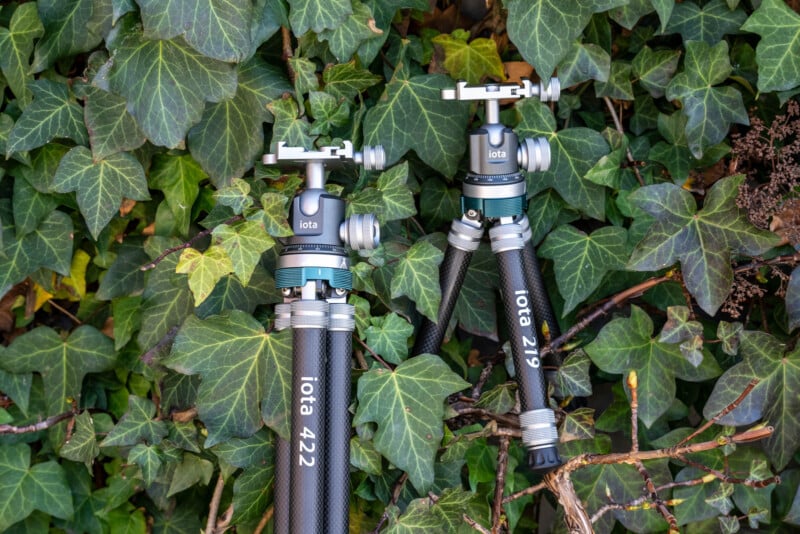
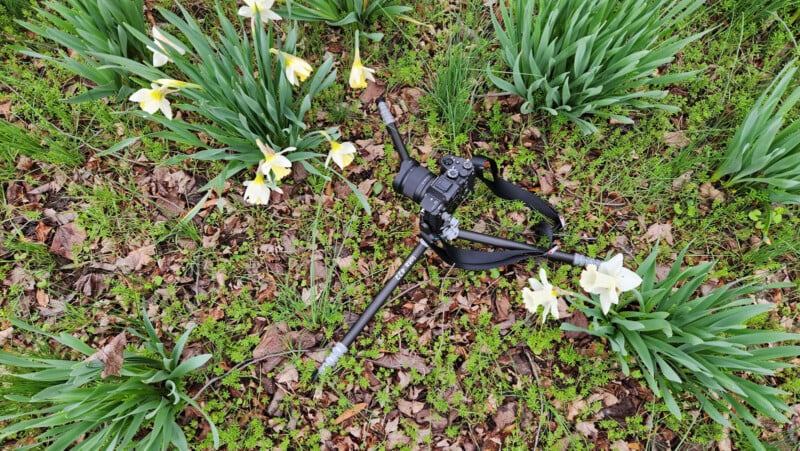
That balance is important because fall color often means exploring trails, viewpoints, waterfalls, and other locations where I’m going to be moving around quite a bit. A tripod that’s incredibly sturdy but too heavy to want to carry isn’t particularly useful to me in the field. I want the stability when I need it without turning every hike into a gear haul.
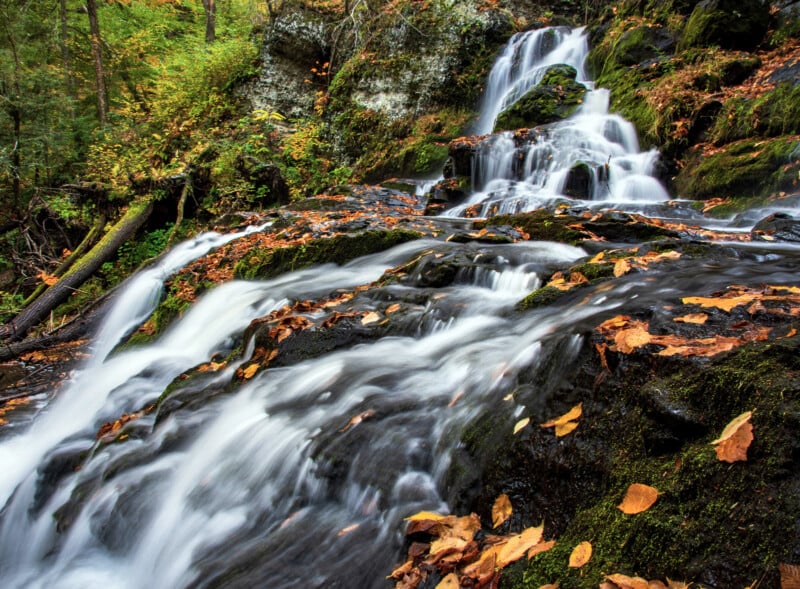
A tripod also gives me more flexibility when working with slower shutter speeds, especially when I’m photographing waterfalls, streams, or other scenes where I want to intentionally blur movement. It also makes it easier to carefully compose a landscape and make small adjustments rather than rushing to take the photograph handheld.
My Filter Kit
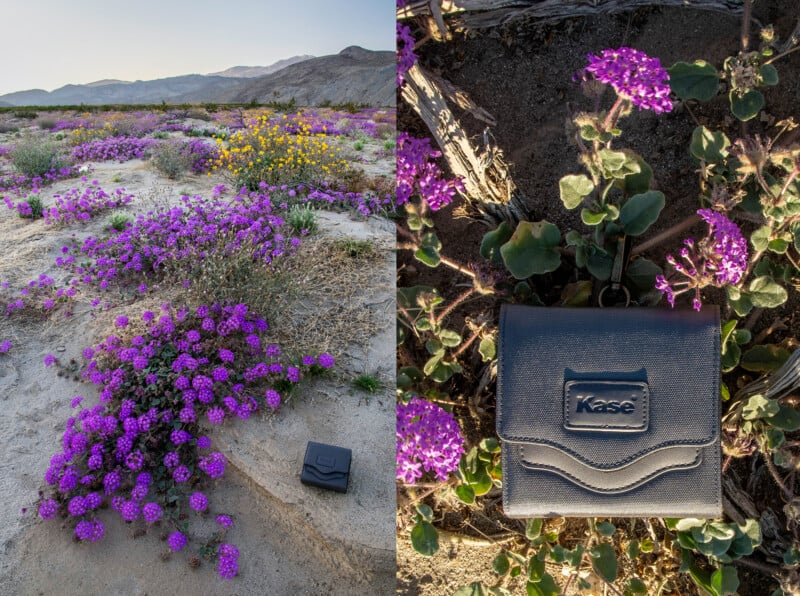
Filters are another important part of my fall color kit, particularly because autumn photography often takes me to waterfalls, streams, and other wet environments. My filter kit includes a circular polarizing filter along with a selection of neutral density, or ND, filters. I love to use filter kits that come with everything in one easy-to-pack pouch. I use the Kase KW Magnetic Filters, however I lost the CPL in the kit so currently have on my old B+W CPL for now.
A circular polarizing filter is one of the most useful filters I carry because it lets me control reflections on wet rocks, water, and foliage. Rotating the filter changes how much reflected light is reduced, which can reveal details beneath the surface of shallow water or make wet leaves and rocks look less washed out. It can also help deepen a blue sky under the right lighting conditions.
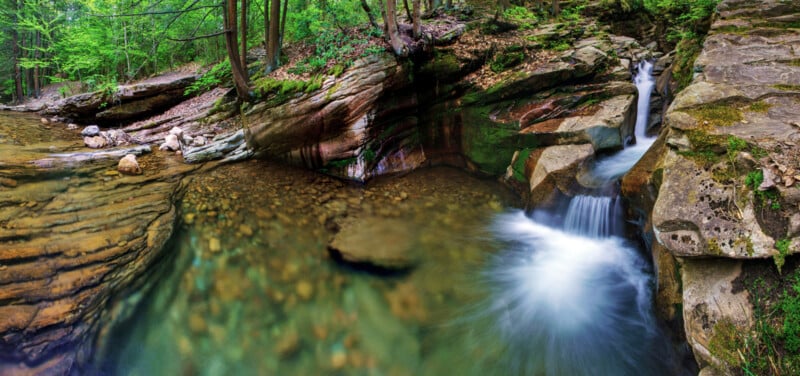
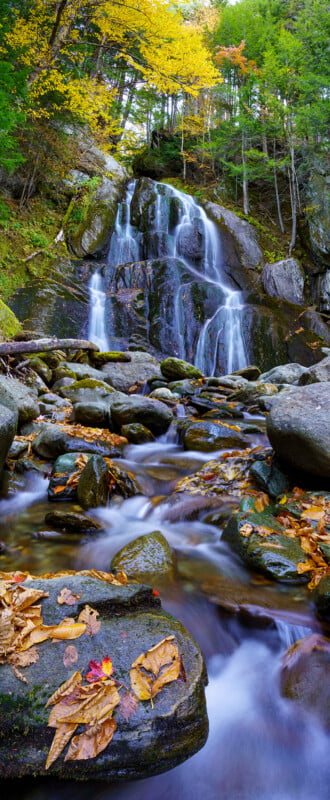
I also carry several ND filters for situations where I want to use a slower shutter speed during the day. An ND filter works somewhat like sunglasses for your lens, reducing the amount of light entering the camera so you can leave the shutter open longer. That’s particularly useful for waterfall photography, where a longer exposure can turn moving water into the smooth, silky effect that is so often associated with waterfall images.
I don’t necessarily want the darkest filter available. The goal is to have enough flexibility to choose the shutter speed that creates the look I want rather than simply making the exposure as long as possible. With fall color, that flexibility can also be useful when I want to slow down moving water without losing all of the texture and detail in the scene.
Accessories
A few small cleaning supplies permanently live in my camera bag because I never know what conditions I’m going to encounter. I carry a small spray bottle which doubles for adding water droplets to leaves, a duster, and plenty of lens wipes, along with microfiber cloths for dealing with anything that ends up on the front of the lens.
This is particularly important for fall photography because some of my favorite autumn locations involve waterfalls. Even when it isn’t raining, spray from the water can quickly cover the front element of a lens with tiny droplets that can ruin an otherwise great photograph. On the other hand, hiking dusty or dirty trails creates a completely different cleaning problem, which is why I like having supplies for both.
It’s easy to overlook something as simple as a lens cloth when packing your camera bag, but a few minutes spent cleaning the front element can make the difference between a sharp, clear photograph and one covered in distracting spots.
Autumn weather can change quickly, so I also carry protection for both myself and my gear. I have a rain cover for my camera gear and a poncho that folds down into a small envelope, making both easy to tuck into the bag without taking up much space.
I don’t necessarily bring them out on every hike, but they’re worth carrying because weather can change quickly in the mountains and forests where I photograph fall color. A compact rain layer is also useful even when rain isn’t in the forecast. It can protect against unexpected showers, mist around waterfalls, or simply getting soaked while moving through wet vegetation.
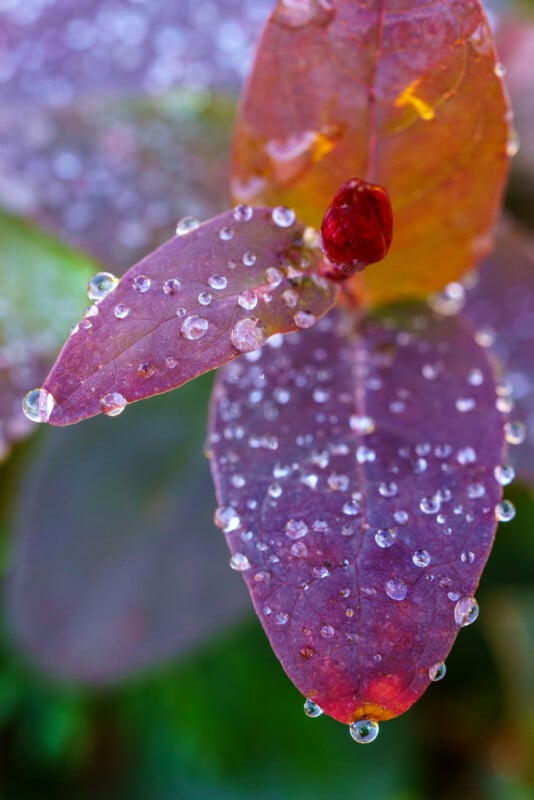
I also like to carry a small reflector that folds down to nearly pocket size, making it easy to keep in my bag without adding much bulk. It’s particularly useful for macro photography, where I can use it as a scrim to block or soften harsh light, or use the reflective side to bounce light back onto a subject and fill in shadows. When I’m photographing individual leaves, foliage, or other small details, that little bit of control over the light can make a surprisingly big difference.
Extra Batteries and On-the-Go Charging
I always carry plenty of batteries when I’m photographing fall color. Cooler autumn temperatures can cause batteries to deplete faster, and if I’m spending a full day photographing, shooting video, or simply taking a lot of photographs, I can go through more power than expected.
I never want running out of battery to be the reason I miss a photograph, particularly because fall color is temporary. You might have spent hours hiking to a location, only to have the perfect light appear for a few minutes. That’s not the time to discover that your last battery is almost empty.
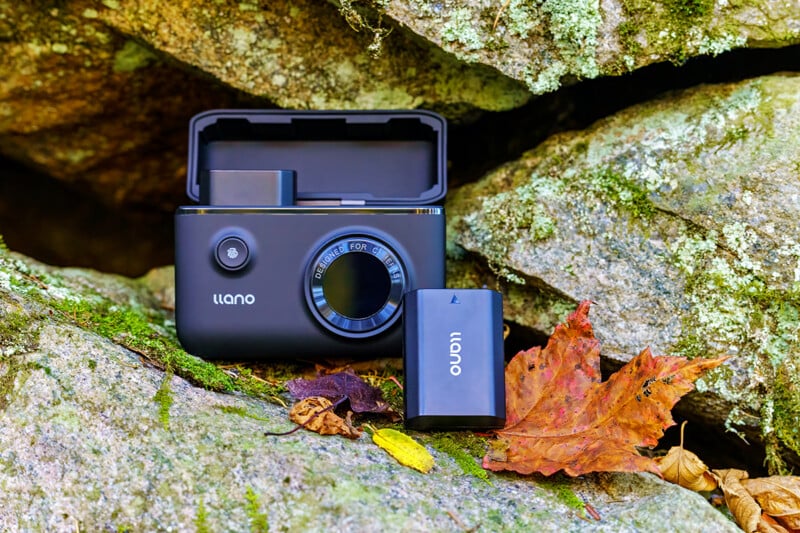
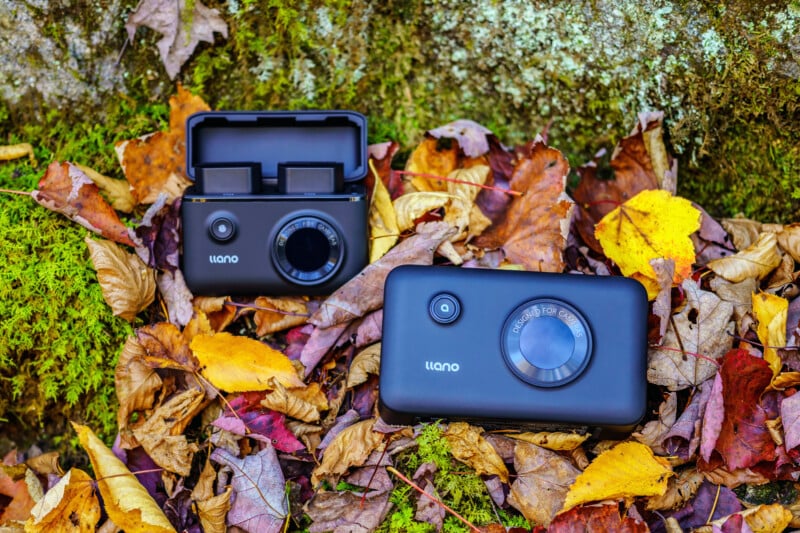
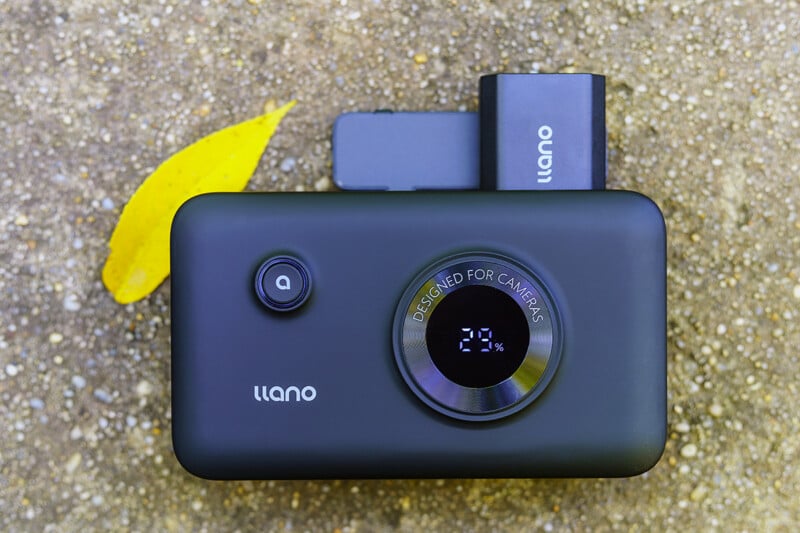
For charging on the go, I use battery chargers from Llano. I have both of the company’s kits for my Sony NP-FZ100 batteries. One is a charging case that comes with two batteries, while the other is a separate, much larger charging case with a built-in battery.
The Llano batteries are more powerful than my OEM batteries, and I find that they charge faster and last longer. The charging case with the built-in battery doesn’t come with camera batteries, so I use the batteries from the other kit with it. When I remove a battery from my camera, I put it into the charging case and swap in a charged one.
That setup lets me keep rotating batteries throughout a long trip without needing to find an outlet. It’s particularly useful when I’m camping or photographing in the backcountry, where I may be spending several days in the wilderness without access to electricity. Even when I’m nowhere near that remote, though, being able to charge on the go gives me one less thing to worry about.
An External Monitor
One newer addition to my fall color kit this year is an external monitor. If you’re photographing both stills and video, the LCD screen on the back of a camera can feel pretty small when you’re trying to make sure everything is exactly where you want it.
I’m increasingly focused on making my photographs as sharp and accurate as possible while I’m still in the field. A much larger screen gives me a better chance to check focus, composition, and other details before I move on from a scene. Depending on the setup, a phone can sometimes serve a similar purpose, but an external monitor gives me a larger dedicated display when I’m working with both photography and video.
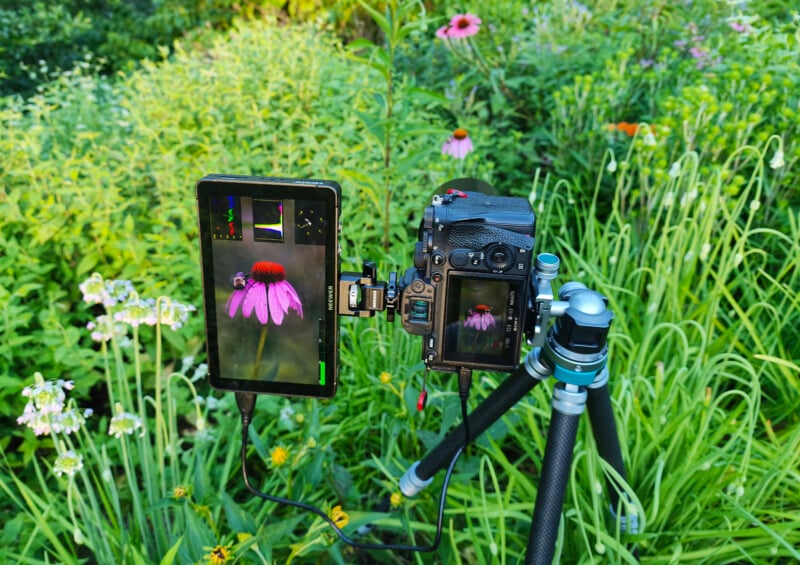
This definitely isn’t something every photographer needs. For me, though, fall color happens only once a year, and sometimes you get only one chance at a particular photograph. If a larger screen helps me catch a focus or composition issue before I leave, that’s worth carrying the extra piece of gear.
A Small Gimbal Camera for Behind the Scenes
I’ve also started bringing small gimbal cameras with me when photographing fall color. Social media has become an important part of being a photographer, and these cameras give me an easy way to create behind-the-scenes content while I’m already out making photographs.
I get comments fairly often accusing my fall color photographs of being AI-generated, so having video showing what the actual scene looked like is a pretty good way to put that question to rest. More importantly, though, video lets me show the entire environment, not just the final photograph.
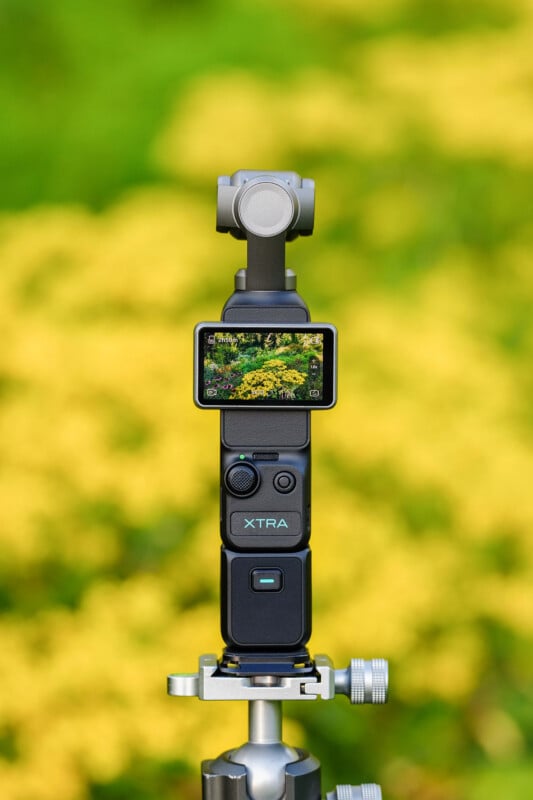
A single image might show a beautiful section of colorful trees, but a behind-the-scenes video can show the surrounding landscape and then reveal exactly where I stood and what I chose to include in the composition. That can be educational for other photographers because they can see how I went from the larger scene to the final image, while non-photographers can simply enjoy seeing the fall color moving in the breeze.
My Telephoto Lens for Wildlife and Long Distance Nature Scenes
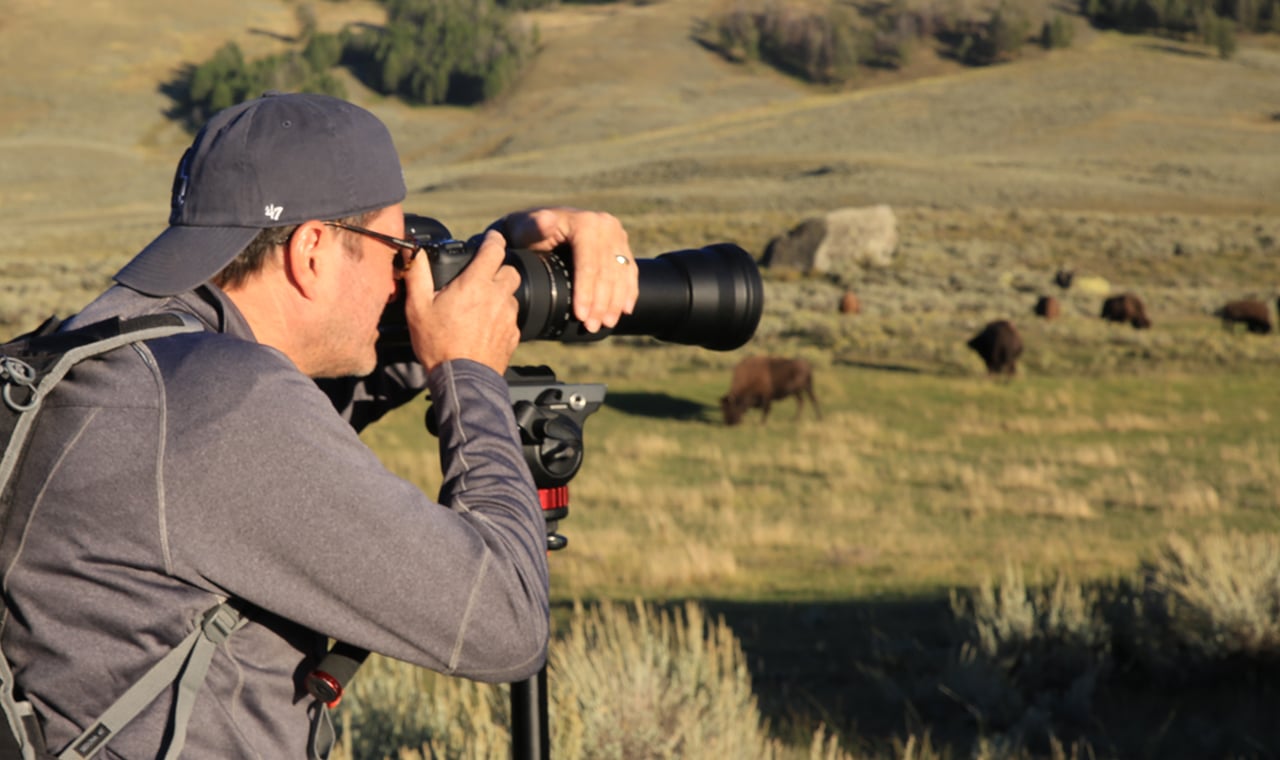
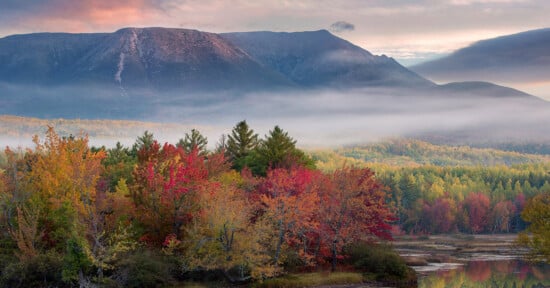
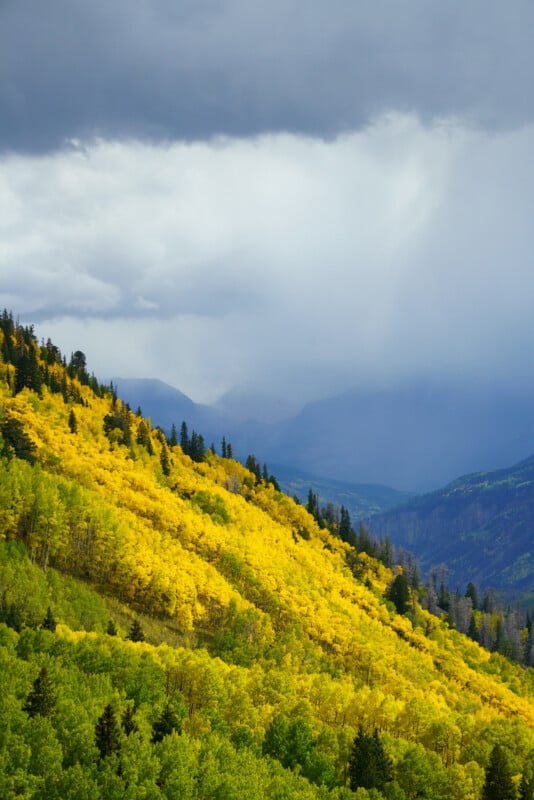
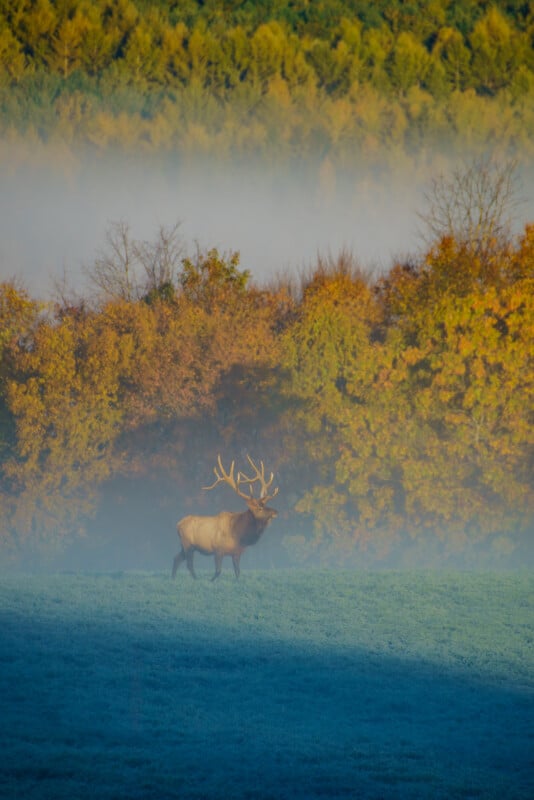
The one major difference between my two fall color setups is whether I’m bringing a long telephoto lens. When I know wildlife is likely to be part of the outing, I carry a lens that gets me close to 500mm, which is why I switch from the smaller sling to my larger camera bag. I also consider a long lens for adding variety in my landscape images, such as when I am near mountains for capturing the foliage across the ridges.
A long lens gives me the flexibility to photograph wildlife without getting physically close to an animal. It also lets me isolate smaller sections of a scene, which can be especially useful when I want to photograph an animal surrounded by colorful autumn foliage.
I don’t always want a tight wildlife portrait, either. One of my favorite ways to photograph animals in fall is to use the telephoto lens to create an environmental image where the animal is relatively small in the frame, and the surrounding landscape tells part of the story. The colorful foliage becomes just as important as the wildlife, which is why having the long lens with me can completely change the possibilities I have in front of me.
A Few Fall Color Finds for Nature Flat Lays
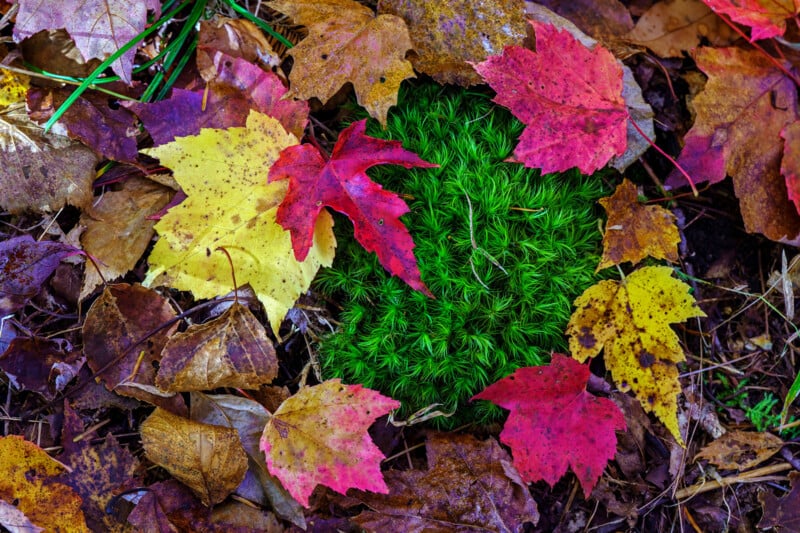
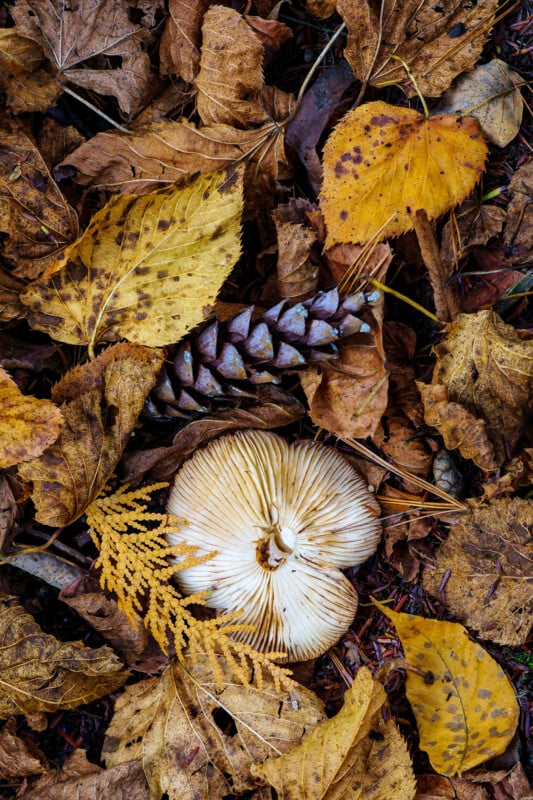
The last thing that sometimes ends up in my camera bag isn’t actually something I bring with me. It’s something I find along the trail. If I come across a particularly beautiful red leaf or an interesting collection of autumn leaves, I’ll sometimes gather a few of them to create a small nature flat lay.
I’ve seen photographers create incredibly elaborate leaf arrangements, turning them into intricate pieces of fine art. That’s not really what I do. I prefer to keep mine natural-looking, but I’m also not going to pretend I simply stumbled across the perfect arrangement in the woods. If I’m intentionally gathering a few beautiful leaves and arranging them into a photograph, that’s exactly what I’m doing.
I usually only collect a few leaves that have fallen naturally, and I don’t take them home with me. Once I’m finished photographing the arrangement, I leave them where I found them. It’s just another way to make use of the small details I encounter while I’m out photographing the larger autumn landscape.
The Goal Is to Be Ready for What I Find
My fall color camera bag is ultimately built around flexibility. I want to be prepared for the landscape in front of me, but I also want to be ready if I come across wildlife, a waterfall, beautiful light, or an unexpected detail that deserves its own photograph.
That’s why I don’t have one rigid setup that I take everywhere. If I’m expecting a landscape-focused day, the smaller sling bag gives me everything I need without carrying unnecessary weight. If I’m heading somewhere with a good chance of wildlife, I’ll bring the larger bag and long telephoto lens. Everything else stays remarkably consistent.
Fall color gives you a relatively short window to work with, and the conditions can change quickly. Having a kit that lets me respond to those opportunities without carrying absolutely everything I own is what makes the most sense for how I photograph autumn.
Image creditsPhotographs by Kate Garibaldi
Affiliate Disclosure PetaPixel articles may include affiliate links; we may earn a commission if you buy through one.