Apple iPhone 18 Pro Camera Review: Small Changes, Big Differences
I have to admit, during Apple’s iPhone 18 Pro keynote, I felt underwhelmed. Aperture? Texture? That’s it? I am used to getting incremental updates on smartphones annually, but this felt especially so. But after taking around 1,000 photos and hours of video with it, I am surprised to say that I was wrong.

Apple’s updates sounded incremental on paper but in practice, the photographic experience feels markedly improved.
Pros
- Pro Controls are great
- Photographic Styles are even better
- Texture adds another level of creative control
- Variable aperture is, shockingly, a great addition, especially for video
- Autofocus tracking is comparable to a mirrorless camera
- Reference Image is a solid foundation
- Fast charging is a boon
Cons
- Inability to lock ISO can be frustrating
- Ultra-wide camera feels ancient
- Some caveats to photo performance while tracking
Apple’s iPhone 18 Pro and Pro Max feel iterative because variable aperture on a smartphone is not a new idea, Photographic Styles — Apple’s answer to Fujifilm Film Simulations — as an idea is not new, and the content authenticity verification system Reference Image is also not a new concept. But, in typical Apple fashion, the company took these existing ideas and implemented them in a way that amplifies their effect on the photographic process.
Apple iPhone 18 Pro and Pro Max Review: Design and Build Quality
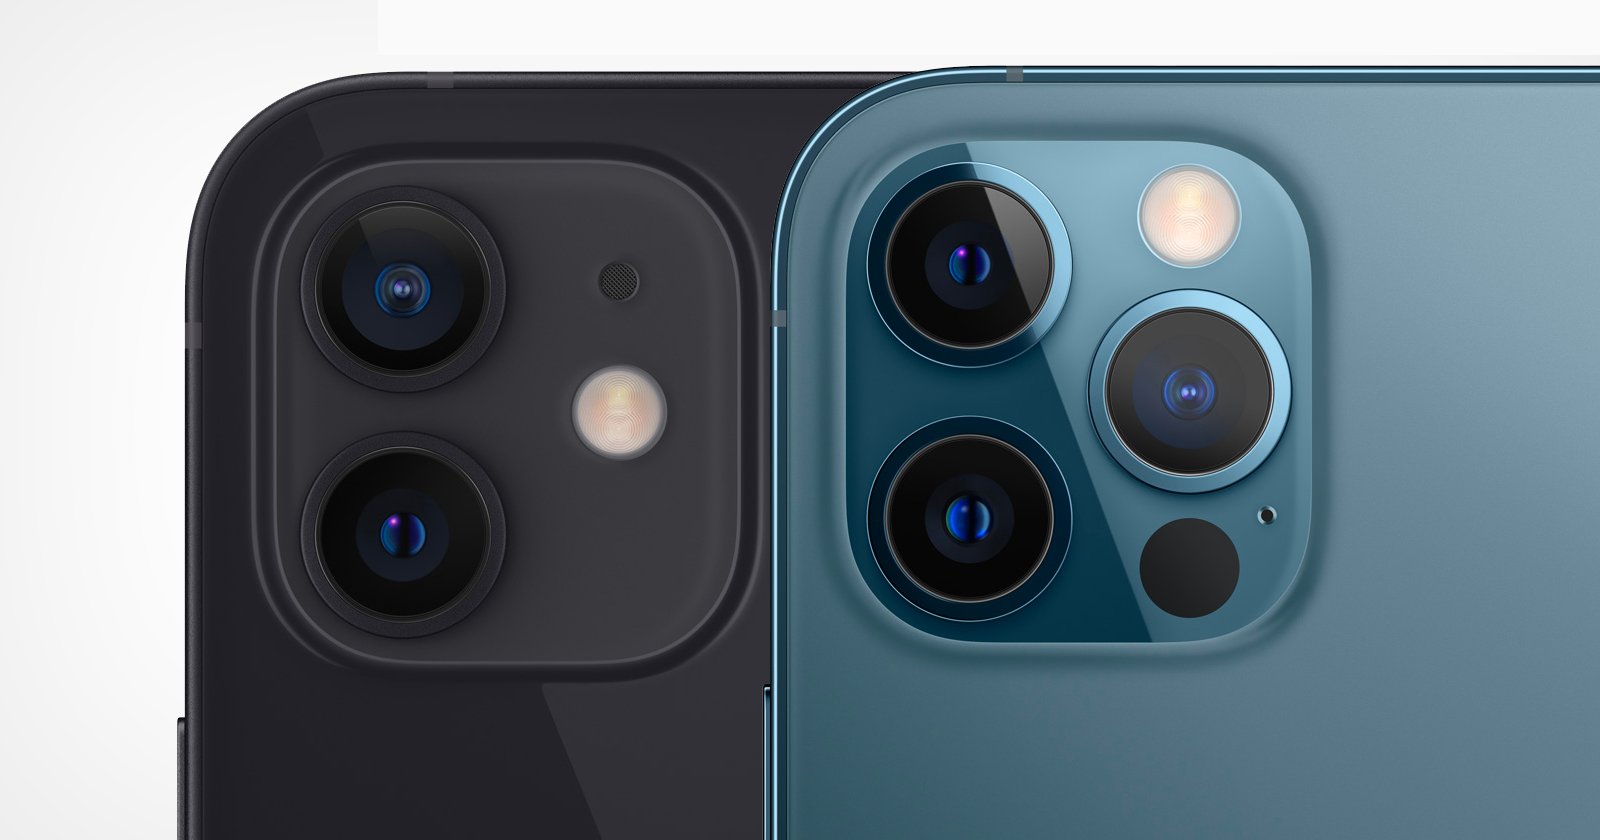
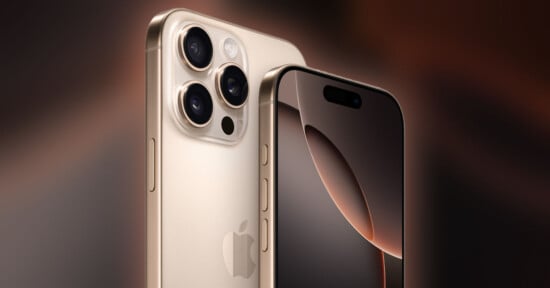
Part of the reason the iPhone 18 Pro series feels like more of the same might be because, on the outside, they haven’t changed. They are physically identical to the iPhone 17 Pro models, which I don’t think Apple has done in years. While on the one hand it makes the device feel rehashed, in reality it is the most pro-consumer Apple has been with a new iPhone release in some time: if you are coming from last year’s iPhone 17 Pro series, existing cases and accessories will just work. That means less waste across the board, from manufacturing to your pocket.
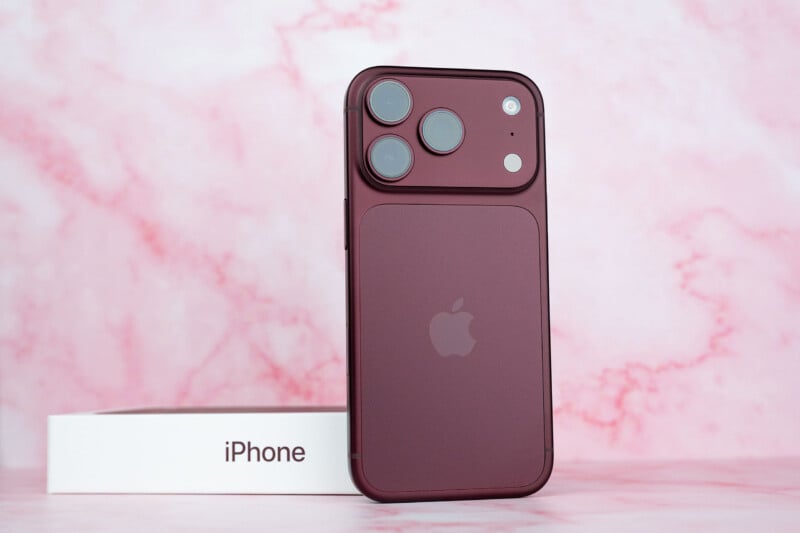
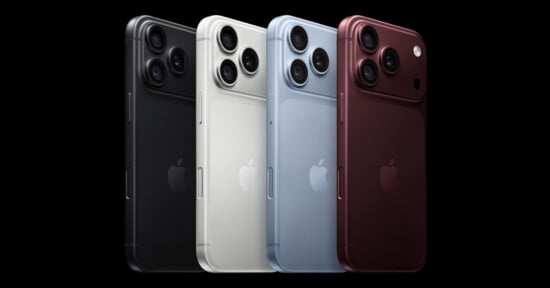
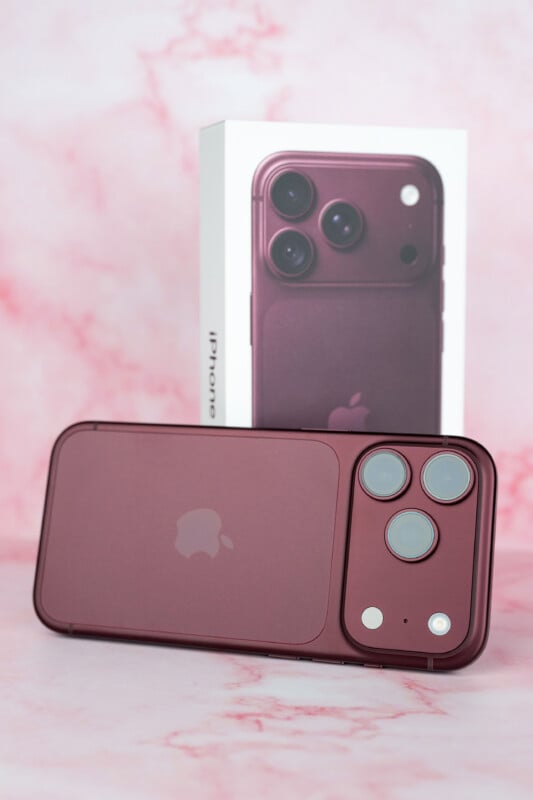
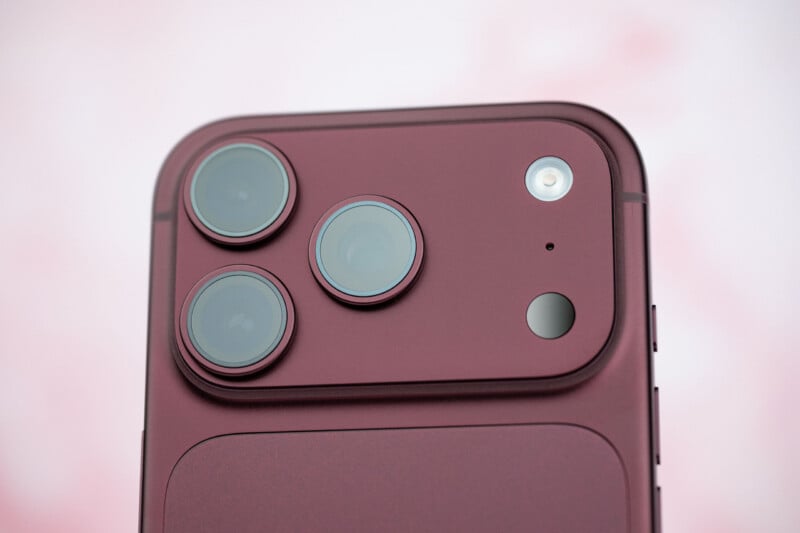
The main change is the available colors (burgundy, glacier, silver, and black), with a dark burgundy being the main replacement for last year’s iconic orange. I can’t say that I like this color as much, however: it reads more purple than burgundy, which I feel would have more red in it. Orange was eye-catching and is one of my favorite colors, so it was always going to be a hard act to follow, but the burgundy isn’t coming close. Glacier is okay, but if I had my choice, I’d go with the new black.
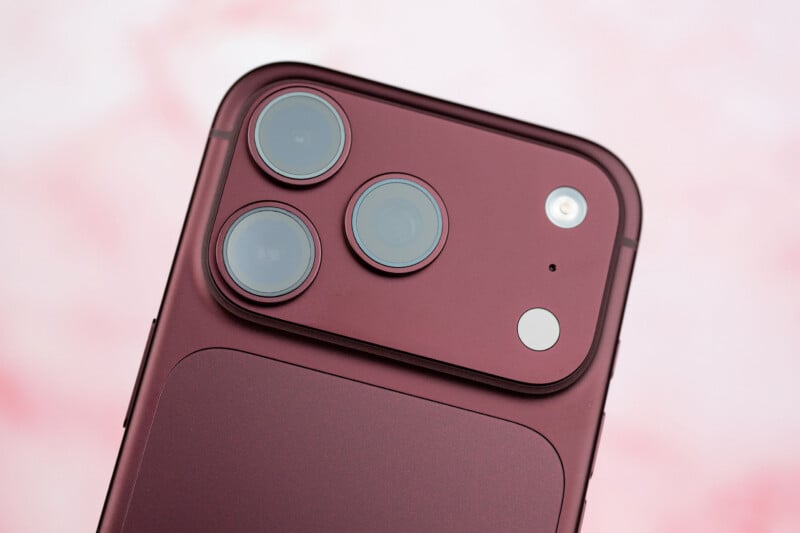
Hardware-wise, the image-making capability of the iPhone isn’t changing. While the sensor has hardware changes, those are related to Apple Reference Image, not its ability to capture light. We get the same 48-megapixel main camera but with the variable aperture that opens a half stop more to f/1.48 and can close down as far as f/4. The telephoto and wide-angle lenses are wholly unchanged.
I’ll get to more on variable aperture down below, but we did notice that when you aren’t manually controlling it, the iPhone will steplessly adjust the aperture anywhere between wide-open and fully closed, depending on what it evaluates as necessary in a scene. That’s different from what we get in the main camera app, which has four aperture options. I like that the aperture is, in theory, stepless, which I hope will be provided to app developers so they can provide the option for a stepless iris in future updates.
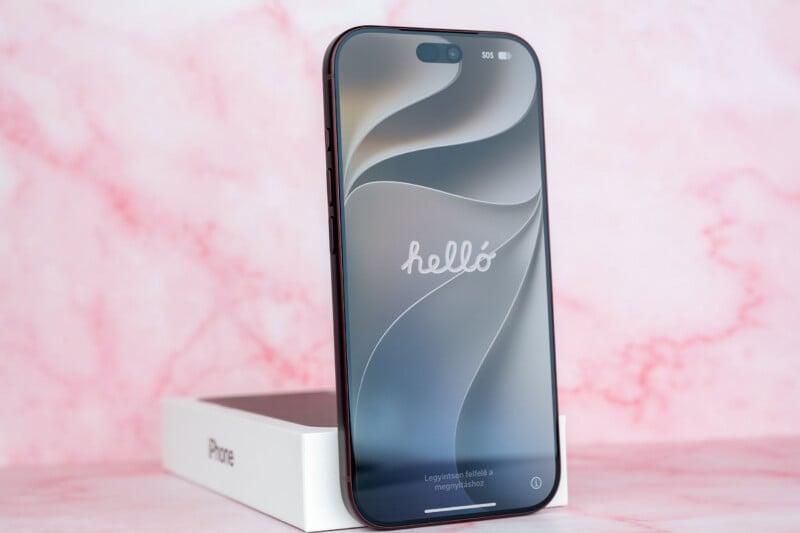
Apple also made changes to the processor design (it’s more like M-series chips now, with memory integrated into the processor), and the vapor chamber was also redesigned to allow for more even cooling. For users, that means the phone won’t get hot spots when it’s working hard, and it won’t get as hot overall. I did notice that in bright sunlight with the Camera app open and working for extended periods, the phone did heat up noticeably but never to an uncomfortable degree. I can also confirm Apple’s goal of even heat distribution was realized: the whole phone was pretty evenly warm.
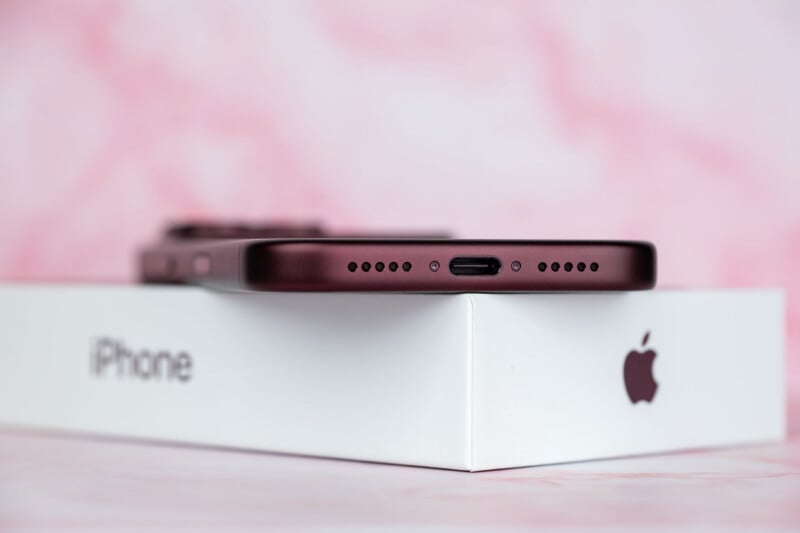
I am disappointed that neither the ultra-wide camera nor the screen has seen any improvement (more the former than the latter). At this point, the Ultra-Wide is the worst camera on the iPhone 18 Pro by a country mile, and it feels the most neglected.
Apple iPhone 18 Pro and Pro Max Review: Variable Aperture
Let’s jump right into what all of you probably care the most about: aperture control. When I first saw this, I immediately asked: What could we possibly want aperture control for on a smartphone? Quite literally every smartphone manufacturer who’s put aperture control into a smartphone to this point — Xiaomi, Sony, Samsung, etc. — immediately removed it upon the next-generation smartphone. So, naturally, it felt like a gimmick.
Well, there are a couple of reasons why Apple might actually keep it in this phone that do make some sense. If you’re Apple, you want to try and get more light onto the sensor so that low-light photography is better. But the trade-off there is that if you open that wide and you just stay that wide, now you’re running into the issue of photos losing sharpness.
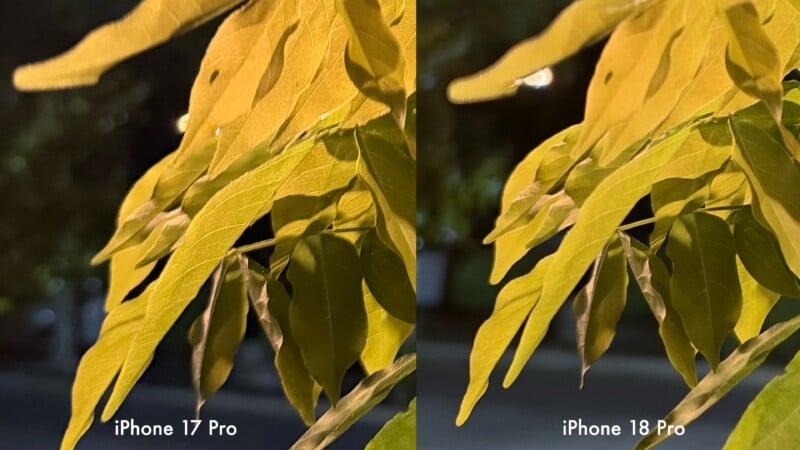
Speaking of sharpness, I think Apple’s choice not to lock us to the wider aperture was very smart, because sharpness takes a hit when shooting wide open. We noticed that while the center is about as sharp as last year’s iPhone 17 Pro when shooting at night, the edges quickly degraded — this is not unusual for a wide-open lens, even on a full-size camera. When you’re that wide open, image quality tends to fall off without a bunch of additional glass elements to counteract it. However, the image cleans up nicely at f/1.8 and sharpness peaks at f/2.8. At f/4, sharpness dips again, this time from diffraction, but not substantially. In order from sharpest to softest, it goes: f/2.8, f/1.8, f/4, and f/1.48.
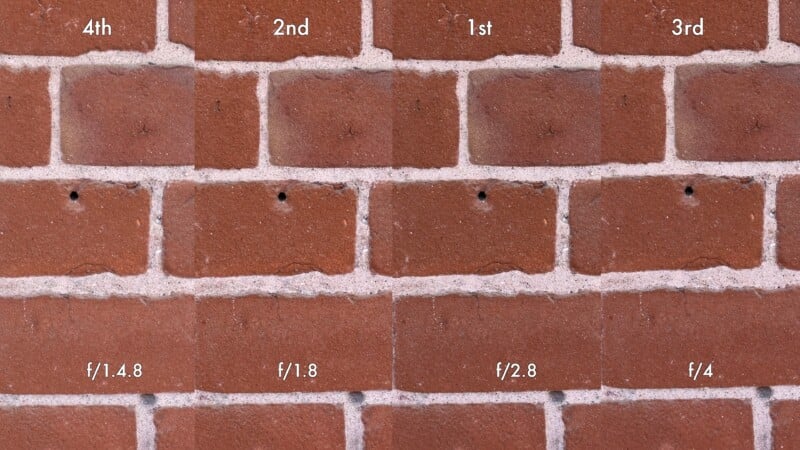
With all of this in mind, when Apple developed the faster aperture on the main camera, it realized it didn’t want to lock users to that softer image. To mitigate this, the company developed a variable aperture to move between that f/1.48 and the previous f/1.8. But at that point, why not give photographers more control? That’s why the lens can stop down to f/4 should a photographer or videographer want that. Additionally, adding aperture control gives photos natural sun stars, which is another creative option.
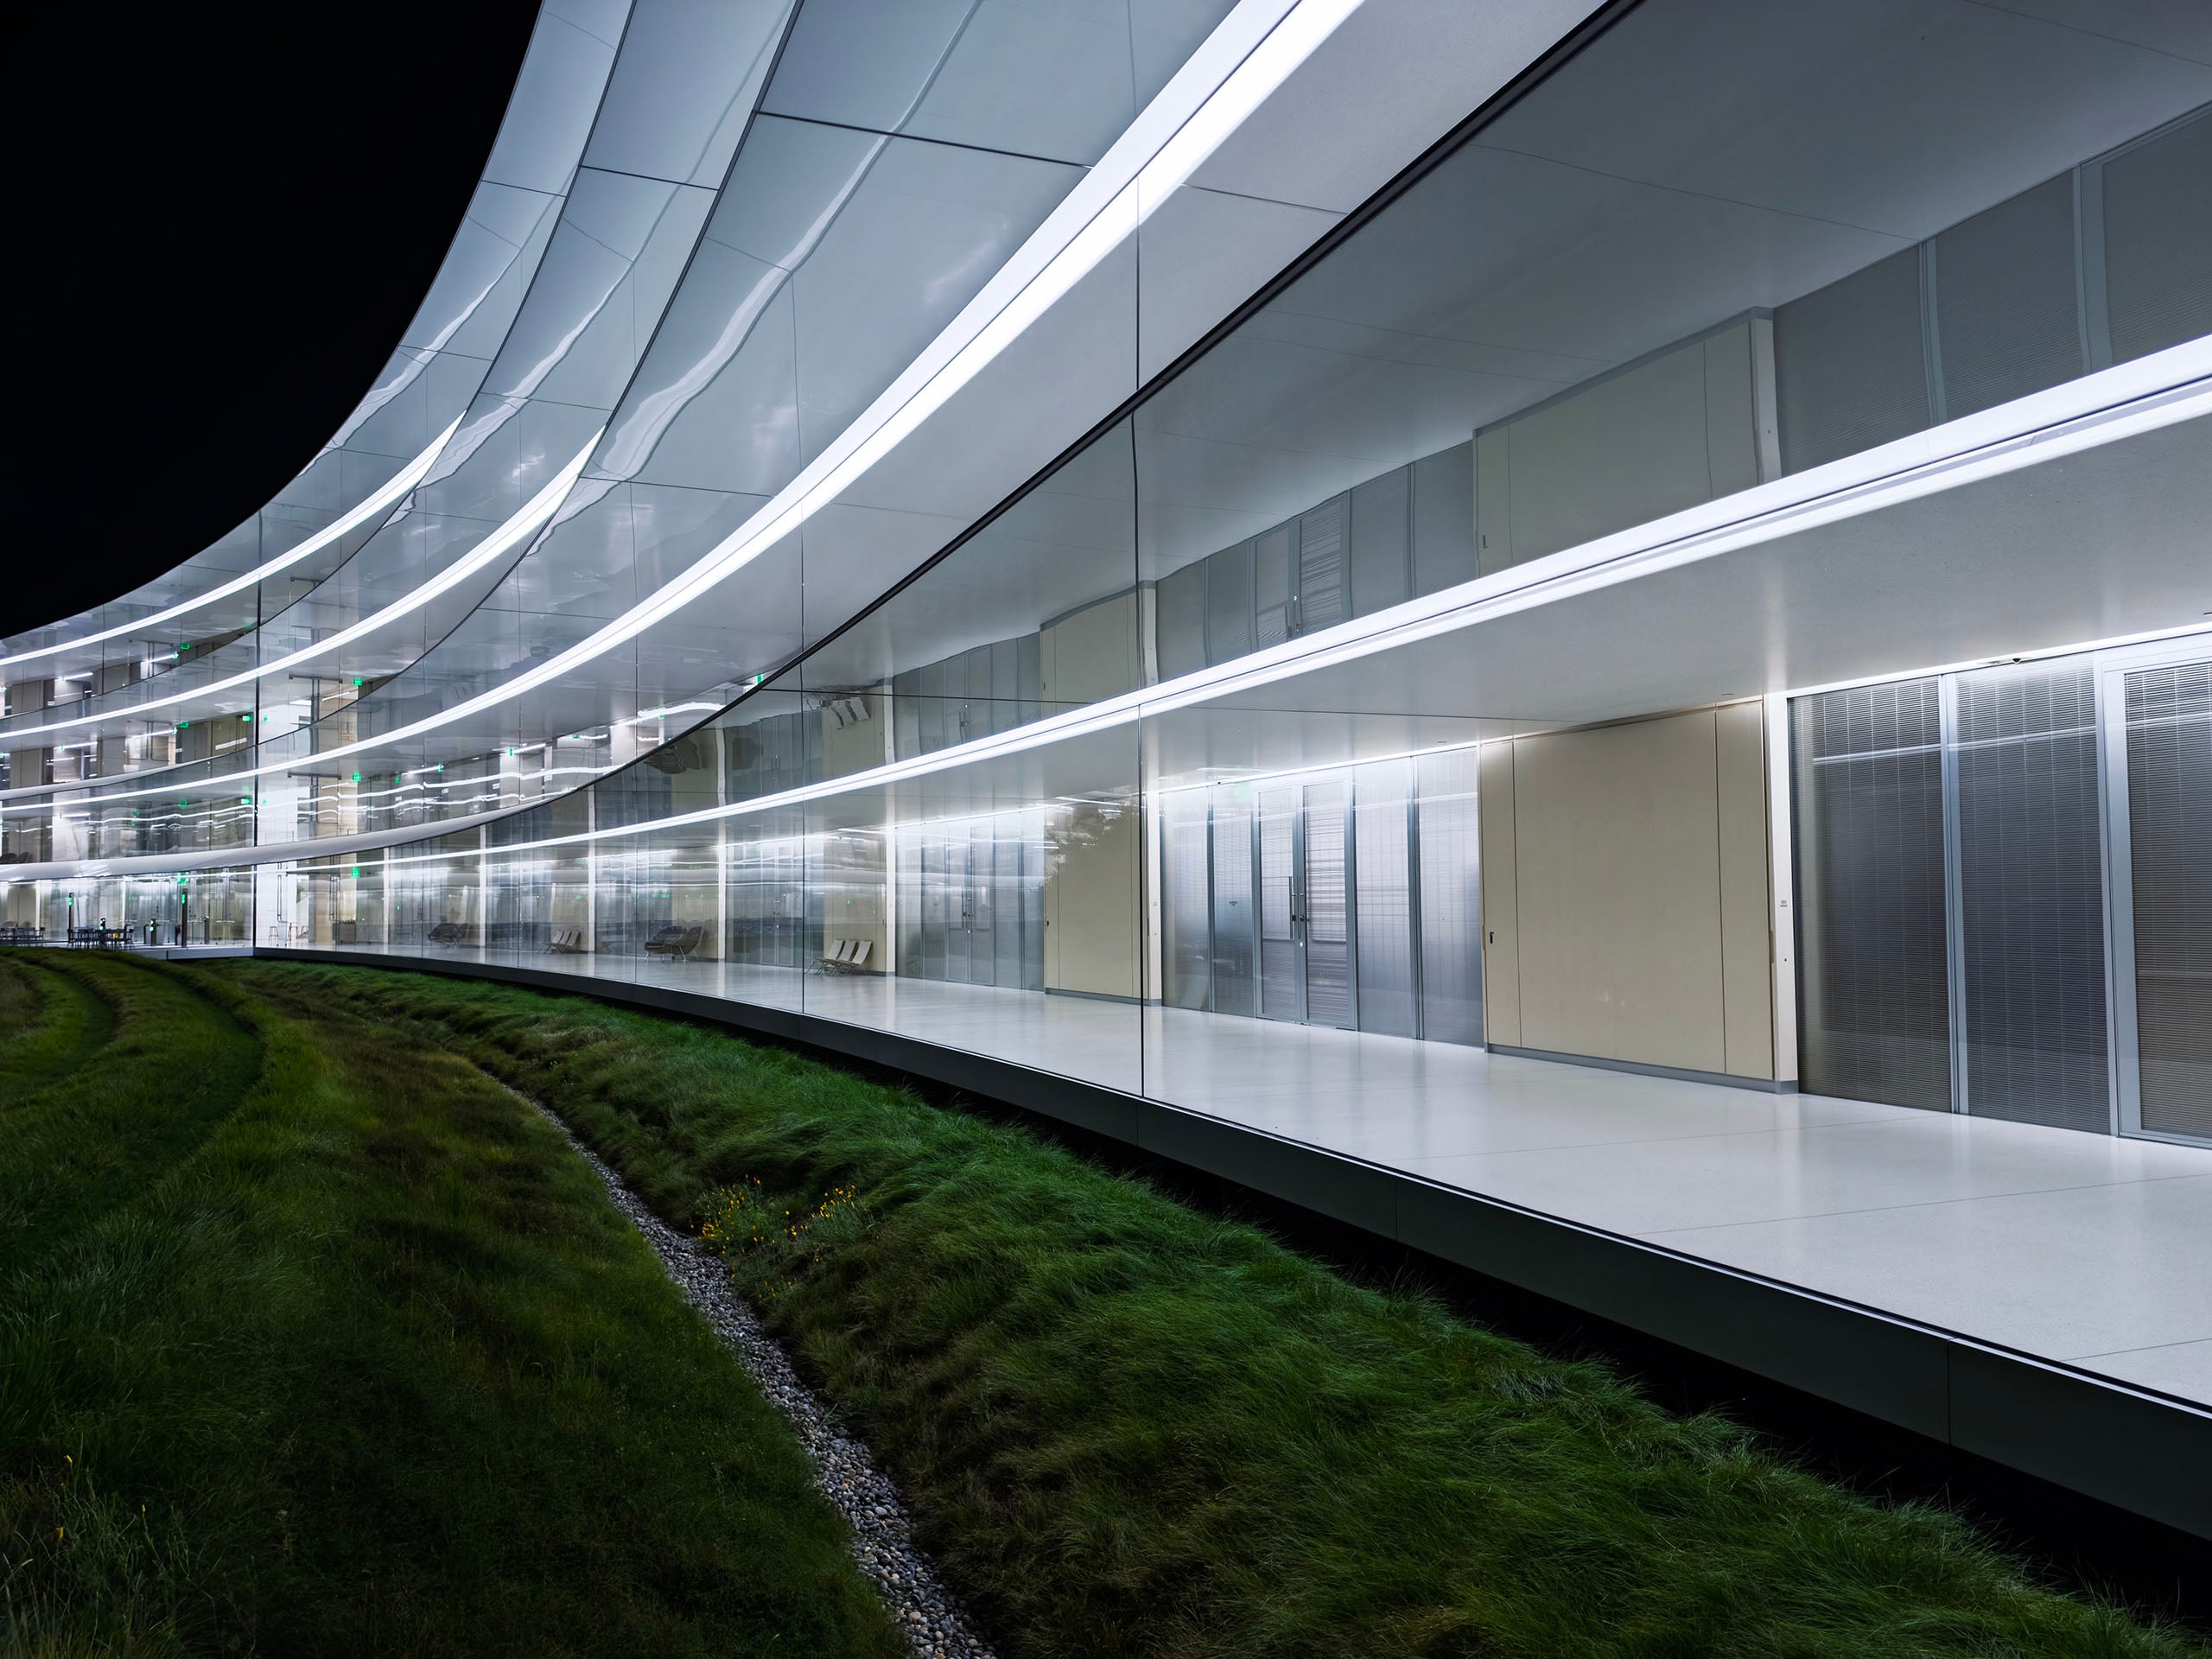
So at one end, you get more light at the cost of just a little bit of sharpness, and at the other end, you also sacrifice a little bit of sharpness due to diffraction, but you also get the option to have several options for sun stars. Because the sensor’s so much smaller, you’re not going to see the major changes you would with a standard camera and a big lens and full aperture control, but the idea is still the same.
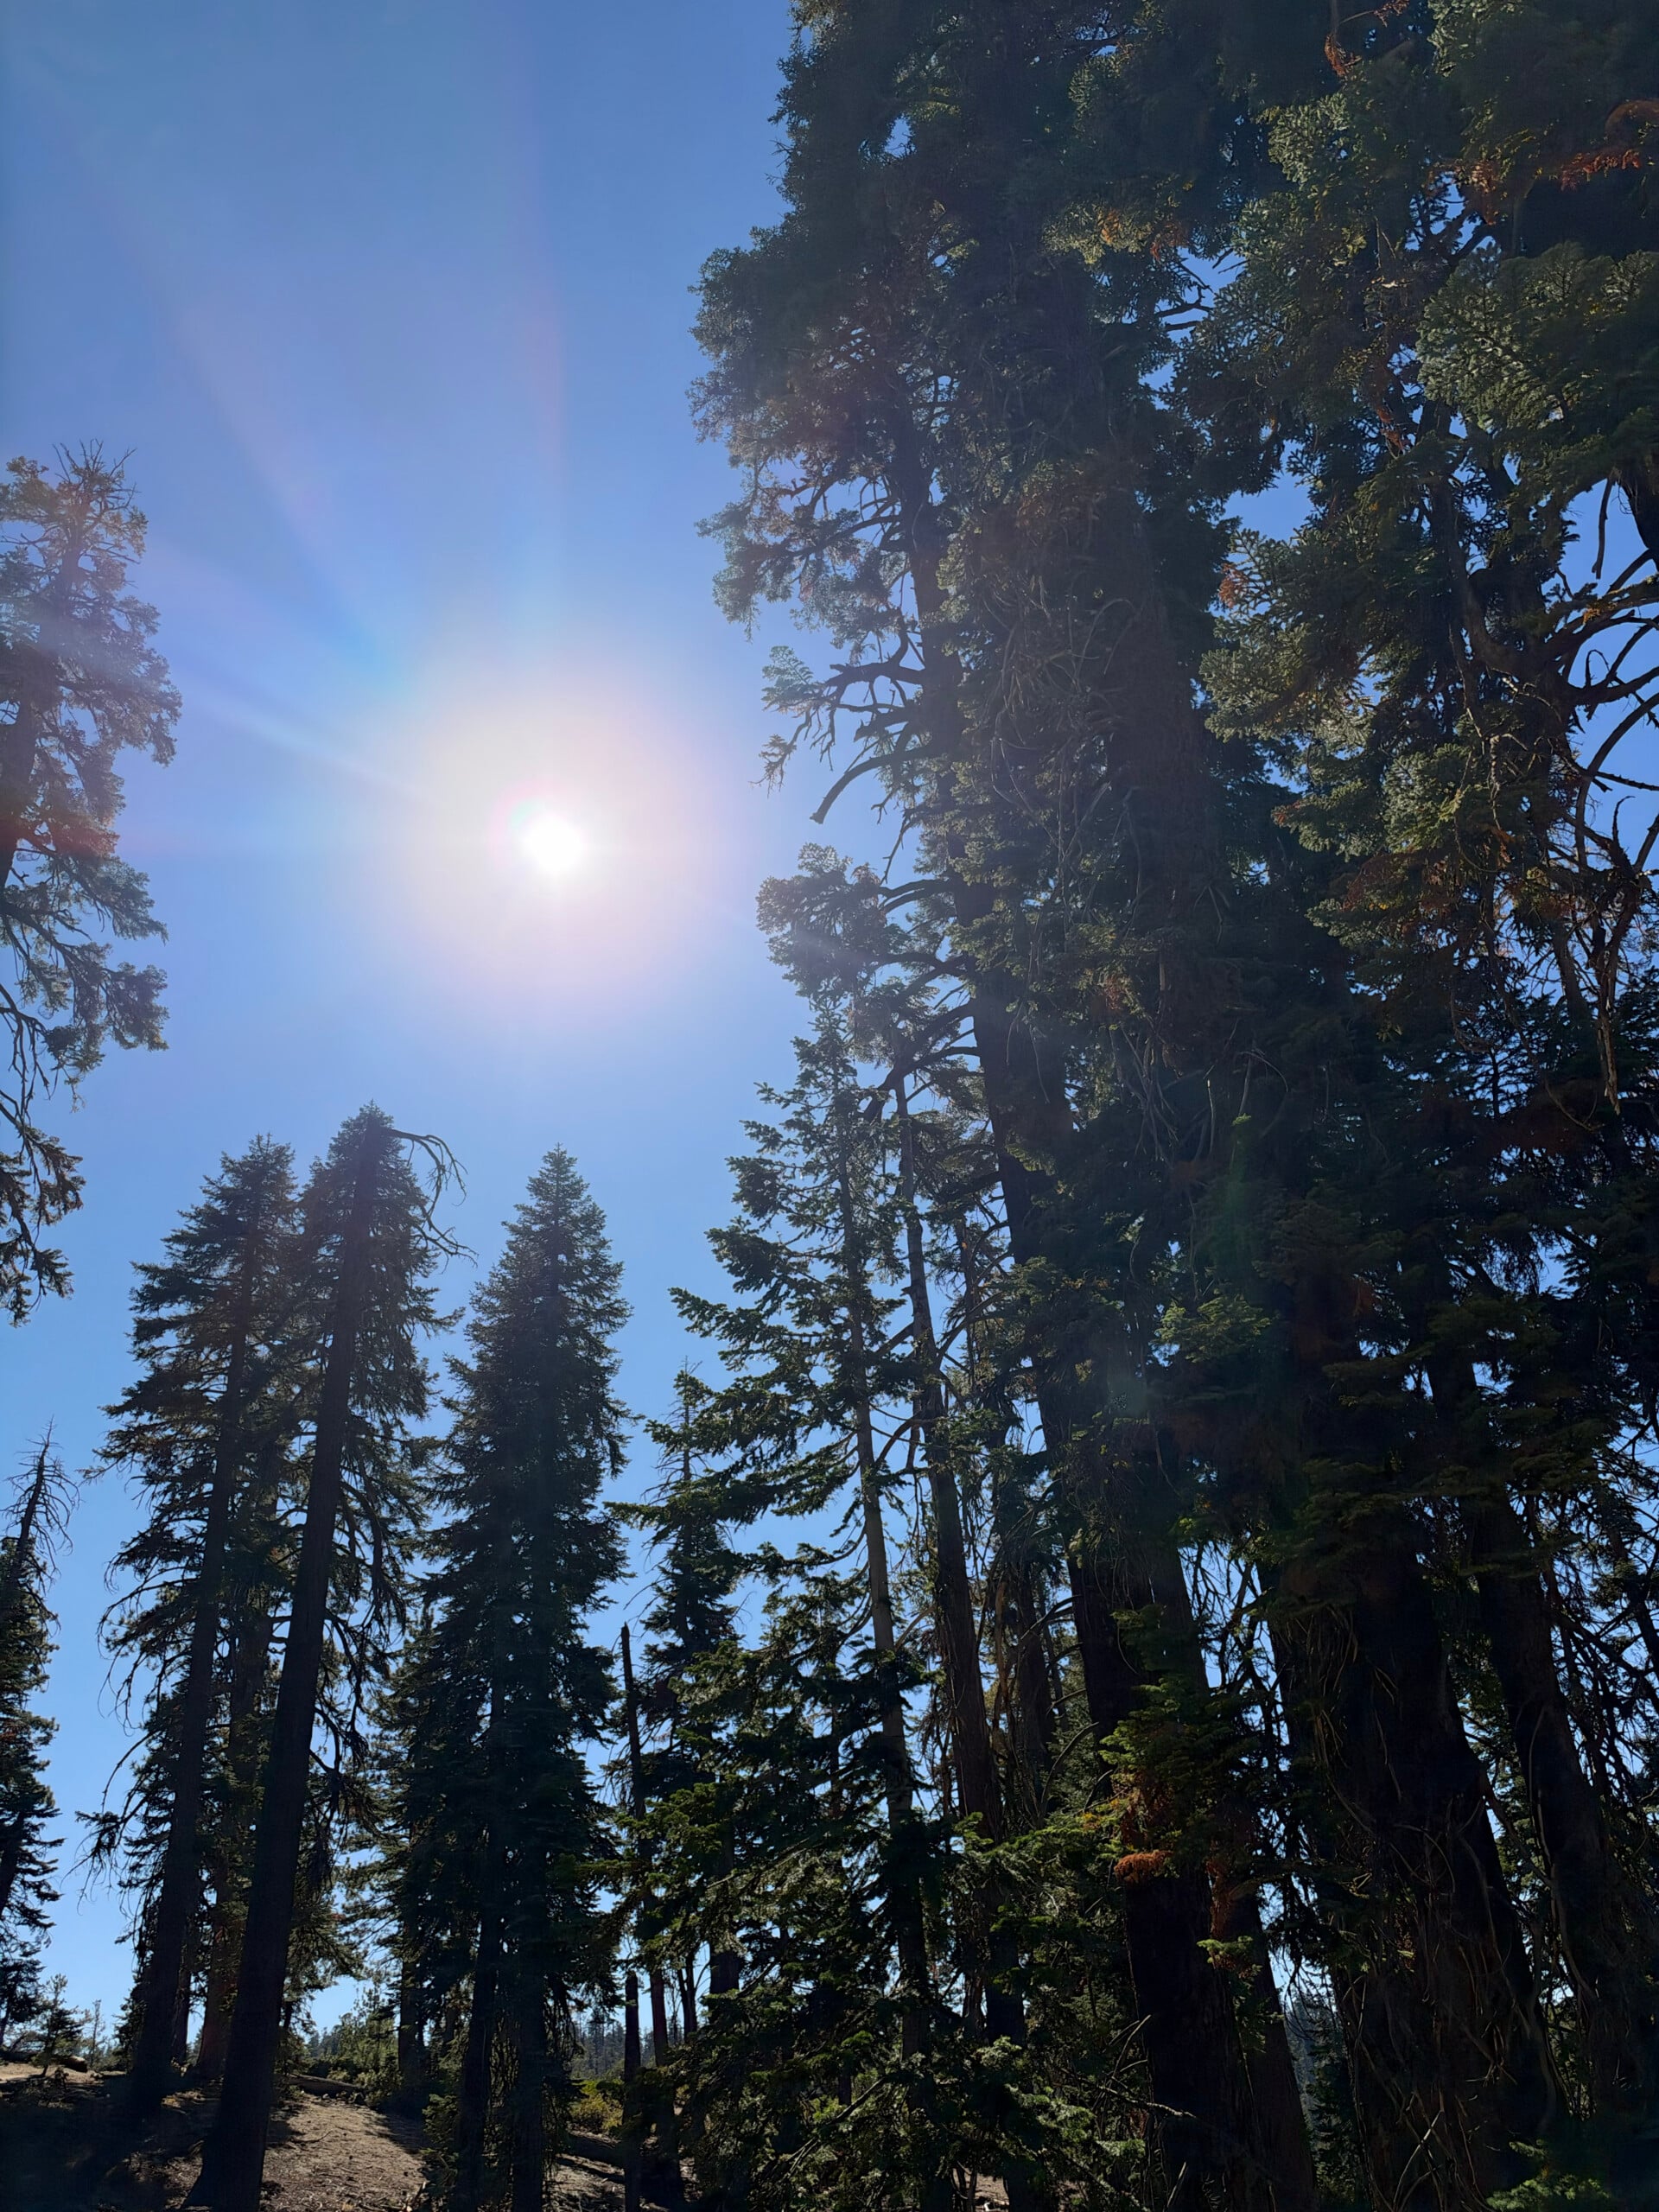
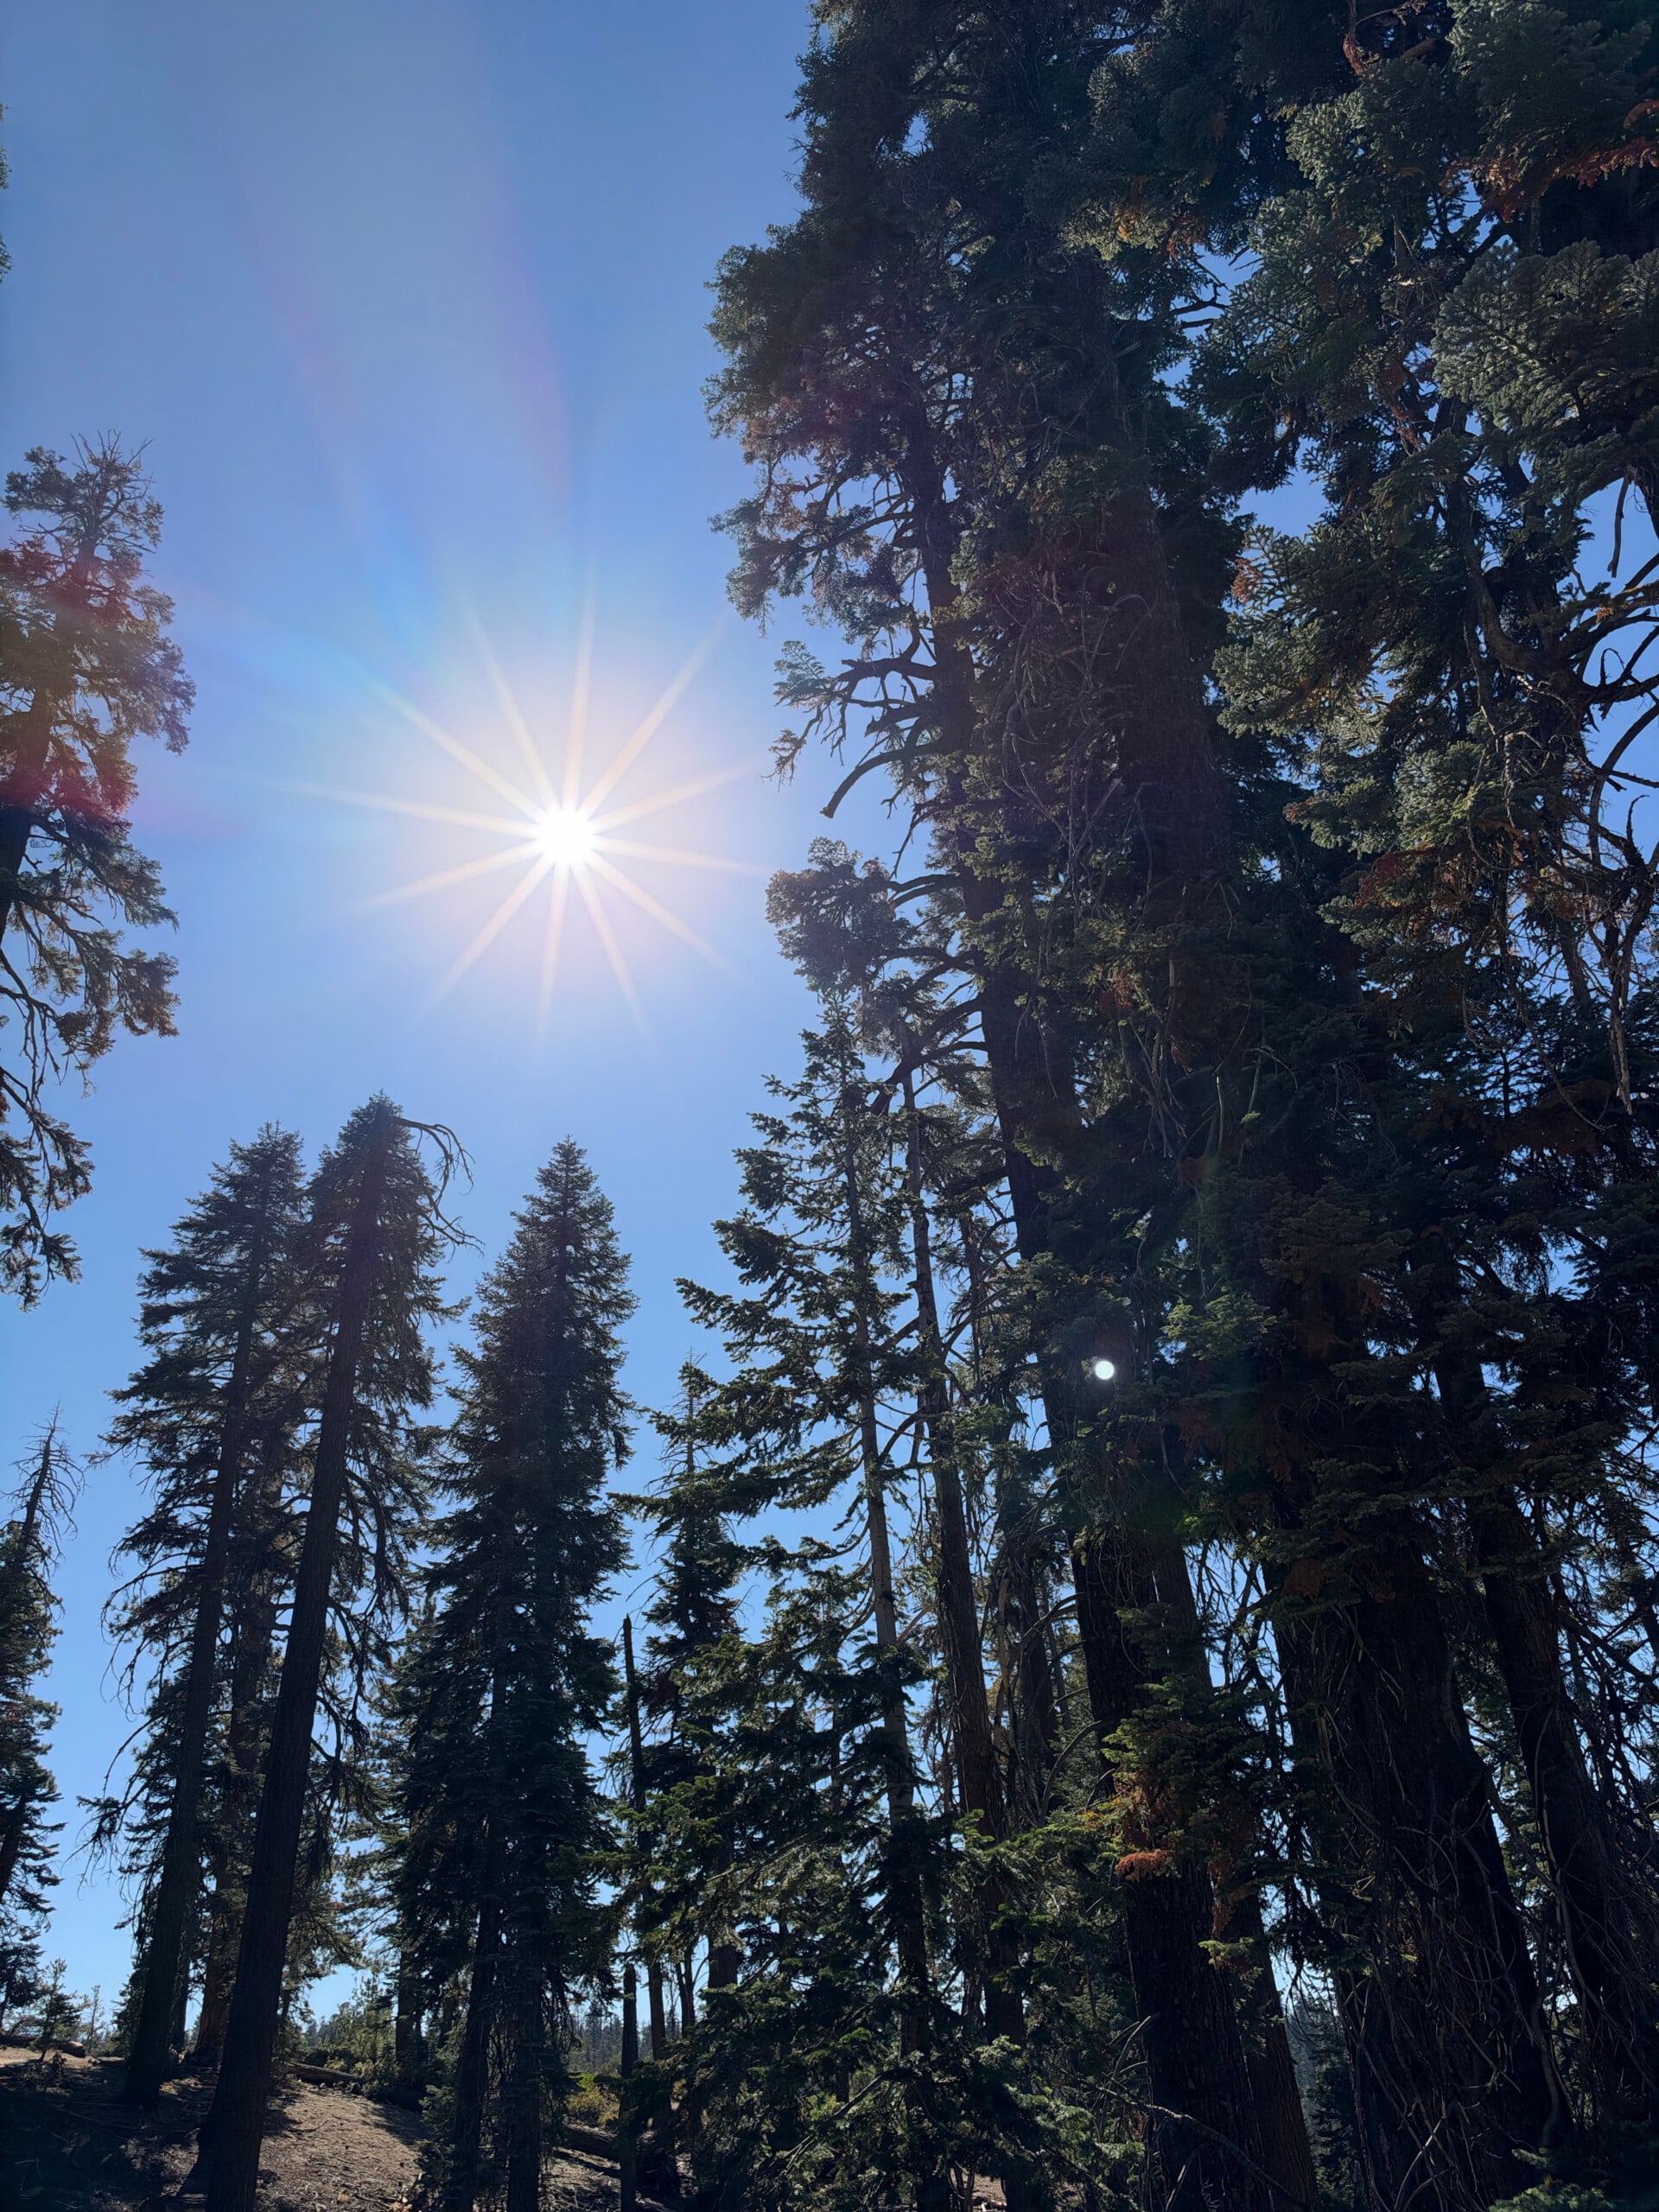
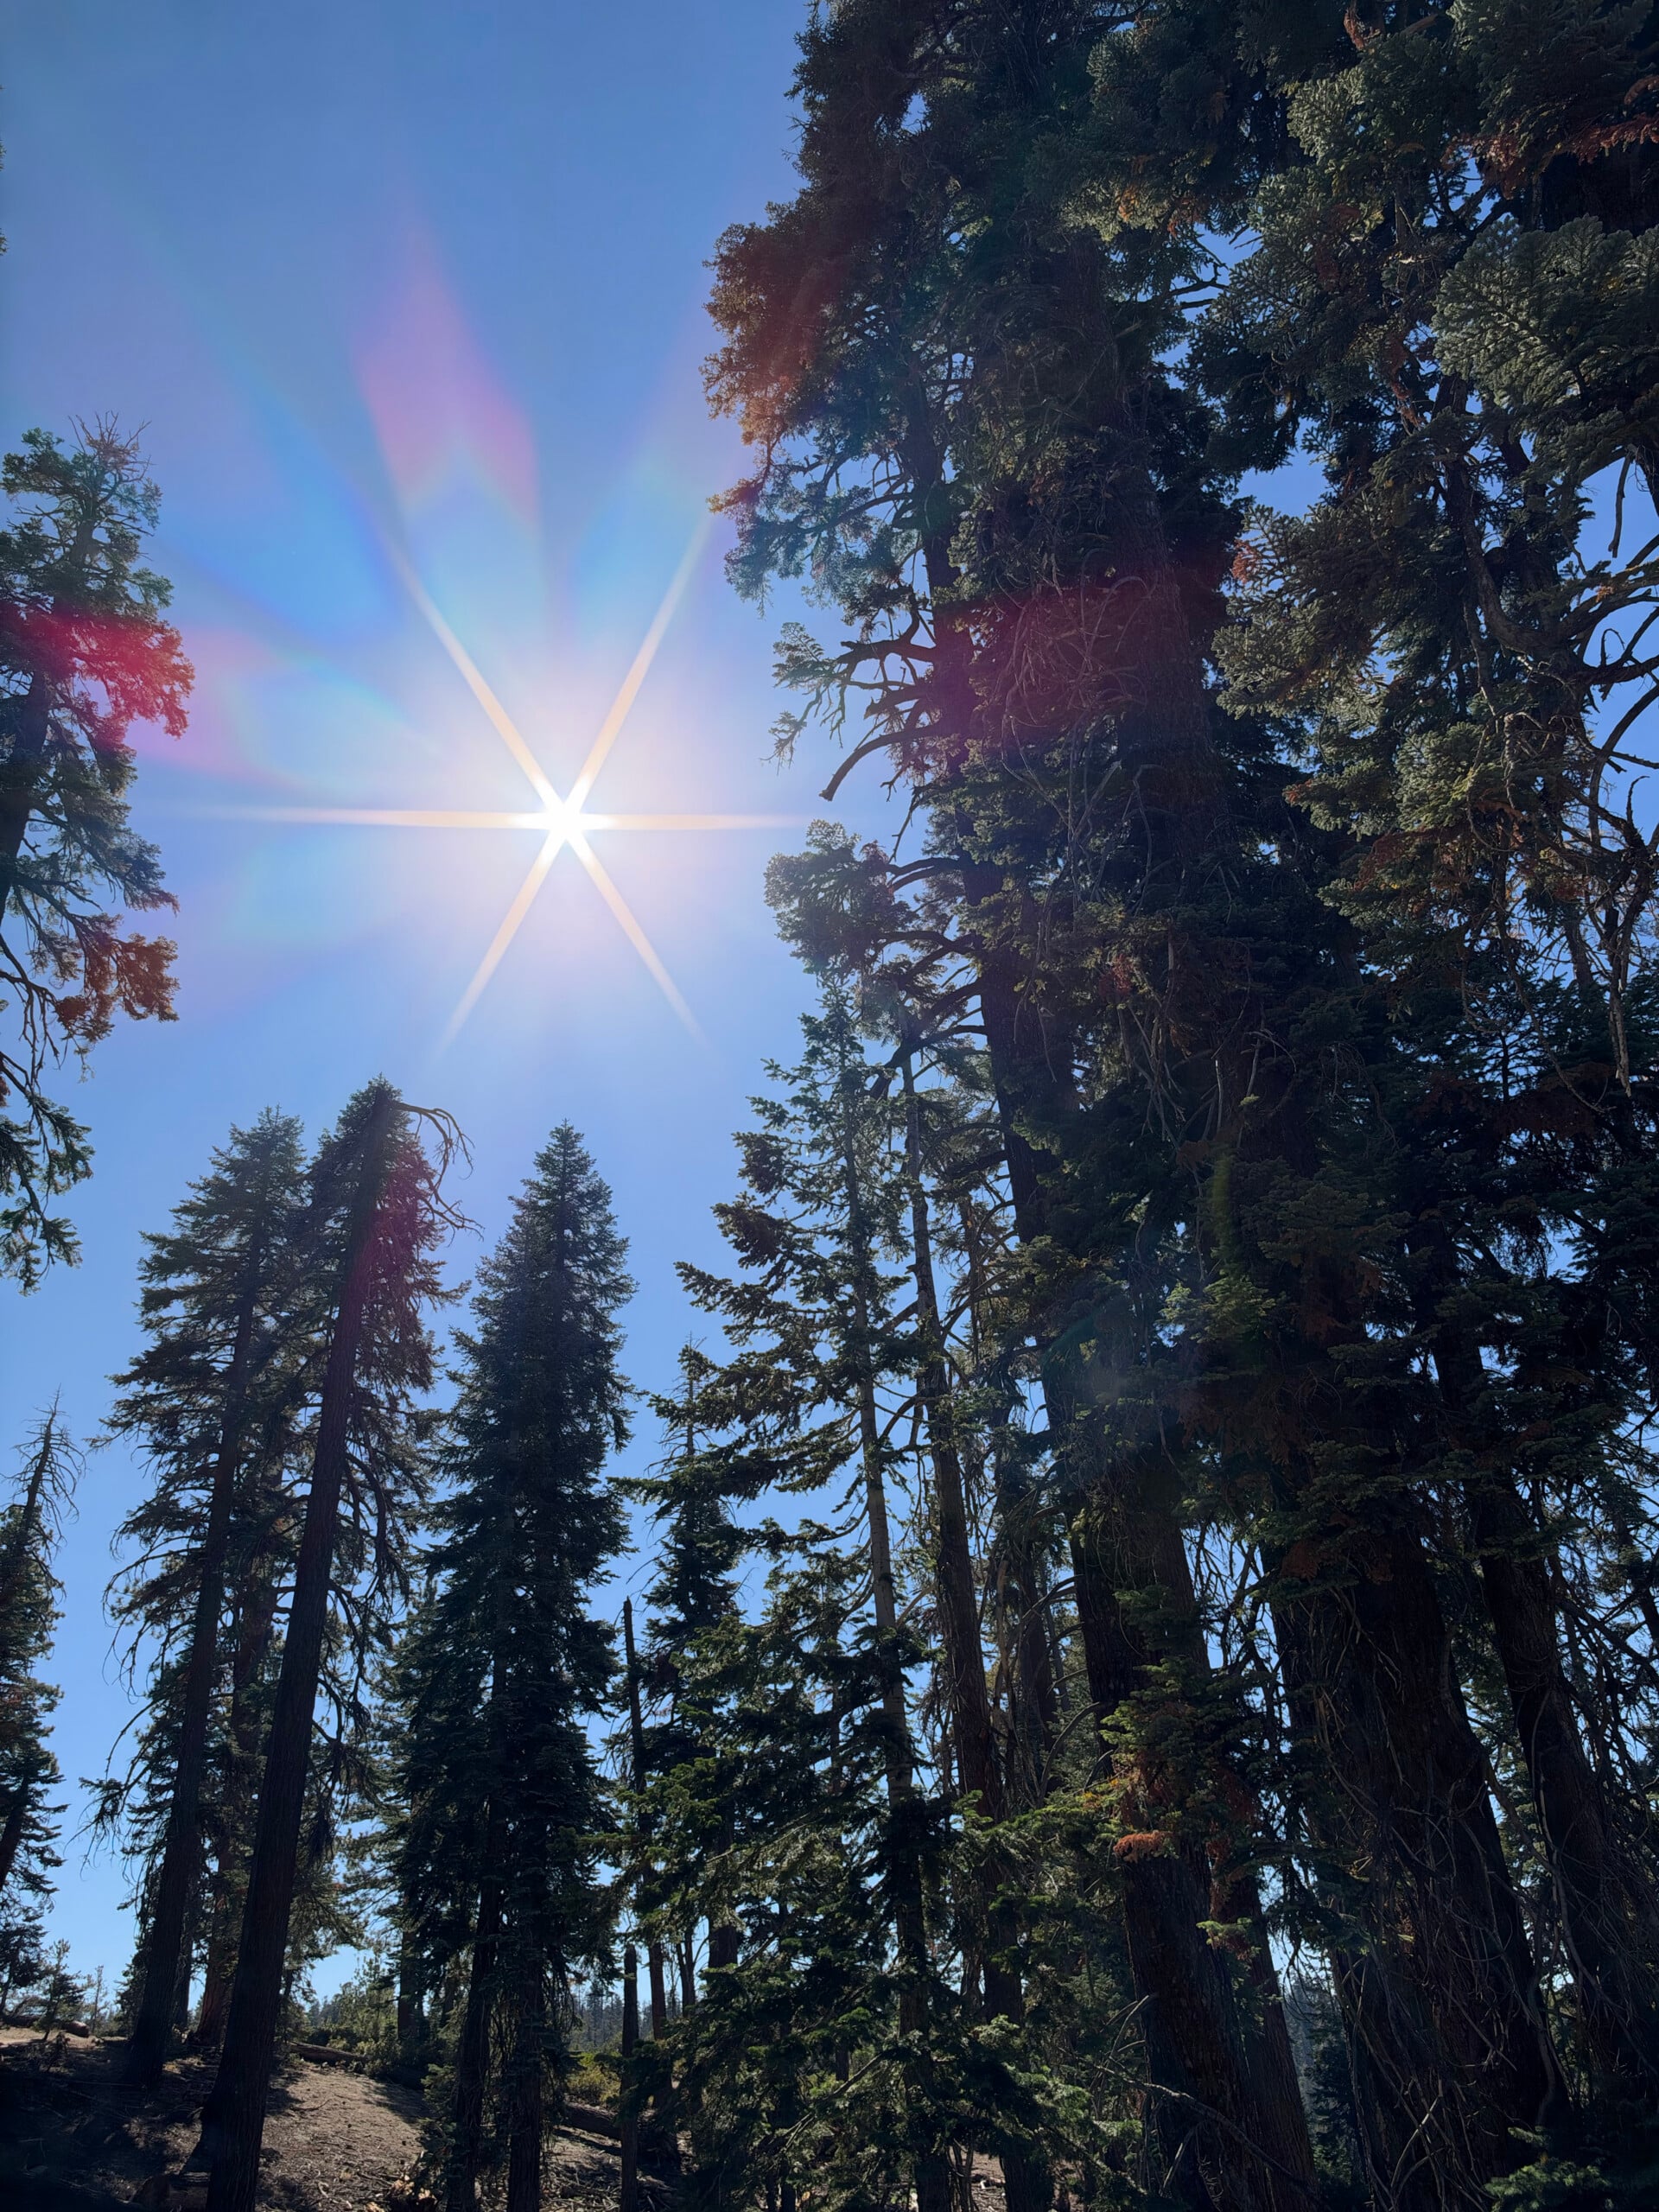
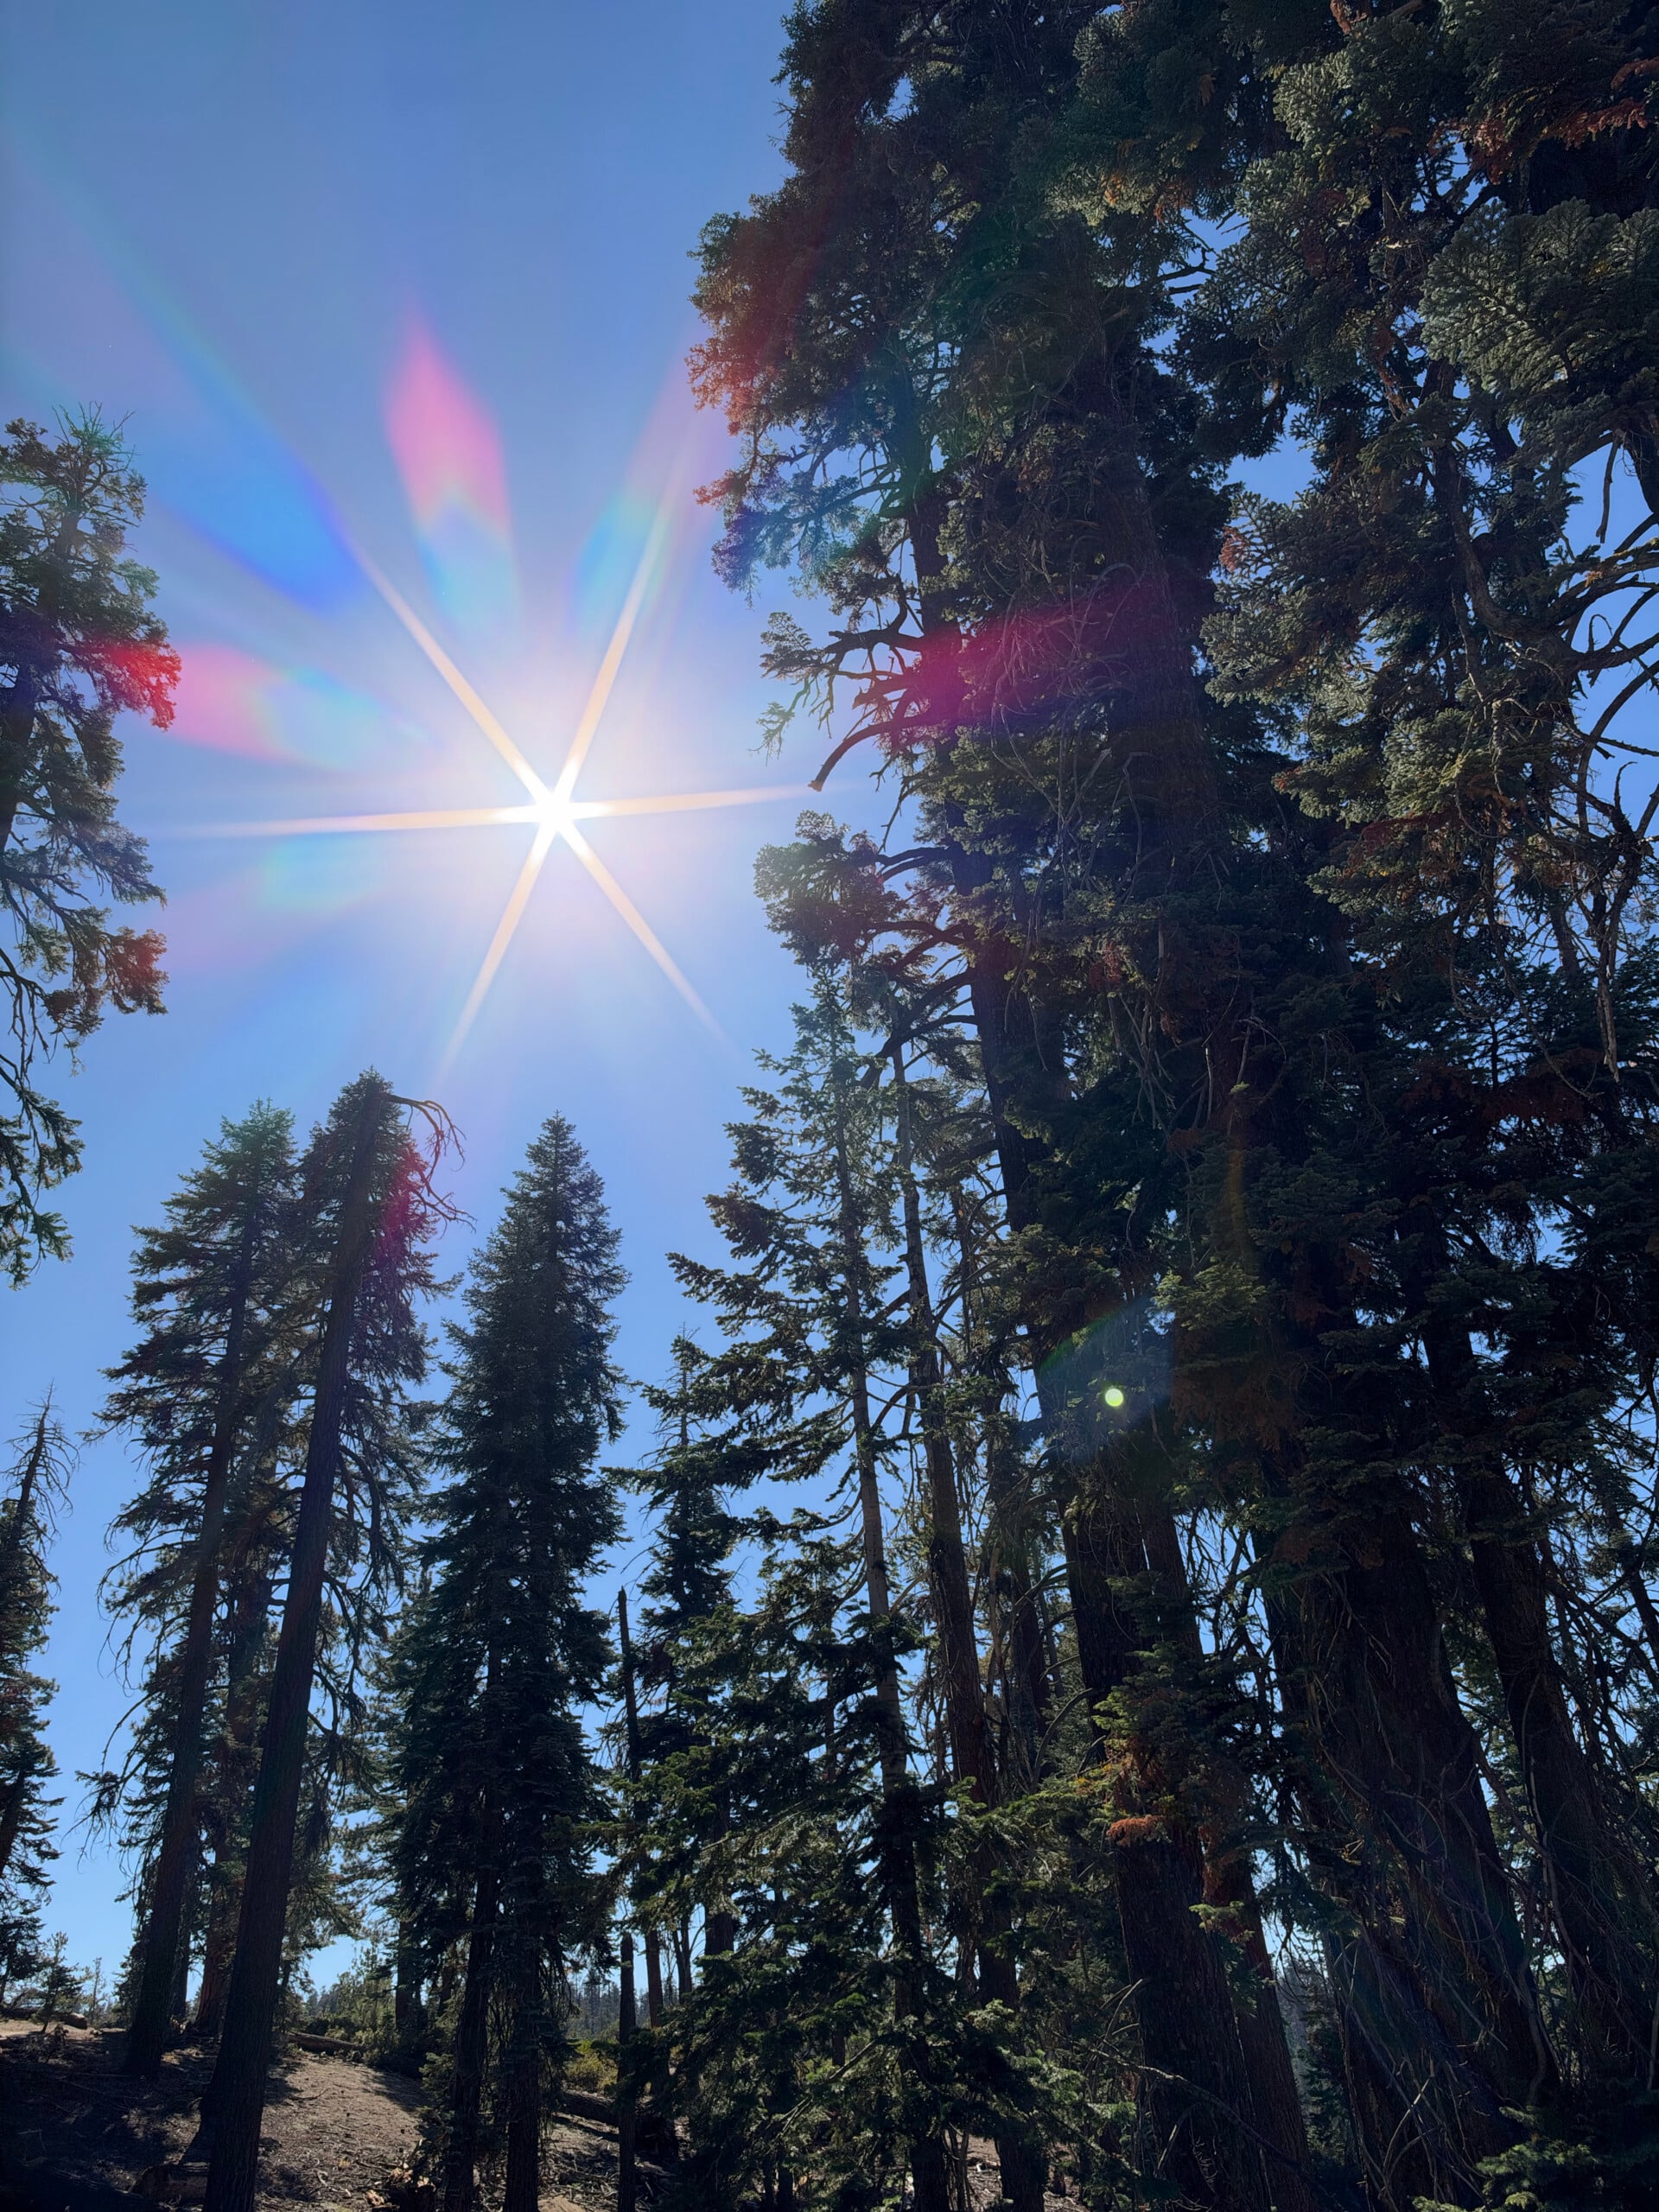
Speaking to sun stars, I actually like the look of the ones at f/1.8 the most. The points are well defined, and there are more of them versus stopping down to f/2.8 and f/4, where I find the four points are less defined. They also are not my favorite when the sun is actually in frame, contrary to the name. If the sun is in the shot, you have to deal with a perennial issue with the iPhone: ghosting. There is still a very visible and distracting purple blob of a ghost at most angles when shooting at f/1.8, and that does get smaller when you stop down, but it is present. Certain angles can make it almost disappear, but never entirely.
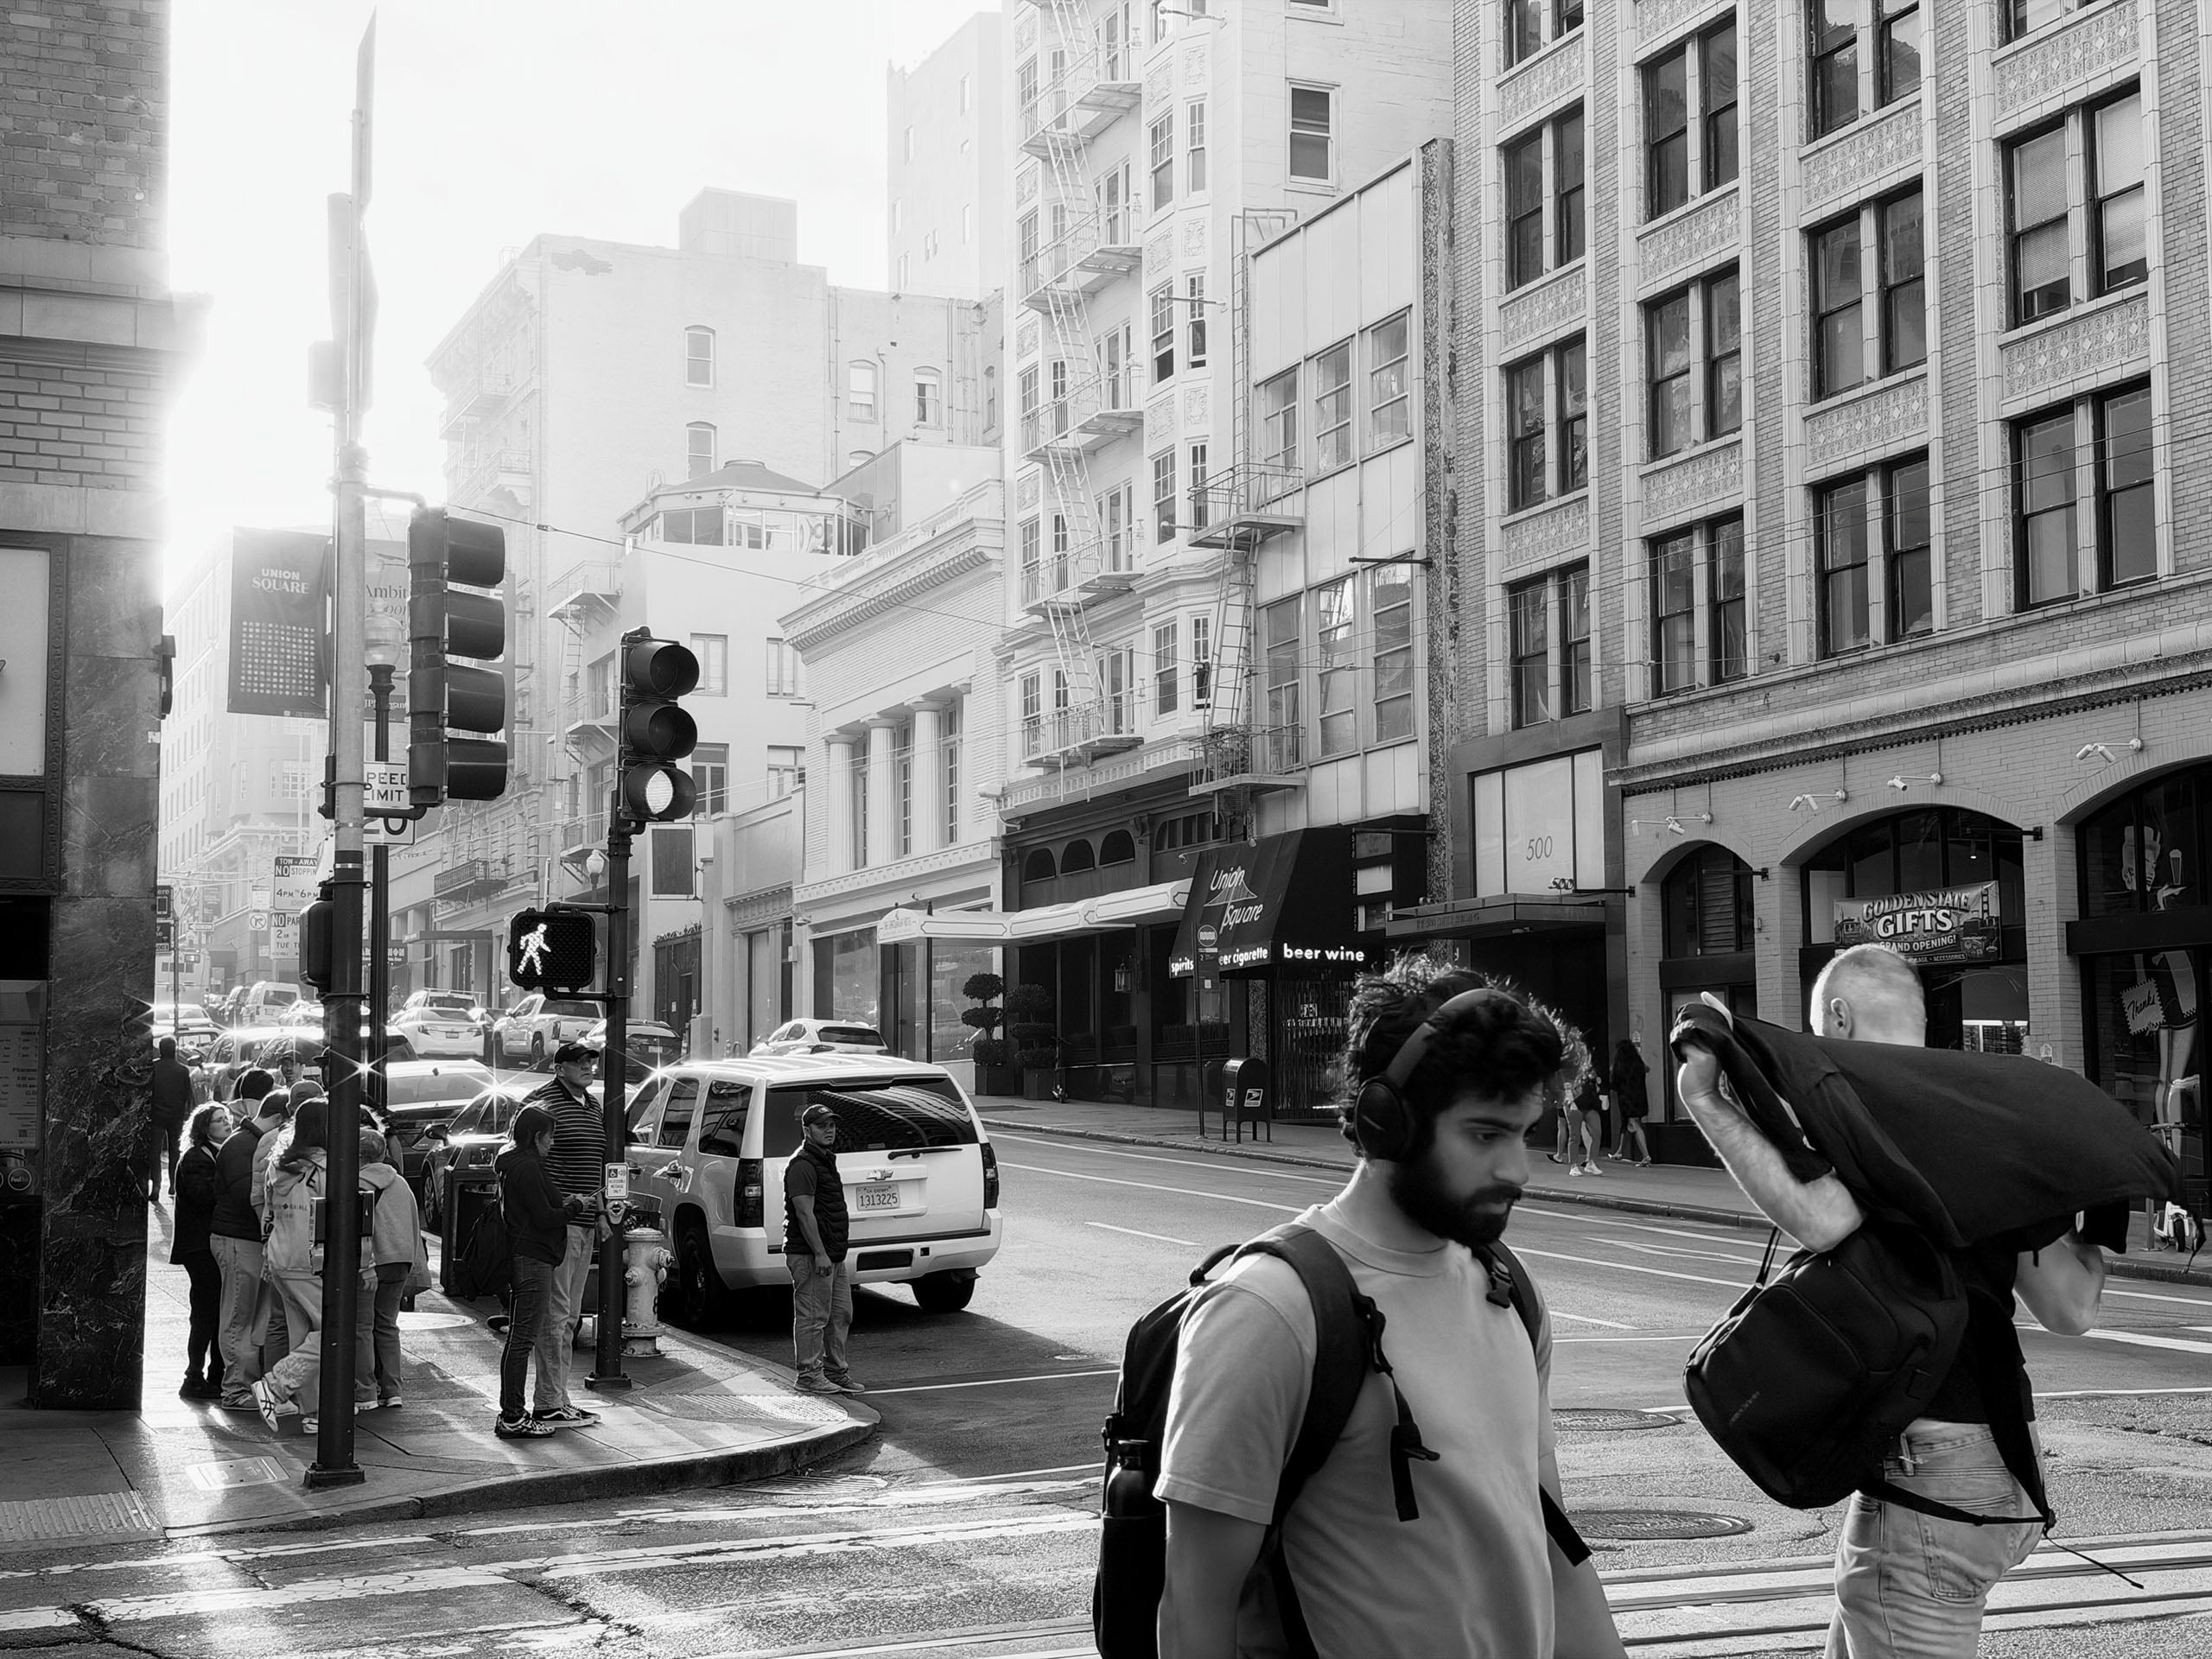
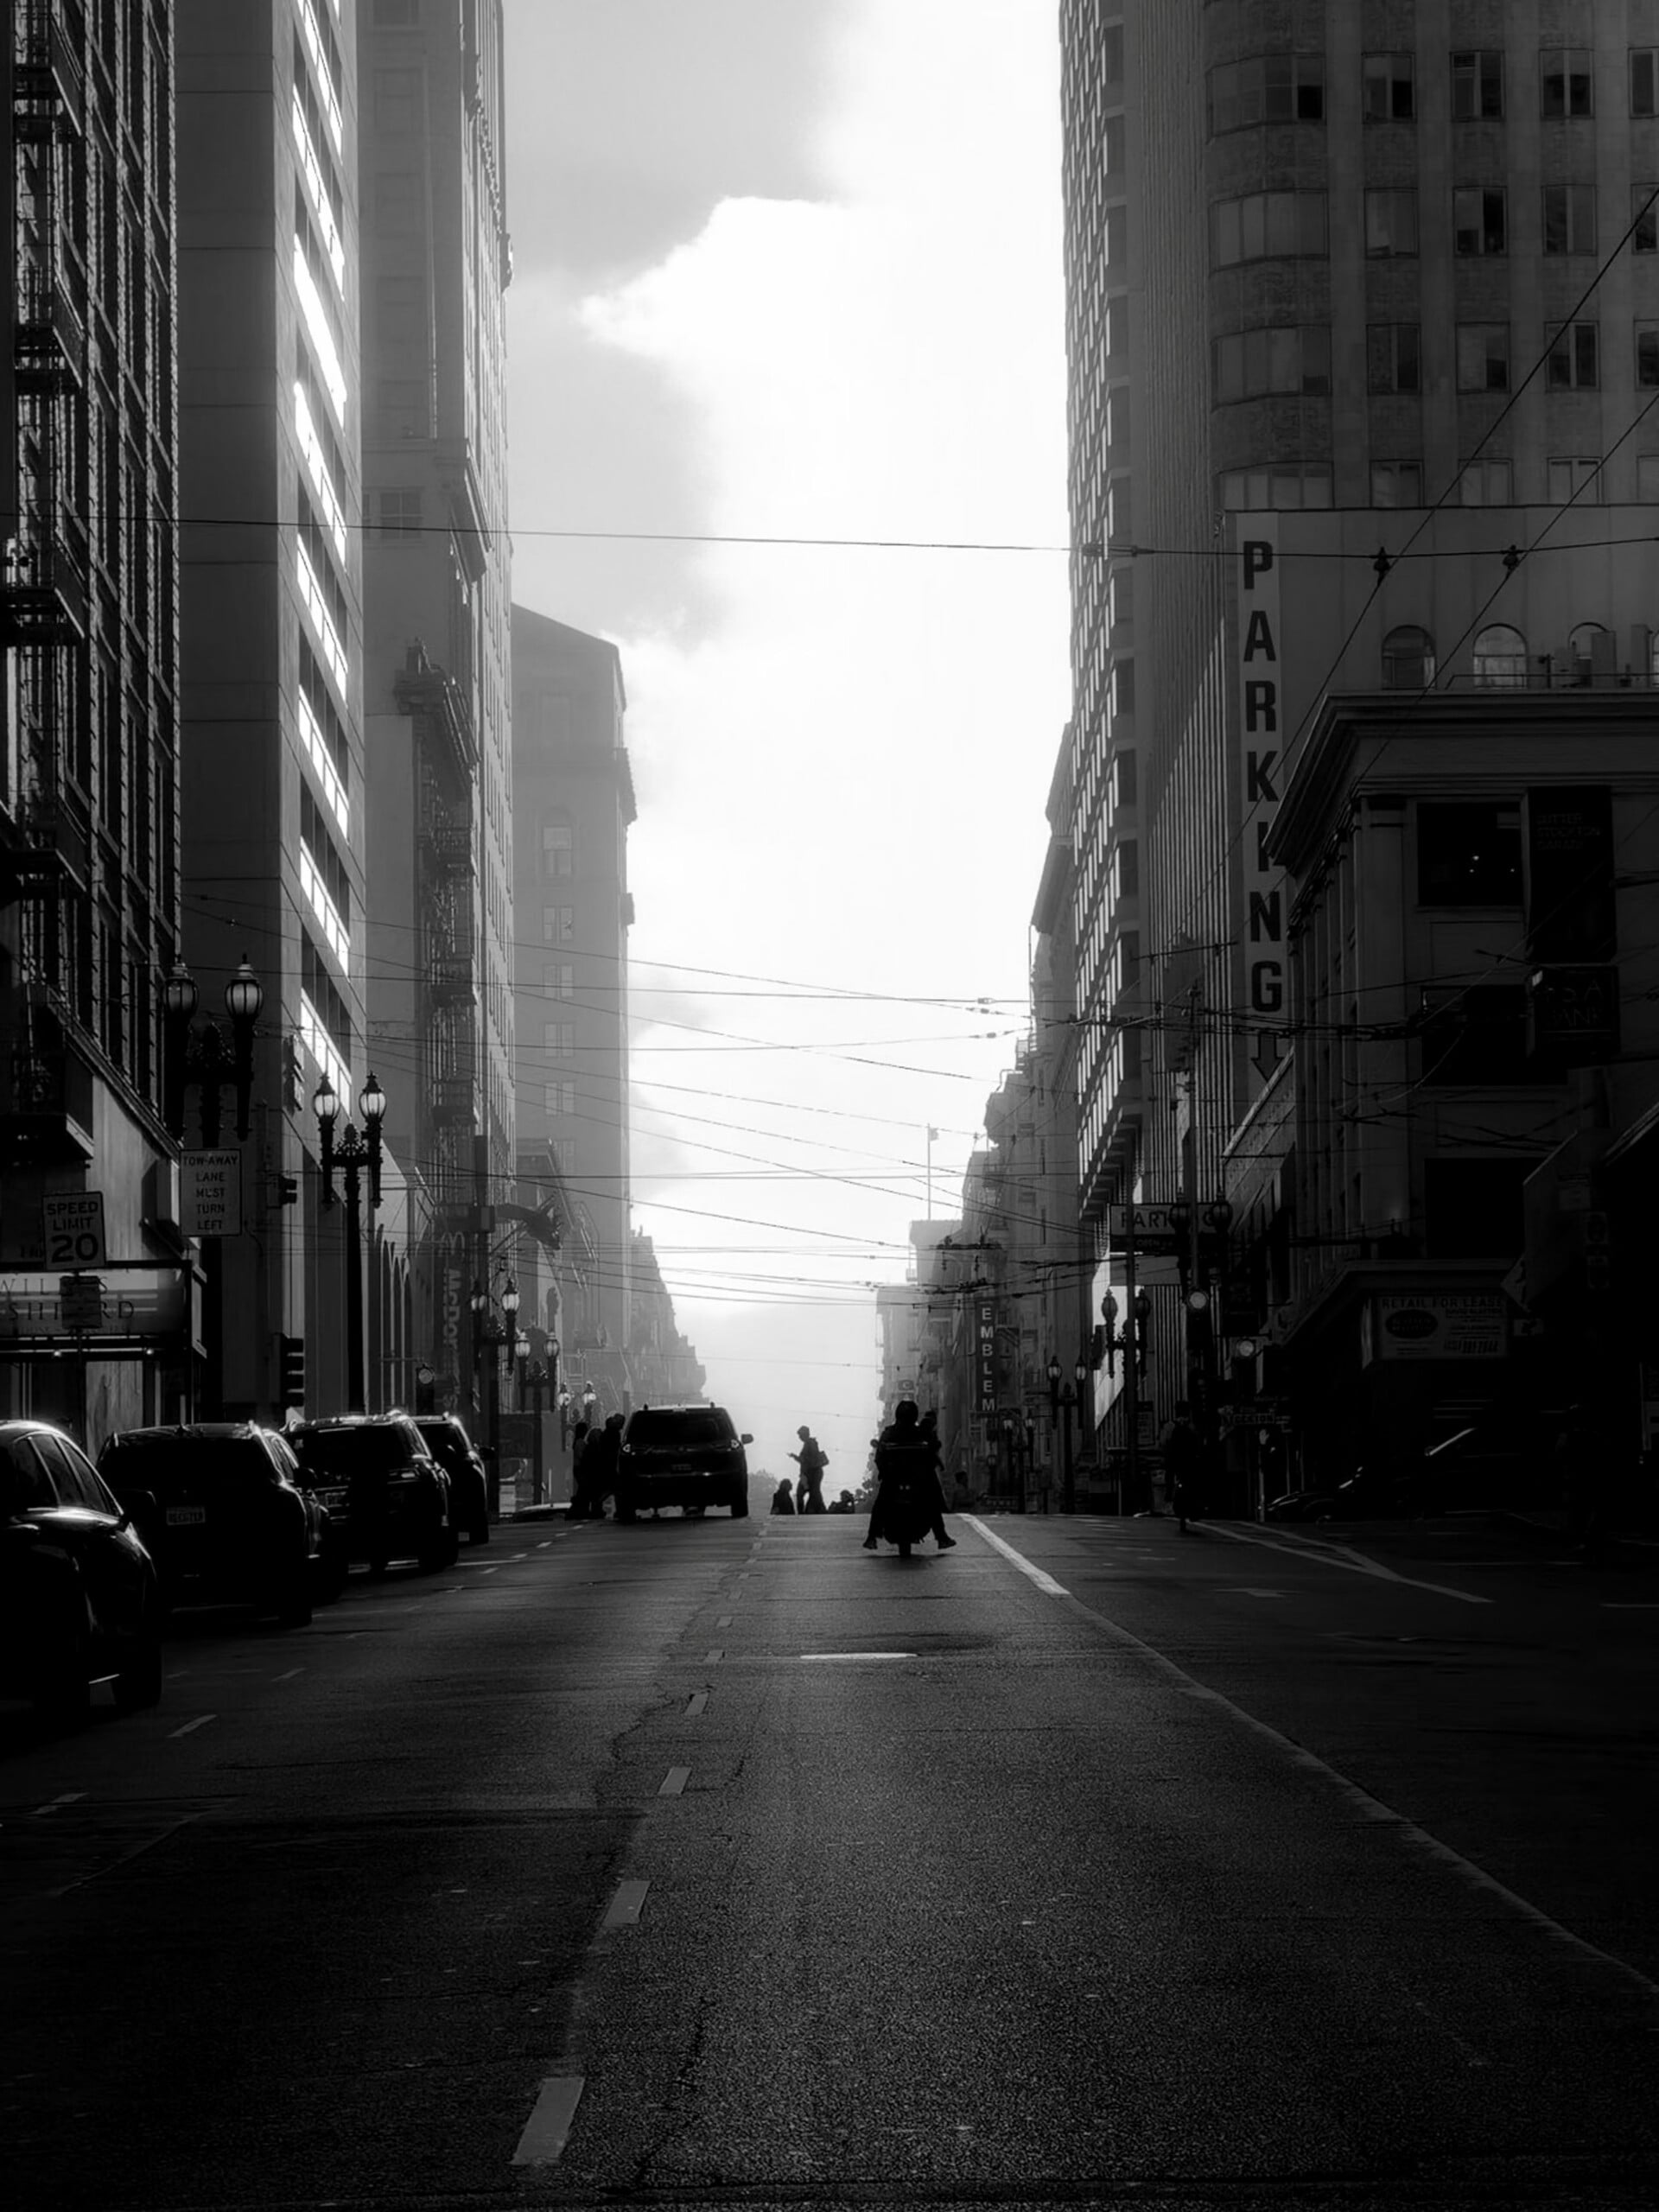
Instead, I like the star look for pinpoint reflections in street photography or evening photography with street lights or string lights. It’s unusual to see defined sun stars for mid- to low-light photography because it’s uncommon to be stopped down that much on a standard camera, so it makes iPhone photos pop.
Apple iPhone 18 Pro and Pro Max Review: Software Enhancements
Apple made five major changes when it comes to software: Pro Controls, a redesigned image processing pipeline that directly affects Photographic Styles and supports the new Texture option, an improved autofocus tracking algorithm, and Apple Reference Image content authenticity.
Pro Control
Starting with Pro Control, all I can say is: finally! Using the iPhone for more serious photography feels pretty good. The way this works is that it lives basically exactly in the app as you’re expecting, but you have to actually turn it on. When you get into this app, there’s a little button at the bottom that if you tap that, it brings up a menu. After that, in the left-hand corner, you have to hit edit. From there, you can add all of the controls you want and rearrange them as you see fit.
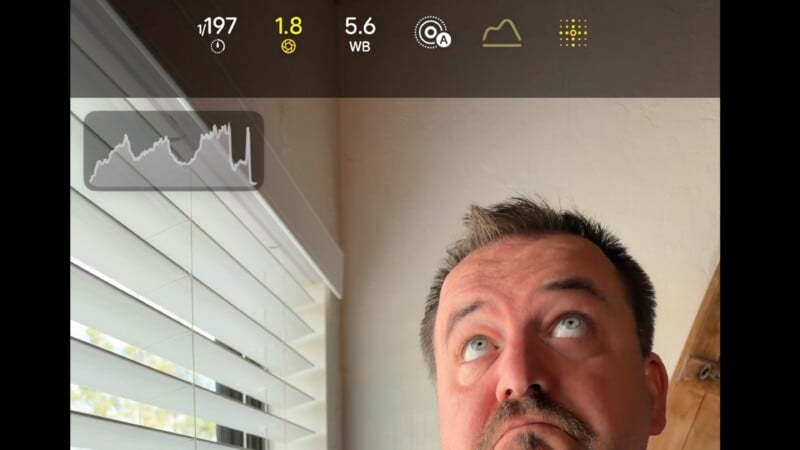
If you don’t do that, you’ll never see these, which is kind of Apple’s plan. Most people probably don’t want these controls, and I have felt that Apple has historically been reluctant to add these because it didn’t want to sacrifice approachability. I think this is a fair way to do it, and I’m pretty happy with the way it’s laid out.
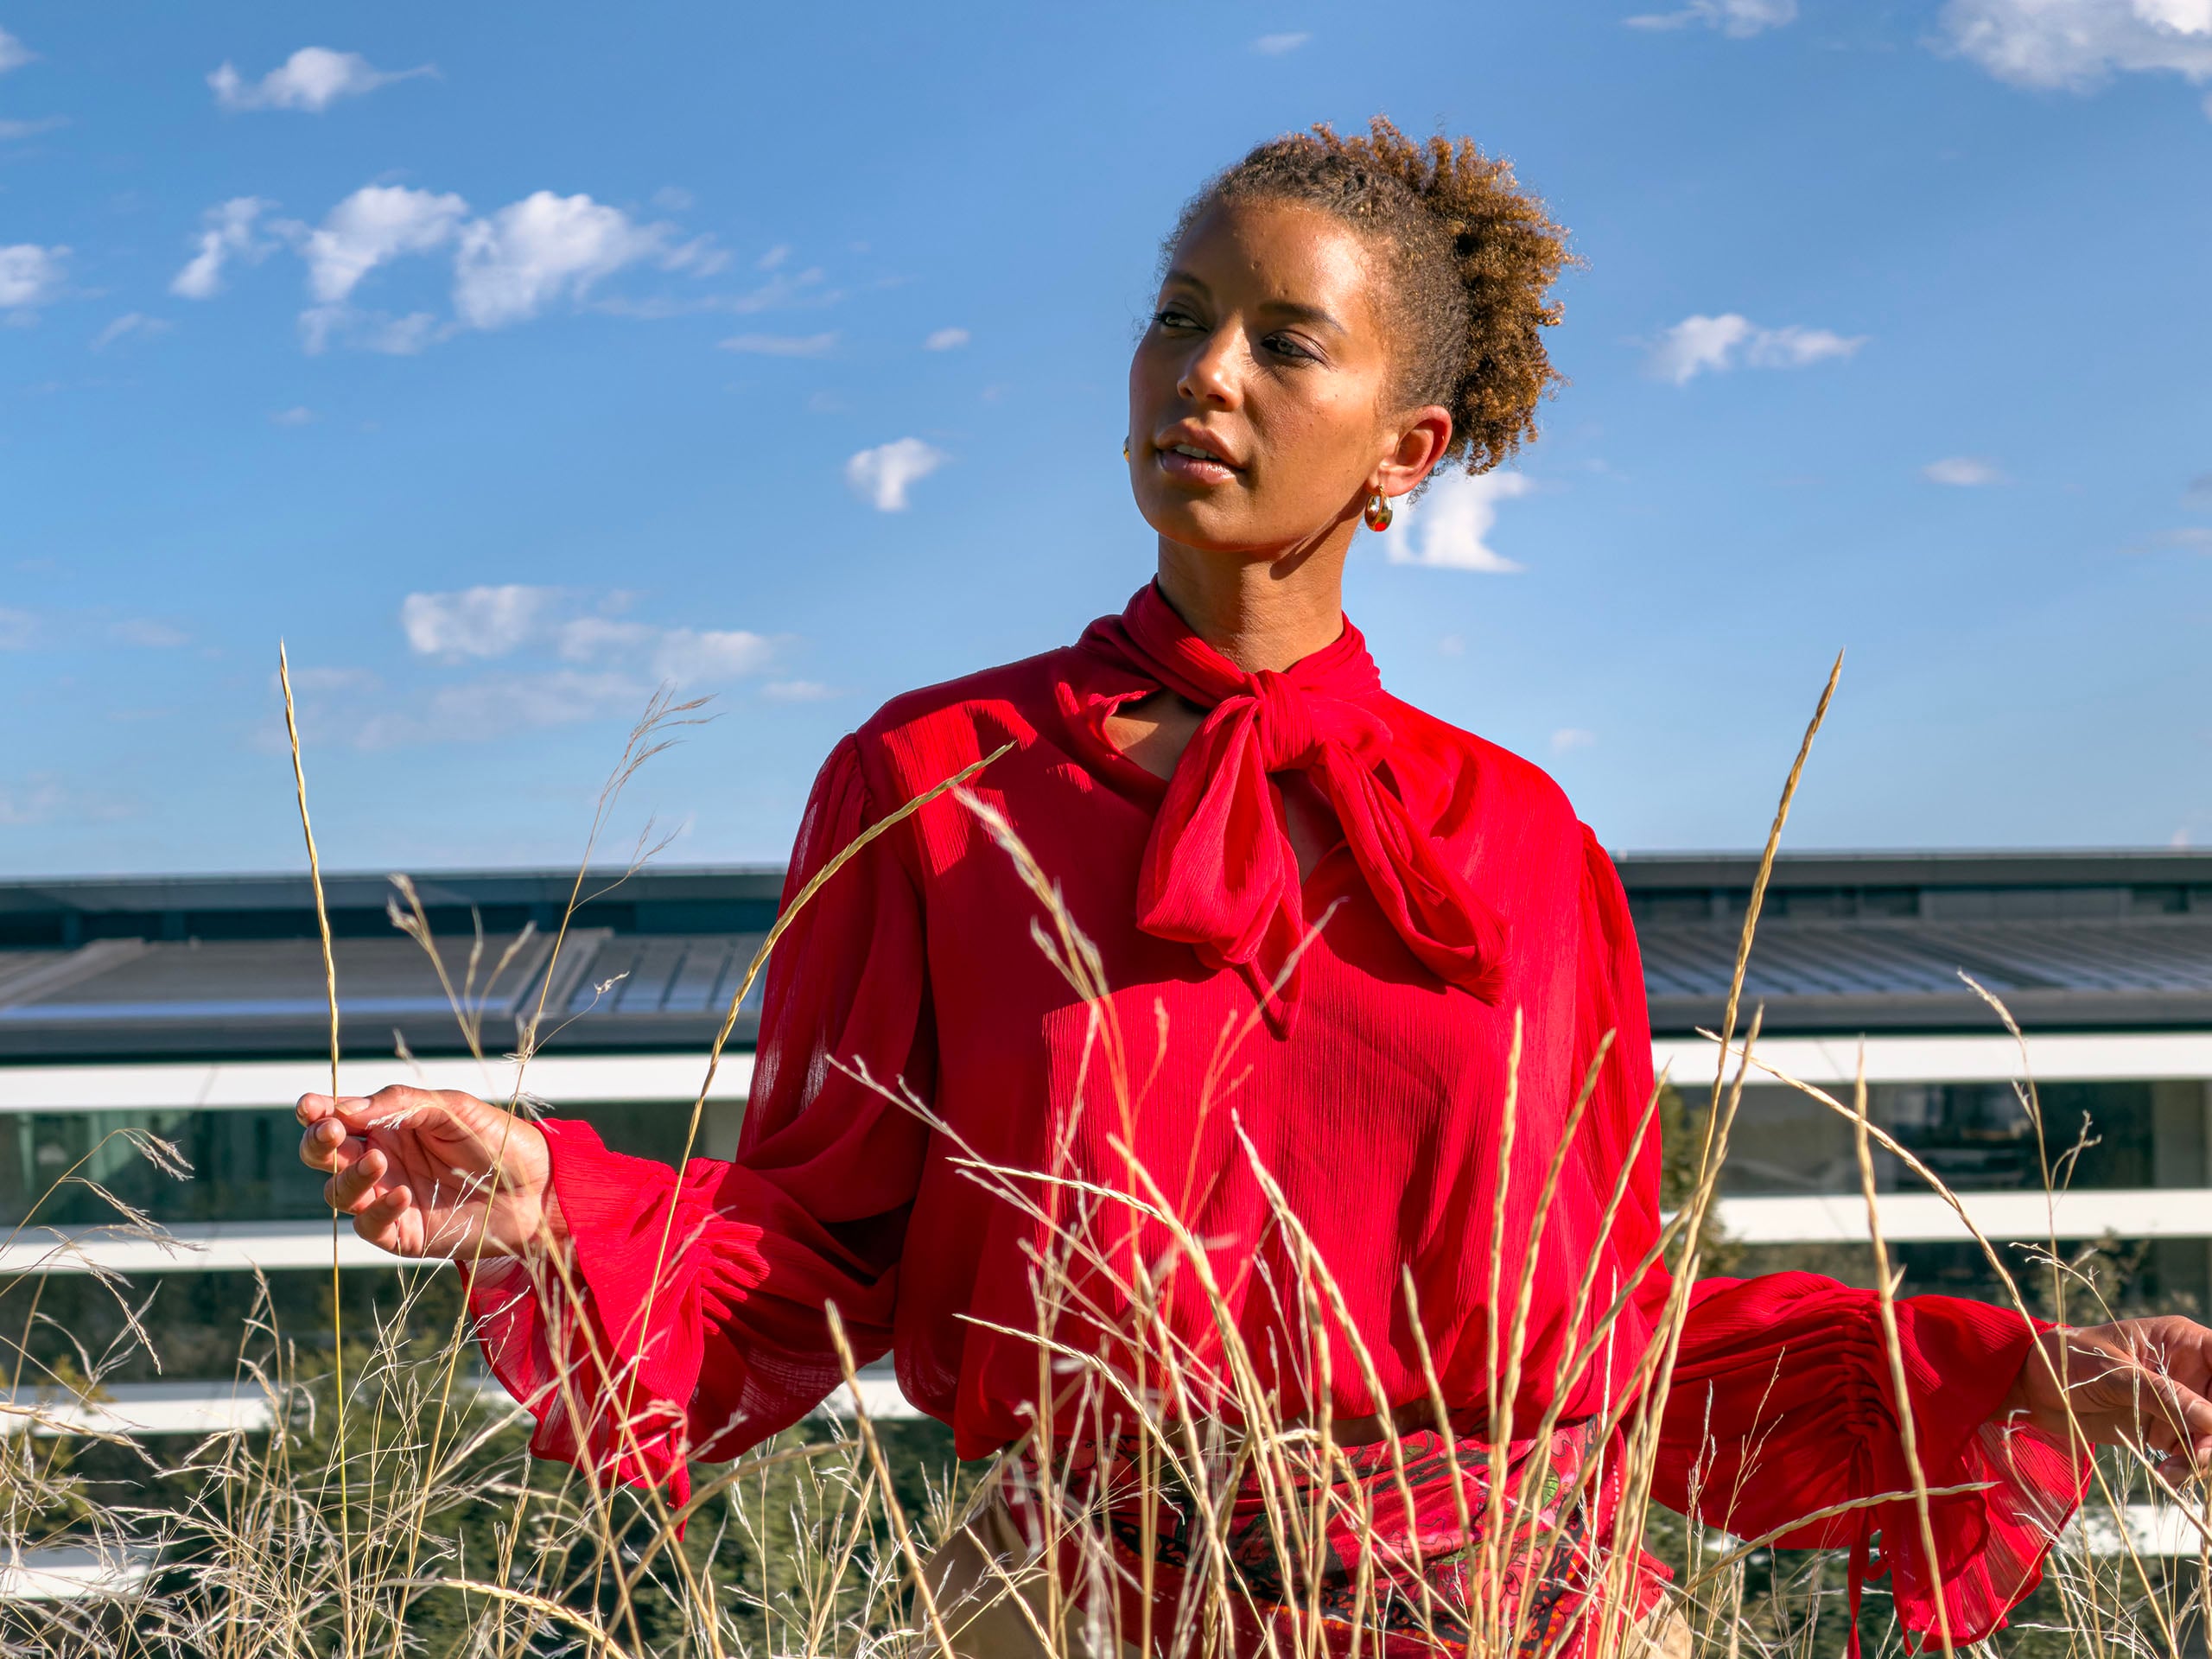
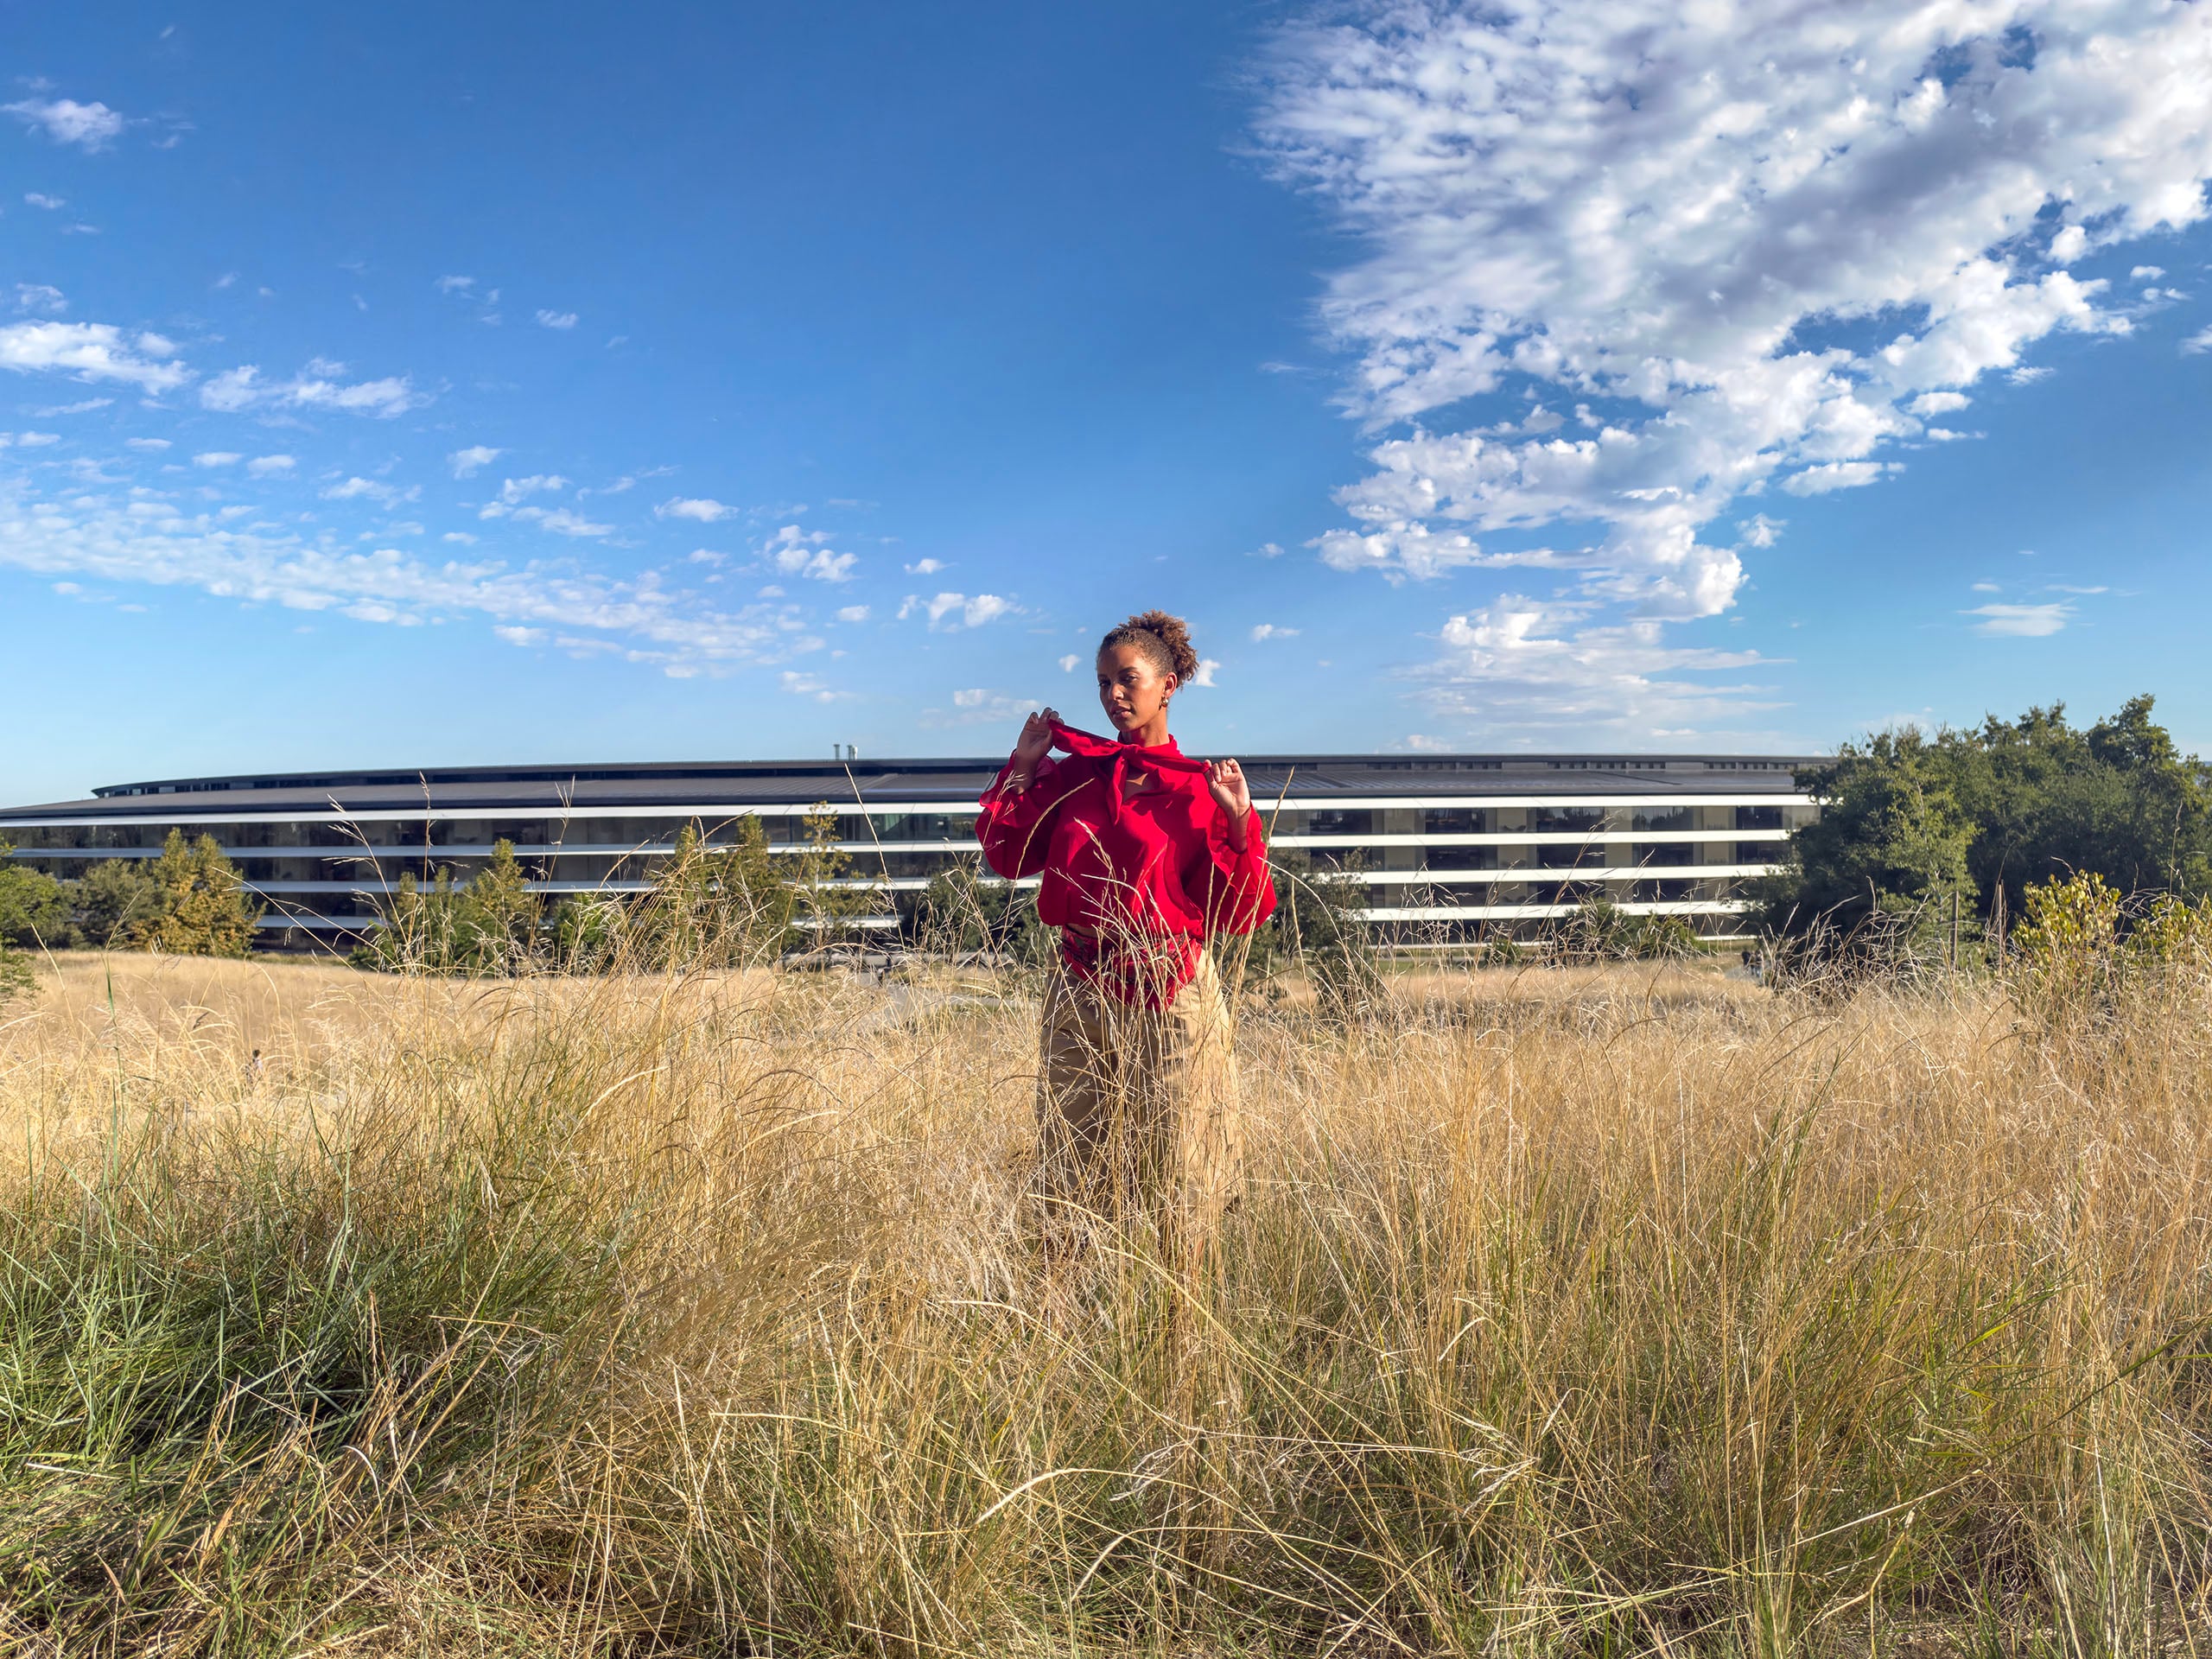
One last thing to mention about manual controls is that while we can adjust shutter speed, aperture, and white balance, we are missing one whole side of the exposure triangle: you can’t manually adjust ISO. I asked Apple why this was, and they said it was because they’re blending so many photos together for each shot for computational reasons that adding ISO here didn’t make any sense. I can buy that, but I still would like the option for times when I want to make sure I’m using the lowest ISO setting, like for landscape scenes or, in our edge case, when we’re trying to be consistent with testing.
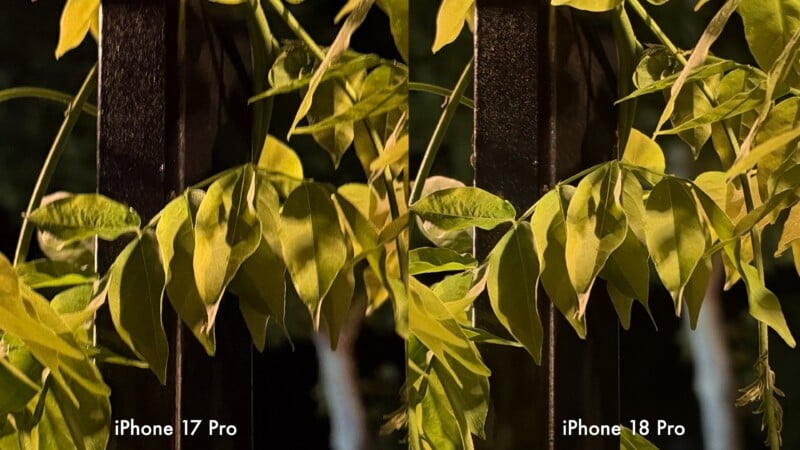
Along with all of these controls, it would make sense to be able to meter my scene. That’s why Apple finally gave us a histogram, and I’m really glad it’s here. You can easily toggle it on and off, and you can also tap it any time and move it anywhere on screen. How very Lumix of them.

You will need to make sure to tell the camera not to change your settings between uses, though. This has to be done in the settings menu outside of the camera app under “Preserve Settings,” otherwise, it’s gonna forget everything you did each time you open and close the camera app.
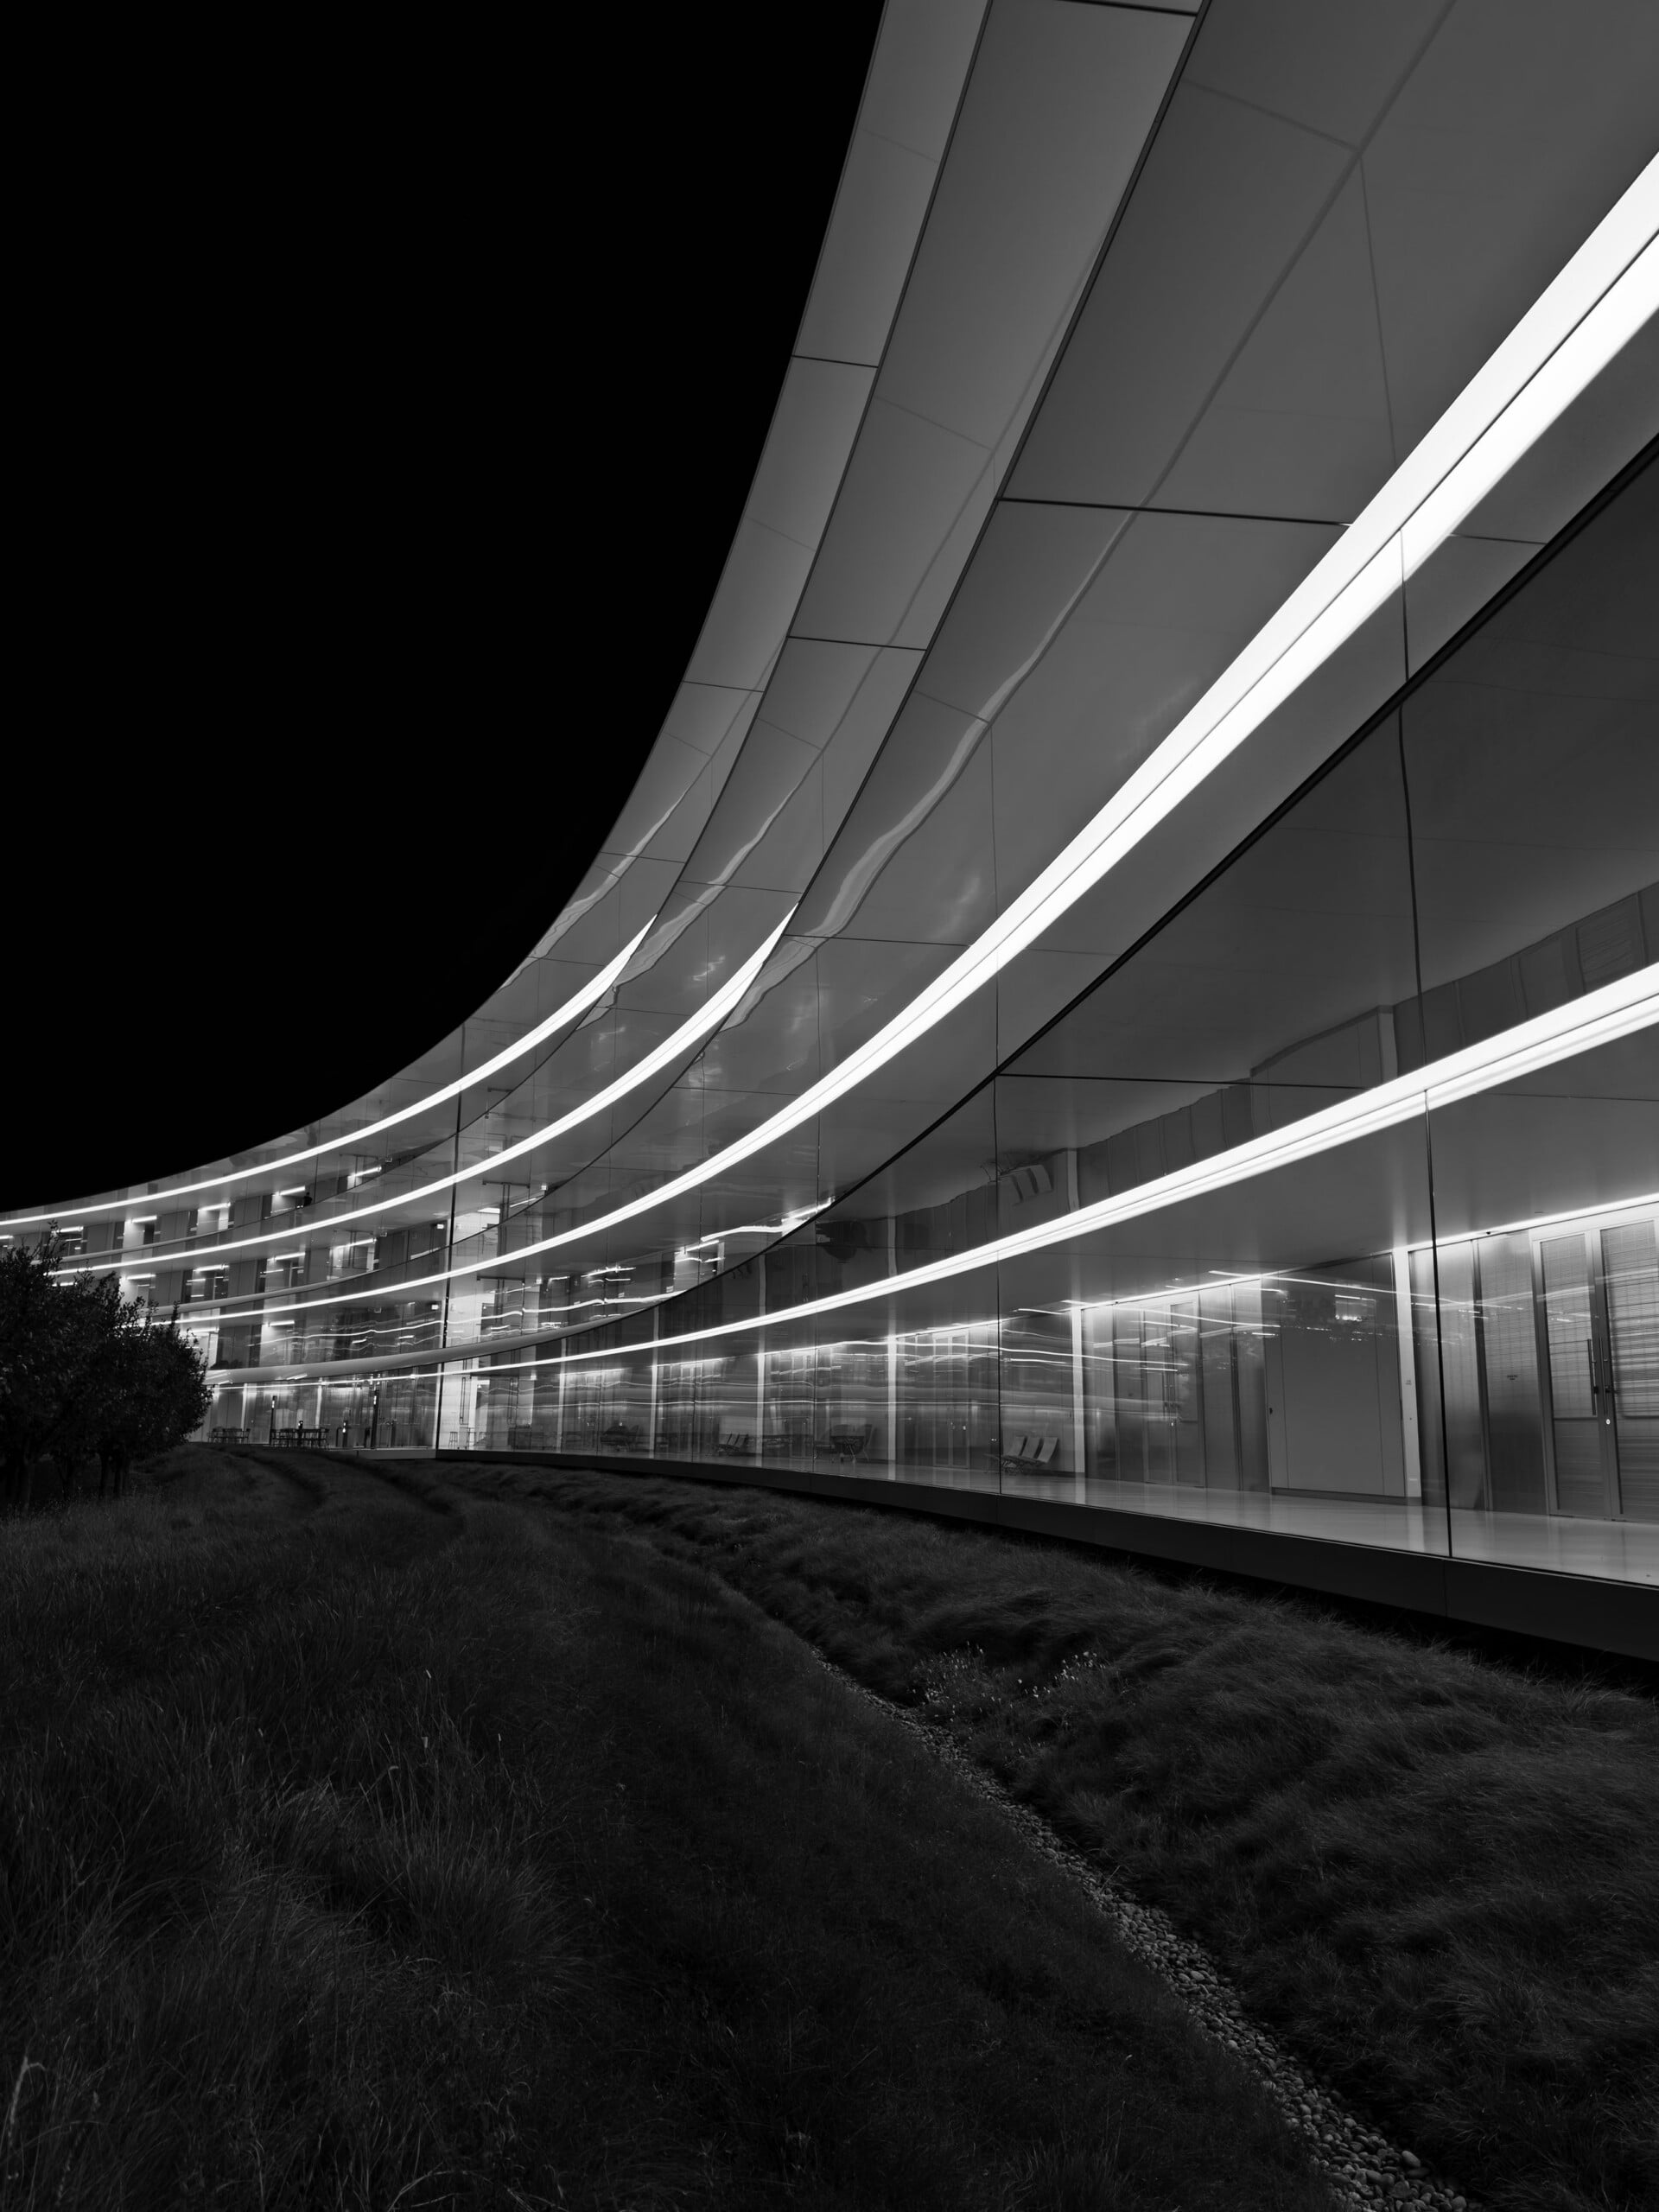
Image Processing and Photographic Styles
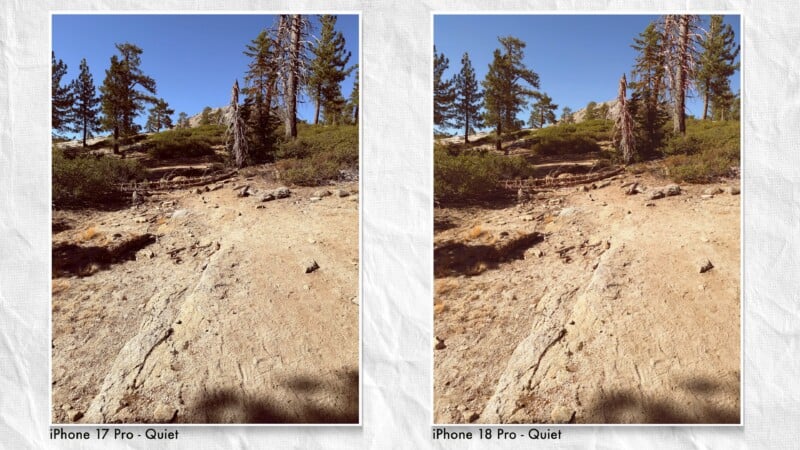
Moving on to image processing, there is a difference in how the iPhone 18 Pro applies Photographic Styles to a scene. Using the same Style with the same settings on the same subject, there is a noticeable difference in how it is applied between the iPhone 17 Pro and the new 18 Pro. It is, of course, subjective, but I think that the application of the Style is better on the iPhone 18 Pro. It feels like yet another step away from a simple filter (which is how Styles were originally launched five or so years ago) and more of a “look” that will provide a different vibe depending on what your subject is.

The biggest difference, however, is the addition of the Texture tab inside the Styles interface. When I first saw these, I was extremely skeptical. Soft Skin, Glow, and Film (with Grain) all felt like options we’ve seen before and mostly to poor effect. I was ready to absolutely hate these and never use them for my own photography.
I could not have been more wrong.
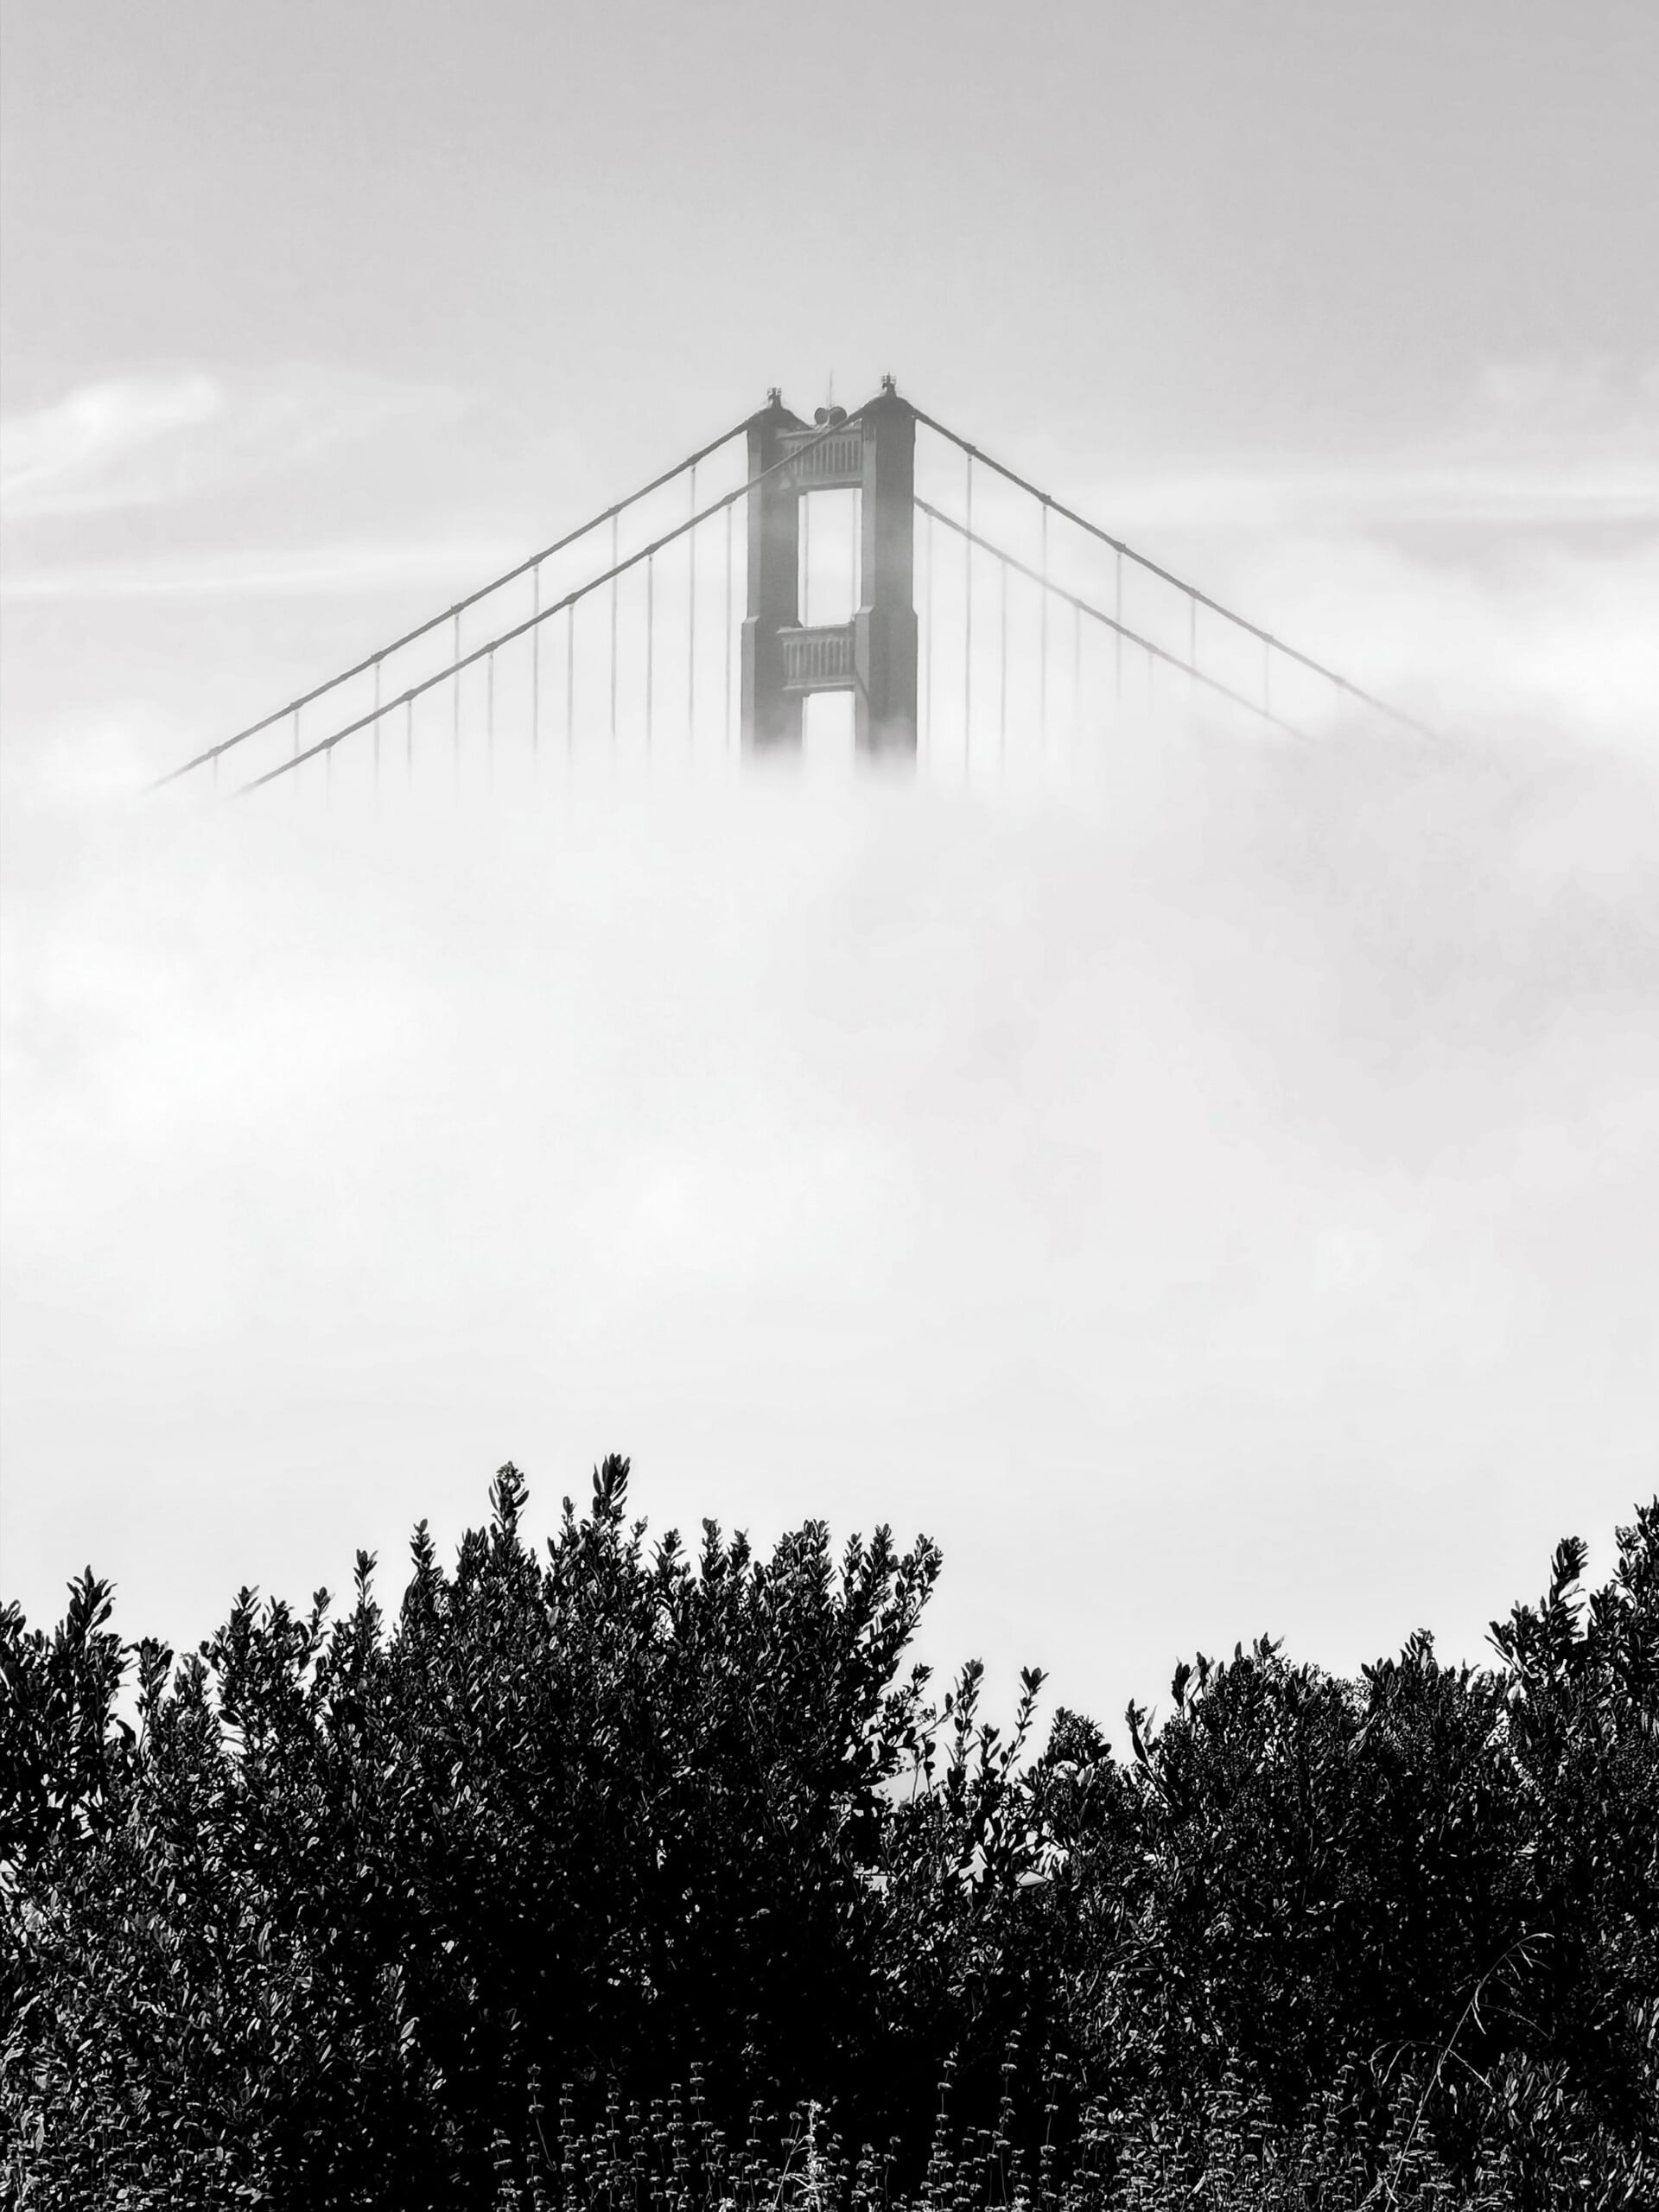
I think Apple’s approach to Texture shows a surprising level of restraint. Soft Skin could very easily have been overdone, for example, but even at the maximum amount you can apply, the result is believable and, I think, looks nice. Glow softens highlights and is especially nice on skin hot spots, like if the sun is especially harsh on a cheek, for example.
Film took me the longest to come to grips with because what it does wasn’t immediately noticeable with my original sample photos. But after trying it on a wide variety of shots, I noticed that it is looking for high-contrast areas and applying a very Cinestill-like level of halation. It will also reduce the dynamic range and detail of highlights a bit to mimic the limitations of film. When mixed with the Grain feature, the result looks a lot like a film photo, which is admirable. Grain reduces sharpness and, of course, adds grain.

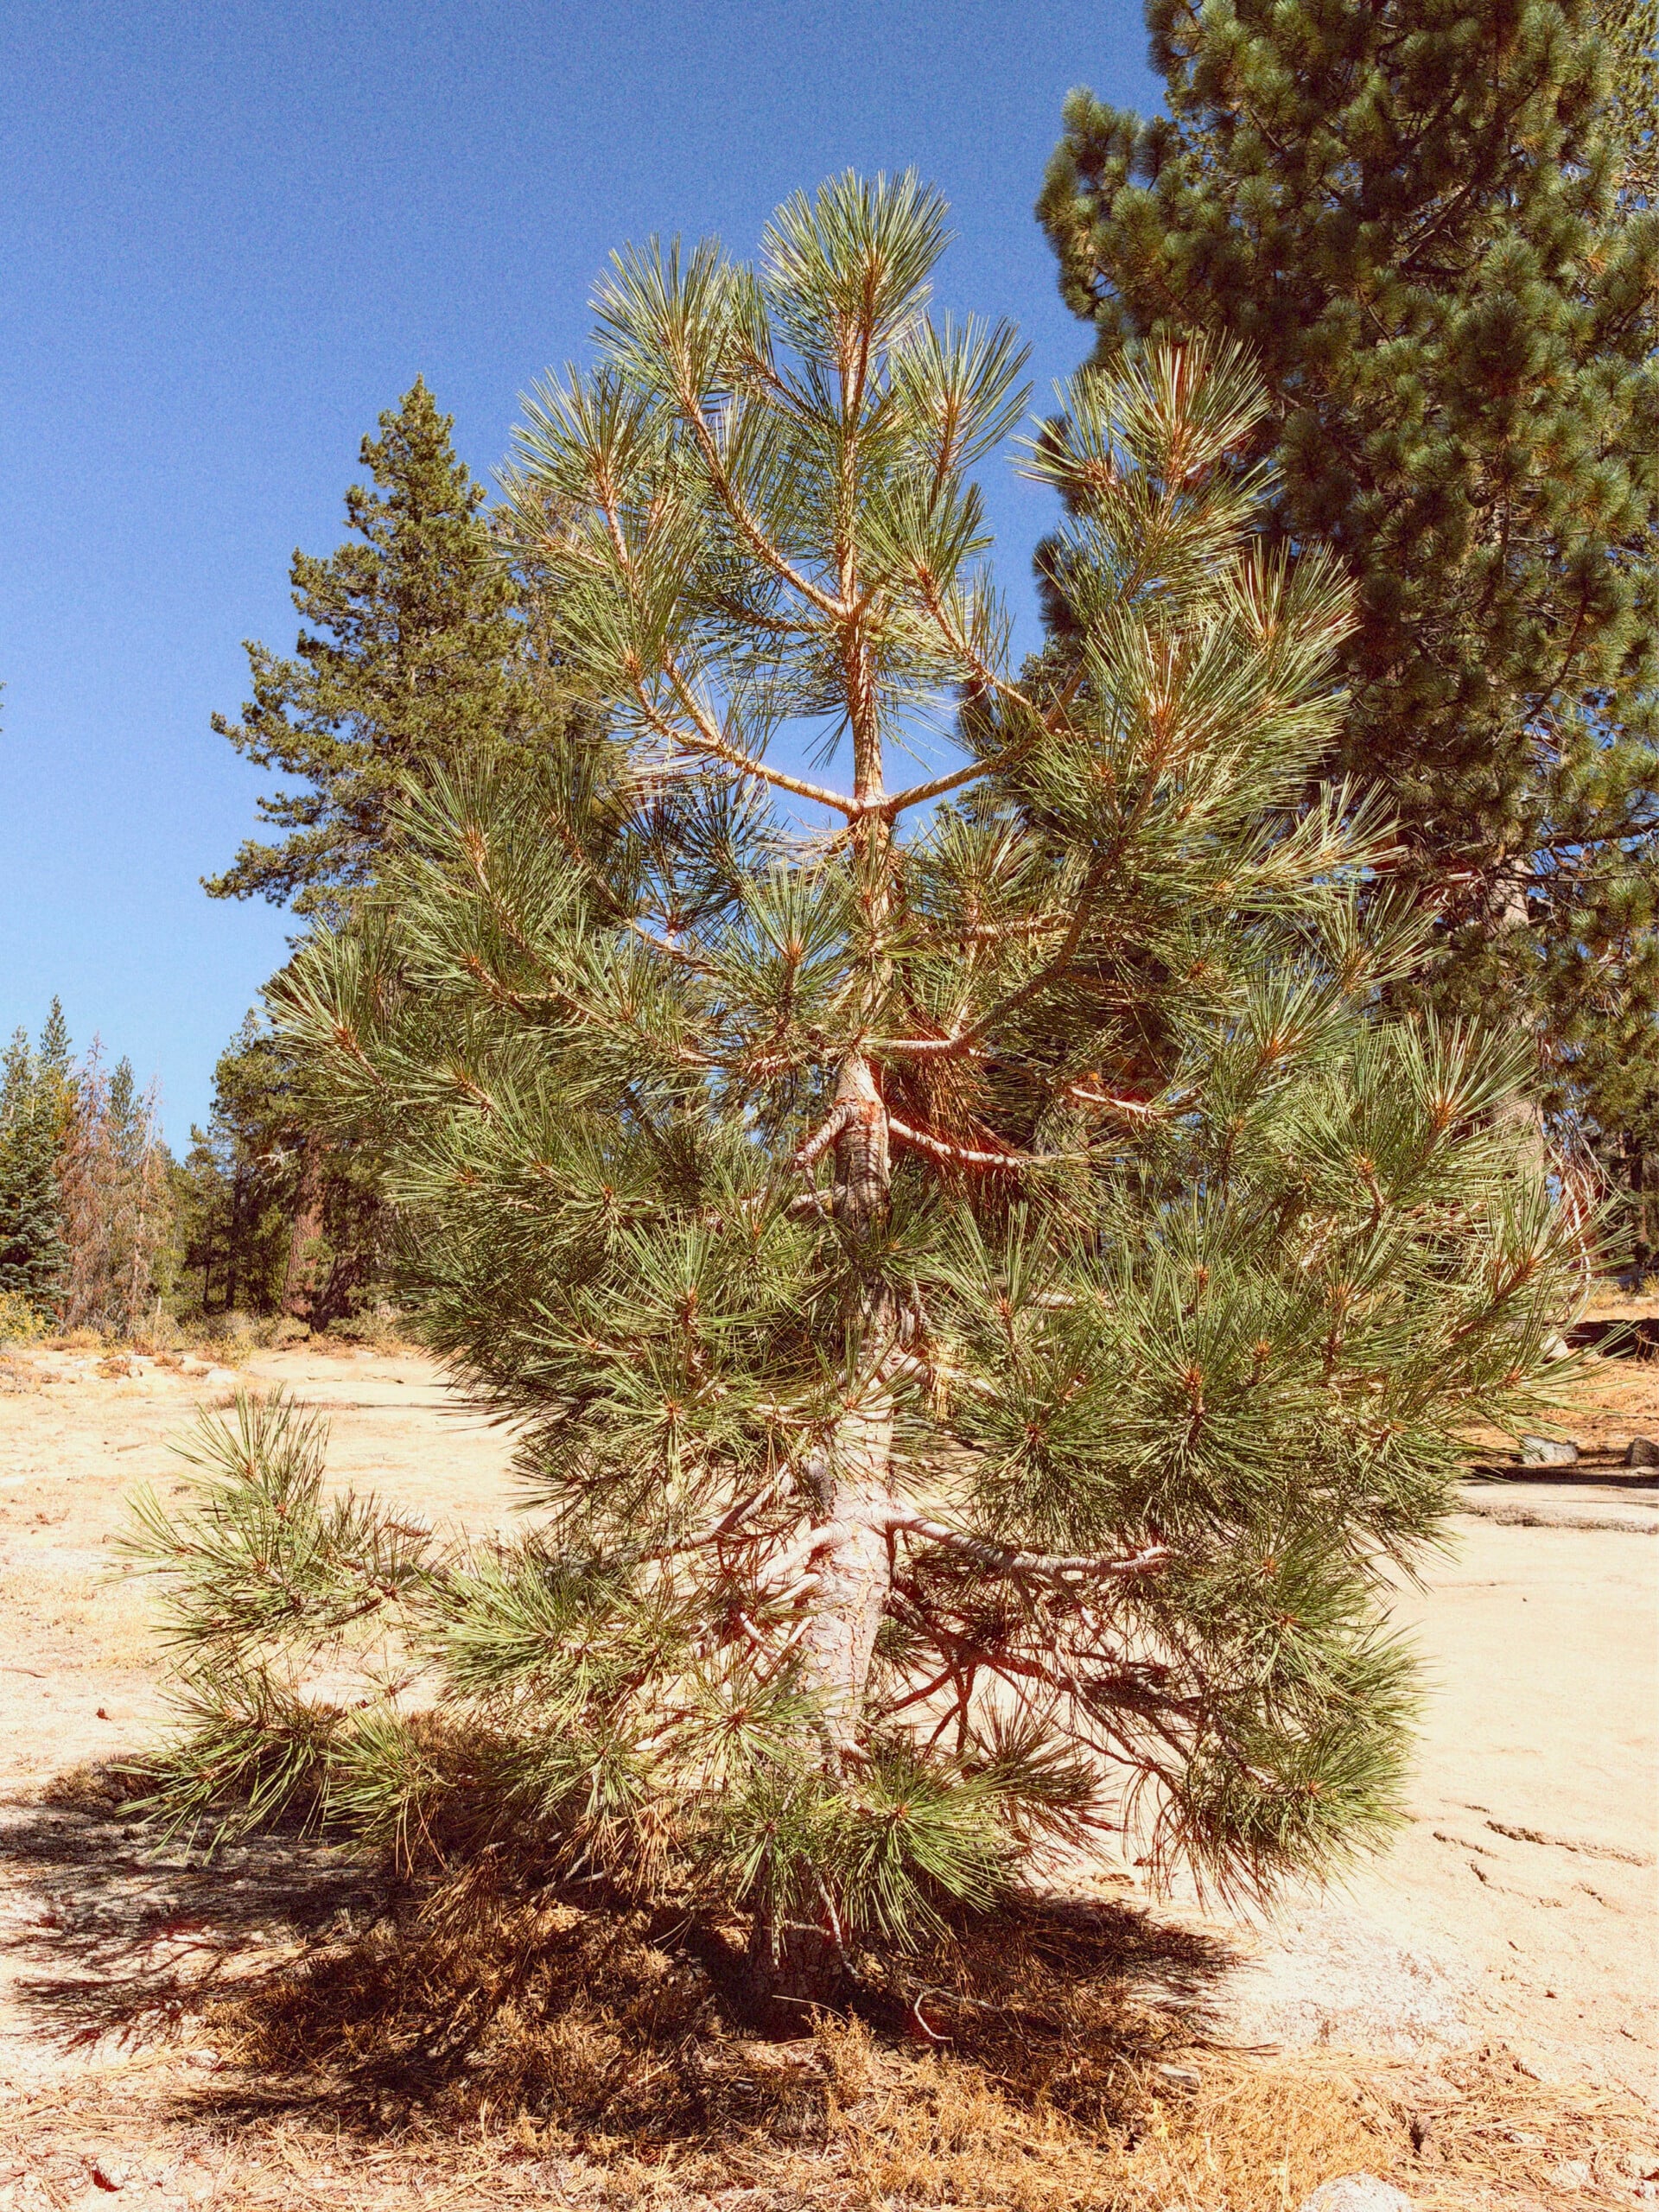
Apple is evaluating every image for how it applies the grain, but you don’t get any control over it. I wish Grain had a slider to adjust the amount, and I find it odd that it does not, given the other Texture options do, but I suppose if I were forced to stick with one level of grain for everything, this was the best option. I’m calling it now: next year’s iPhone will have a grain slider.
Grain is selected by default if you toggle on the Film Texture, but you can turn it off and also apply it to any other Texture (or just apply grain with no Texture) manually.
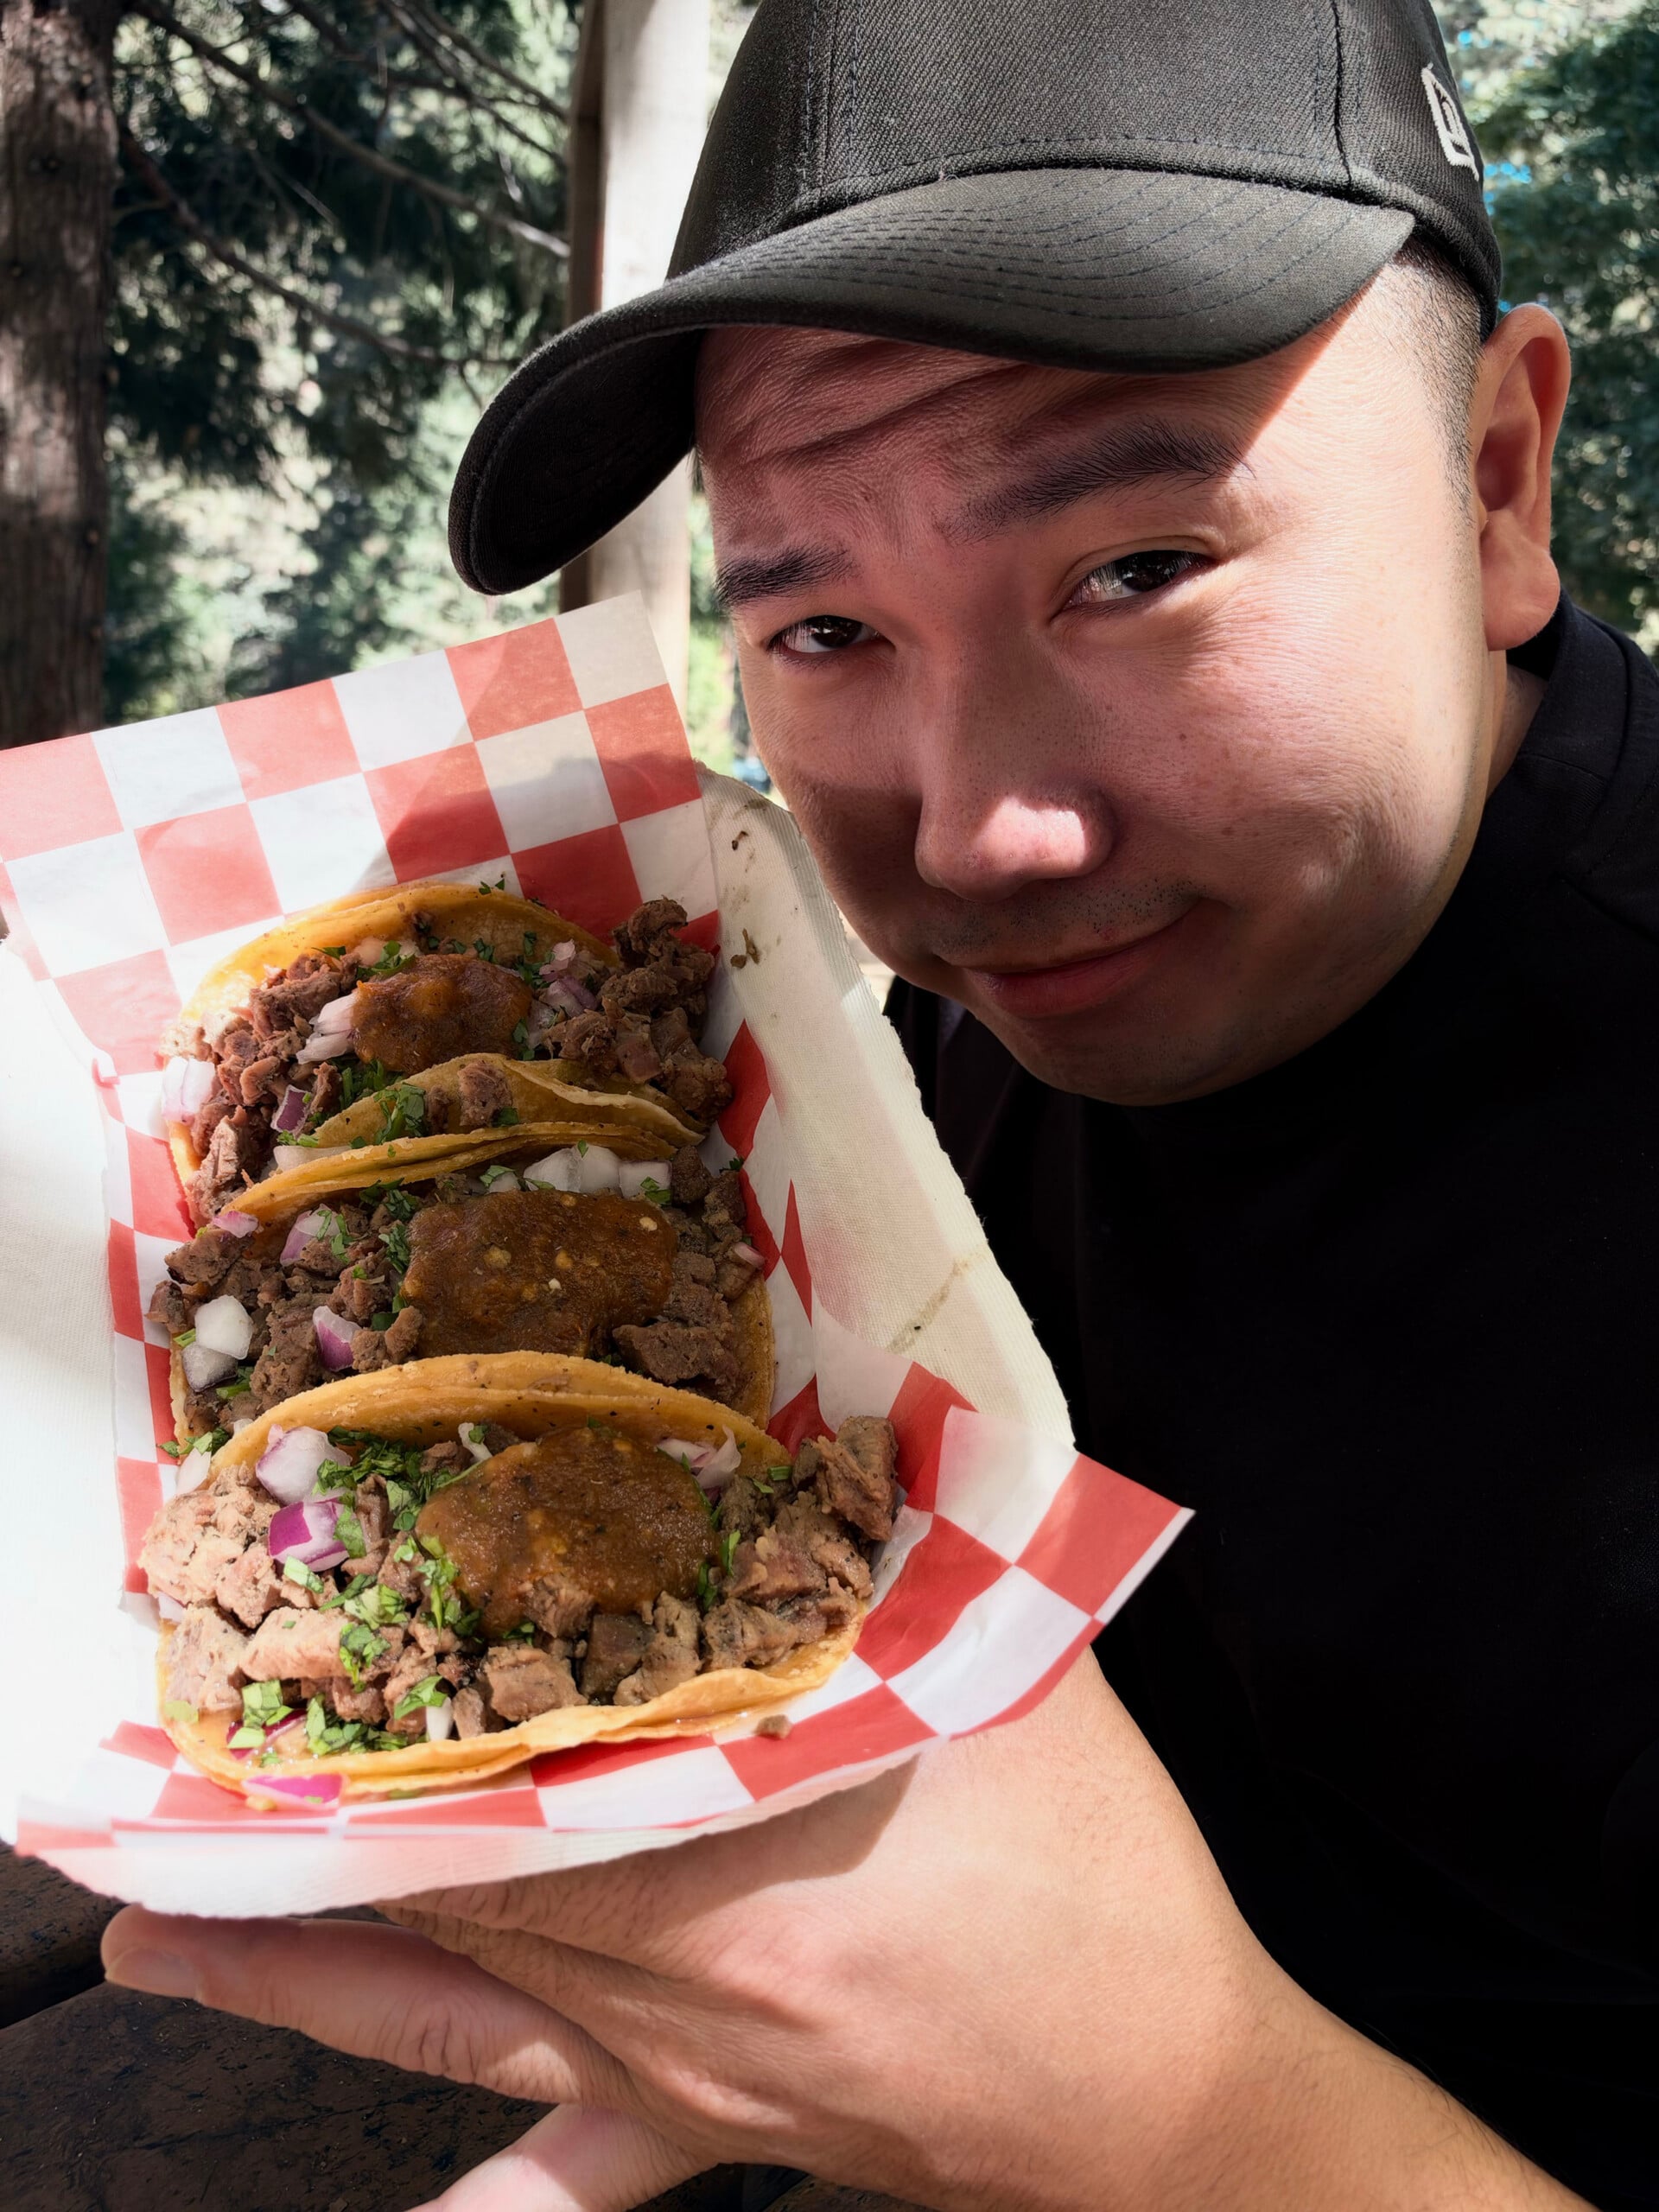
Of note, Photographic Styles are only available if you are capturing HEIF files: they aren’t an option if you switch to JPEGs or if you shoot RAW. Photographic styles are evaluative per photo, meaning they aren’t just a filter, so Apple requires the HDR reference data of a HEIF in order to give you access to them.
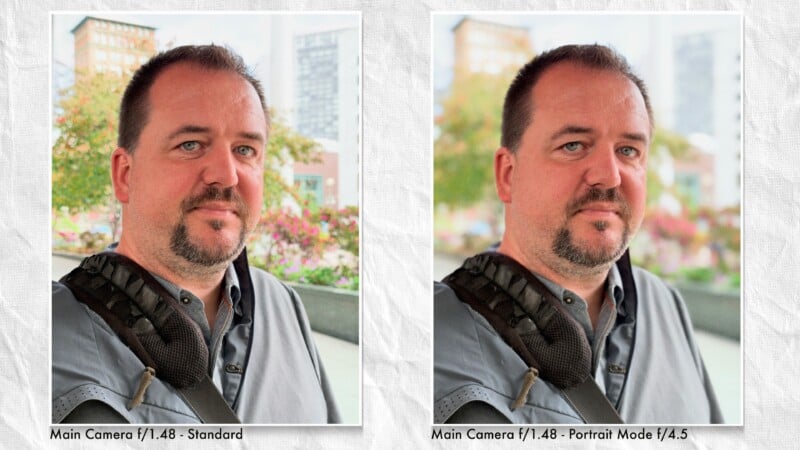
I’m not a huge fan of portrait mode just because of the nature of the simulated background blur, but I know I’m not the majority here. The results look to be about the same as with the previous 17 Pro, but with portrait mode on the 18 Pro, while we can select the aperture manually, it’s best to keep it at the sharpest and let the depth map do its thing, as it will blur out whatever the natural bokeh is there anyway. Shooting at either the most open or the most closed-down aperture means sacrificing sharpness.
There’s one camera setting that got introduced during last week’s announcement that isn’t coming to the Pro Series, and that’s called Smart Take, which is debuting on the iPhone Duo. Smart Take is where you set the phone down, and it will automatically capture photos of a group so no one has to use a self-timer and no one has to man the camera. That feels like it should be on all devices, and it’s not really capped by any type of processing limitation since both series of iPhone devices are using the same chip.
I can see why Apple decided not to put it in this device because you look at it and you can’t actually prop it up, therefore, it doesn’t have the second half of the Duo part to sit on. But also, Apple: there are cases that have stands in them. I can prop my phone up. While this could be added with software, I’m not holding my breath. I just hope Apple adds it to all phones next time.

Autofocus Tracking
Tracking is another new feature that Apple has added to this device, and I’m really impressed with its performance. Tracking can be activated using any of the lenses, but it is most important on the main camera and the telephoto. When you open to a scene and the iPhone senses a subject, it will put a yellow box around those subjects, and you, as the photographer, can double-tap on any of them to engage tracking. I would say the experience is most like Sony’s original implementation of Real-Time Tracking, where it was separate from the eye tracking or subject tracking autofocus options.
Once tracked, we found Apple’s technology to be comparable to modern mirrorless options, even better than the likes of Fujifilm and Lumix as far as stickiness. While it is just slightly slower to acquire focus and begin tracking, it’s remarkably good at holding onto that subject. Even if a subject leaves the frame entirely and other people are in the shot, it will tenaciously hold until that subject re-enters and resume autofocus tracking. Tracking also does not require a human subject, as double-tapping on anything in a scene will lock autofocus to it.
There are some caveats, however. Apple’s burst photo mode is not compatible with tracking, as it locks focus once a burst is initiated. Additionally, while you can get a lot of photos in quick succession on the main camera, frames per second dips with the telephoto. Tracking performance is still great with the longer lens, you just can’t shoot as many frames as quickly.
Even with these caveats, this is outstanding performance and the best we’ve seen on a smartphone.
Apple Reference Image
Reference Image is Apple’s answer to the Content Authenticity Initiative’s C2PA. Apple chose to go its own way with this technology because it doesn’t agree that most of the ways that C2PA is implemented are protected enough from being faked. To Apple’s credit, it’s probably right. Reference Image requires separate activation in the Settings menu, and it only works when using the Reference Image capture mode, so not every photo captured on iPhone retains this information. Reference Image also only works with the main camera, so photographers can only get reference data when using the 1x and 2x cameras.
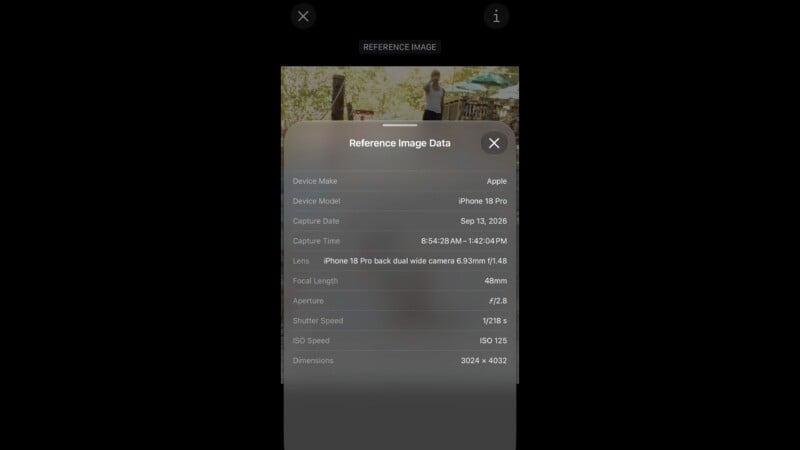
Once a Reference Image is created, any changes made to it are tracked with a separate button in the image’s metadata, and you can see where those changes are and a before-and-after image at any time. At launch, this is only supported on iPhone 18 Pro, but Apple does have plans to roll out support on computers and browsers in the future.
I’ll be going into greater detail on this technology at a later date, because it’s pretty complicated and worthy of its own separate discussion.
Apple iPhone 18 Pro and Pro Max Review: Video Features
Video is something that, historically, Apple has really excelled at, and there are some legitimately big changes this year. I think the biggest one is the aforementioned Pro Controls in the default app. That raises the question: why would anyone who takes video seriously use the default camera app since the multiple other pro apps give you manual exposure control and different compression options? But remember, Apple has a lot of tools that are only available in the default camera app, like audio mix, cinematic mode, and I consistently find stabilization is more effective with the default camera app than using third-party applications (even Apple’s Final Cut Camera). So, any additional exposure controls in here are actually a really big deal if you wanna take advantage of those.
It’s great to have aperture and shutter speed control and video with this app, but the omission of ISO is more of a problem in video than it was in photo. I kind of buy it from Apple’s perspective when they’re talking about photo because, yes, it’s stacking a whole bunch of images, but that’s not the case in video. In video, I want to maximize my dynamic range when I’m shooting Apple Log, therefore, I really want to know that I’m at base ISO so I’m getting as much highlight and shadow detail as possible. Unfortunately, that’s not possible with the default camera app.

As we were in photos, we were initially skeptical about variable aperture because, generally, with small sensors, you’re not gonna be able to get that many useful aperture values. However, we’re getting almost four stops of range here, and you have to remember that when we’re just shooting 4K video, the effects of diffraction or the softness of the wide-open lens are gonna be a lot less noticeable than they are in photo mode. That means the entire range on offer here is useful. But make no mistake, if you’re shooting outdoors, you’re still probably going to want to pack some ND filters, as the ability to stop down to f/4 still isn’t enough to combat bright sunlight while keeping a slower, more cinematic shutter speed.
Generally, a really bright lens is just a benefit for videographers, but there are some situations where it can become an issue, like if you’re shooting something close up, you might find depth of field is too shallow to do a proper product shot. That means the ability to stop down is actually useful in those situations.
The other thing that’s gonna be really cool for videographers is that the aperture on this doesn’t move in big one-stop increments. As mentioned, it’s stepless. Right now, you can’t actually select any of these in-between apertures, but this is something that I hope we’ll see with some pro apps in the future to unlock this potential.
So while we were initially very skeptical, I have come around on variable aperture for video. I don’t think it is a life-changing advancement, but I did find it legitimately useful in a few different situations.
Looping back to tracking, I would say it’s probably more useful in video recording than for photos, and I have been very impressed with the tenacity of the autofocus, especially because if a subject leaves the frame, the camera doesn’t suddenly refocus. The only mirrorless camera that has this functionality in autofocus is Canon with “Subject Only Detection,” but it only works with subjects that Canon identifies (people, vehicles, and animals), so what Apple has here is actually even more impressive.
I like that you can still single-tap if you want locked-on focus and then a double tap to initiate tracking, but the actual interface of this does have some drawbacks. I wish it highlighted faces and eyes the way that we see on a lot of the mirrorless cameras, as when your subject gets too close to you in the frame, the box actually extends to the edges, and it becomes really difficult to see what subject it’s actually focused on. The other big drawback to this in video mode is it resets tracking every time you stop recording.
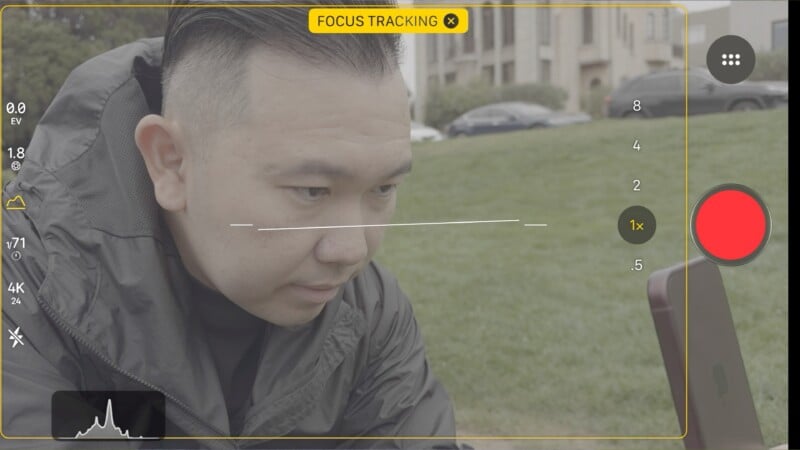
If you want to track one subject, you’re gonna have to remember to double-tap them again every time before you start recording a new clip. This seems like something they can absolutely fix in firmware, but it is really bothering me right now.
So while there are some inconveniences with this, when we move to the brighter aperture on this lens, we would need a more sophisticated autofocus system, and Apple delivered that here. I’m going to be using the tracking autofocus on this constantly whenever I’m shooting video on the iPhone.
Briefly, I want to touch on Cinematic mode. It’s not my favorite, but I know many people like it. Previously, you would have to select cinematic mode in order to record a depth map. Now, any time you’re shooting video with the main camera on the standard app, it’s recording those depth maps, and you can apply cinematic mode to the video clips after the fact. There are two big drawbacks, though. First of all, you’re not going to be able to use it on the telephoto camera, where I would say this would be really useful (it’s not on the Ultra-Wide either, but I probably wouldn’t use it there anyway): it’s only available in the main camera.
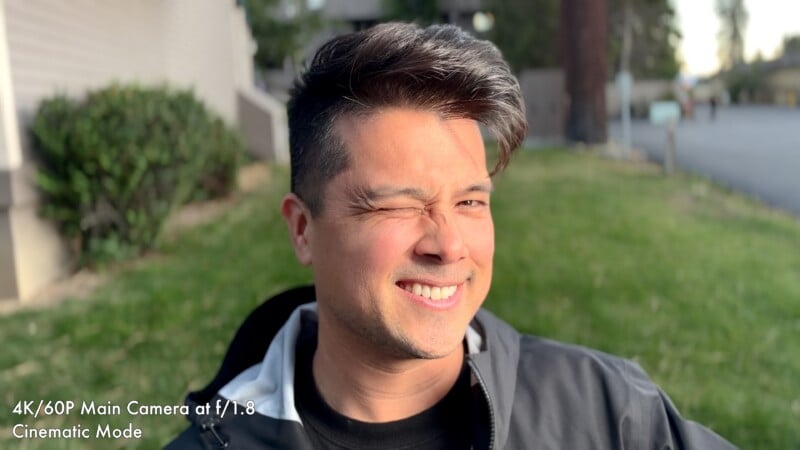
The other downside is I think it looks bad. You always get this weird kind of halo around the edges of your subject, but I did find sometimes you can get a workable look if you stop the artificial lens down heavily. What’s nice is that if you decide you want cinematic mode but you didn’t engage it at the time of capture, you aren’t locked out of it. I’ll never use it, but you might!
Apple iPhone 18 Pro Review: Small Changes, Big Differences
Apple has, for years, been famously against giving us as the photographer much decision-making power. As more people use the iPhone as their primary content creation device, it has felt like a needless barrier not to have more controls in Apple’s native camera app. I really think the addition of Pro Controls makes a big difference, and you’re getting the benefit of aperture control, which does give you a little bit more creative intent.

As I used the iPhone 18 Pro more, I found myself liking it more. Going back to my iPhone 17 Pro’s older camera interface and weaker Photographic Styles options felt jarring, which speaks volumes about how meaningful Apple’s changes to the 18 Pro are, even if they didn’t sound like it at the keynote. Apple’s updates sounded incremental on paper, but in practice, the photographic experience feels markedly improved.

That said, I think the people who will notice the biggest change are those upgrading from a phone two or three years old. If you’re coming from the 16 series, the 18 Pro is going to feel incredible. If you’re just upgrading from last year, you probably won’t come to fully appreciate the differences in the experience until you’ve spent some time with it.
Are There Alternatives?
Last year’s iPhone 17 Pro is the closest alternative since it is physically identical and will be more affordable now that the new version is available. The bright orange color is also much nicer, in my opinion, than the majority of Apple’s 18 Pro series options (sans the black, of course). You may also want to hold out and see what’s in store for the Duo later this year, as it appears to be a much better content consumption device than the iPhone 18 Pro, although its cameras are not nearly as good.
If you’re looking outside of Apple’s ecosystem, then my top two suggestions are the Xiaomi 17 Pro and the Google Pixel 11 Pro. Xiaomi feels the most mature as a camera system, especially when you include the camera case and consider its nice Type 1 LOFIC sensor. Photos are very nice, and the video capture capability is excellent, if not a slight step down from Apple. Google leans more heavily into AI as a feature than Apple or Xiaomi, and its video capture chops are way behind both, but improvements to the telephoto camera and software features like Magic Capture are nice.
Should You Buy It?
Yes. While Apple’s keynote may not have impressed you, the changes on this device are numerous and directly impact both photo and video capture in a positive and meaningful way.
Image creditsProduct photos by Erin Thomson